Перейти к основному содержанию
Присоединяйся к сообществу ремонтников - Создай аккаунт

Garmin Vívoactive 4 Button Replacement

Выберете то, что вам нужно

    1. Garmin Vívoactive 4 Button Replacement, Watch Band: шаг 1, изображение 1 из 1
      • Flip the watch on its back to reveal the watch band connection pins.

      Спросите у FixBot

      Добавить комментарий

    2. Garmin Vívoactive 4 Button Replacement, Remove Bands: шаг 2, изображение 1 из 3 Garmin Vívoactive 4 Button Replacement, Remove Bands: шаг 2, изображение 2 из 3 Garmin Vívoactive 4 Button Replacement, Remove Bands: шаг 2, изображение 3 из 3
      • Wedge your fingernail or the tip of a spudger underneath the watch band's small metal pin.

      • Push on the pin to release the strap from it's hinge.

      • Pull the strap away from the watch to disconnect it.

      • The strap will not pull away if the pin isn't fully pushed in.

      Спросите у FixBot

      Добавить комментарий

    3. Garmin Vívoactive 4 Button Replacement: шаг 3, изображение 1 из 1
      • With both straps removed, a new replacement watch band may be inserted.

      Спросите у FixBot

      Добавить комментарий

    1. Garmin Vívoactive 4 Button Replacement, Screen: шаг 4, изображение 1 из 1
      • Use a heatgun to loosen the adhesive beneath the screen, it should take a 5-10 minutes for adhesive to loosen.

      • Handle the watch with care to avoid burning yourself after it has been heated. Review the How to Use a Heat Gun to Soften Adhesive guide.

      Спросите у FixBot

      Добавить комментарий

    2. Garmin Vívoactive 4 Button Replacement: шаг 5, изображение 1 из 2 Garmin Vívoactive 4 Button Replacement: шаг 5, изображение 2 из 2
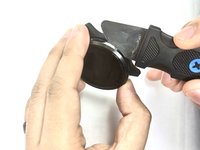
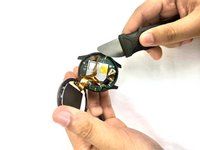
      • Wedge a thin opening tool or your iFixit Jimmy in between the seam where the screen and the watch’s housing connect.

      • Pry the screen off the device.

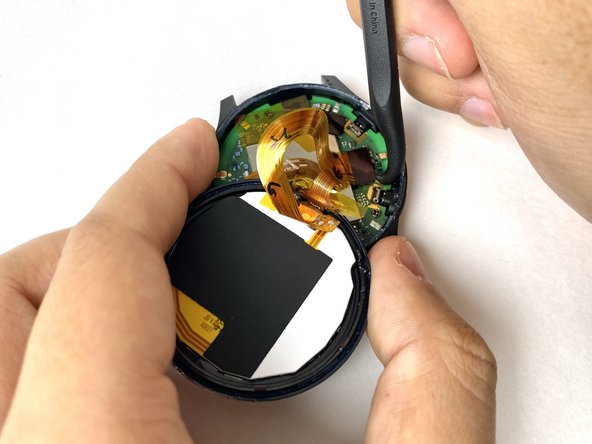
      • There is a cable underneath the screen that needs to be disconnected - be careful not to rip it.
      • Work quickly so the adhesive doesn’t cool too much.

      Спросите у FixBot

      Добавить комментарий

    3. Garmin Vívoactive 4 Button Replacement: шаг 6, изображение 1 из 3 Garmin Vívoactive 4 Button Replacement: шаг 6, изображение 2 из 3 Garmin Vívoactive 4 Button Replacement: шаг 6, изображение 3 из 3
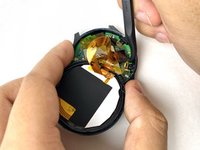
      • Carefully disconnect both cables from the motherboard by placing the tip of your spudger under the edge of the connector, and prying the connector straight up from its socket.

      Спросите у FixBot

      Добавить комментарий

    4. Garmin Vívoactive 4 Button Replacement: шаг 7, изображение 1 из 1
      • Remove the screen.

      Спросите у FixBot

      Добавить комментарий

    1. Garmin Vívoactive 4 Button Replacement, Motherboard: шаг 8, изображение 1 из 1
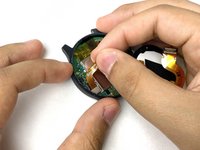
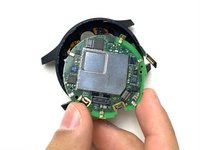
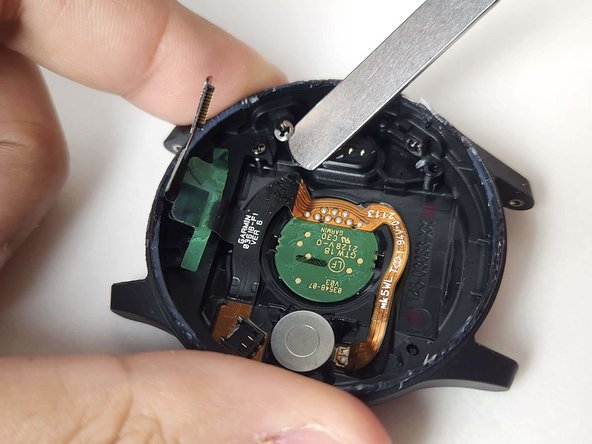
      • Carefully peel off the ribbon tape that is holding down the motherboard.

      Спросите у FixBot

      Добавить комментарий

    2. Garmin Vívoactive 4 Button Replacement: шаг 9, изображение 1 из 1
      • Place the tip of your spudger under the edge of the connector, and pry the connector straight up from its socket to disconnect the battery from the motherboard.

      • Do this carefully to avoid ripping the cable.

      Спросите у FixBot

      Добавить комментарий

    3. Garmin Vívoactive 4 Button Replacement: шаг 10, изображение 1 из 3 Garmin Vívoactive 4 Button Replacement: шаг 10, изображение 2 из 3 Garmin Vívoactive 4 Button Replacement: шаг 10, изображение 3 из 3
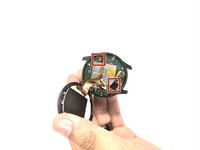
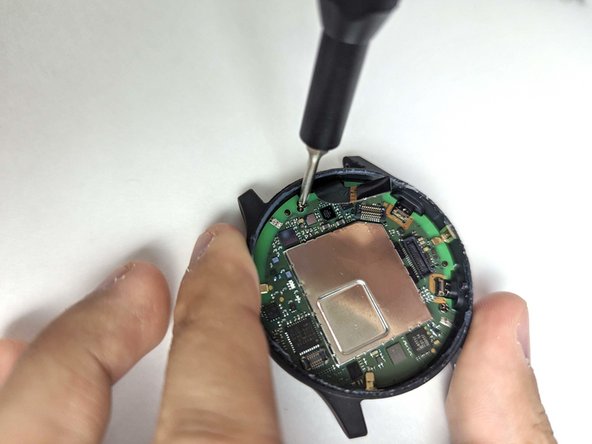
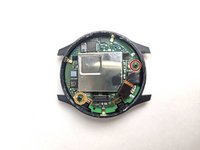
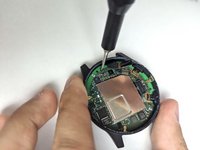
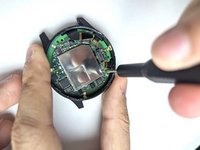
      • Use a Phillips #00 screwdriver to remove the 3.2 mm screw on the motherboard.

      • Use a Phillips #00 screwdriver to remove the 4.8 mm screw on the motherboard.

      Спросите у FixBot

      Добавить комментарий

    4. Garmin Vívoactive 4 Button Replacement: шаг 11, изображение 1 из 3 Garmin Vívoactive 4 Button Replacement: шаг 11, изображение 2 из 3 Garmin Vívoactive 4 Button Replacement: шаг 11, изображение 3 из 3
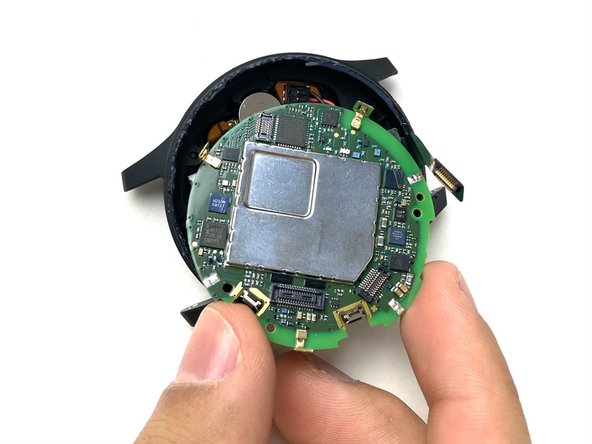
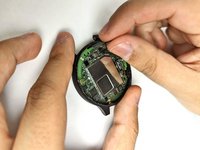
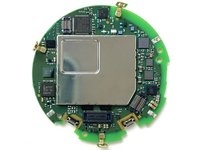
      • Pull the battery cable up to dislodge the motherboard.

      • Gently remove the motherboard from the socket.

      • The motherboard may get caught under the housing due to the clips on the edge.

      Спросите у FixBot

      Добавить комментарий

    1. Garmin Vívoactive 4 Button Replacement, Battery: шаг 12, изображение 1 из 2 Garmin Vívoactive 4 Button Replacement, Battery: шаг 12, изображение 2 из 2
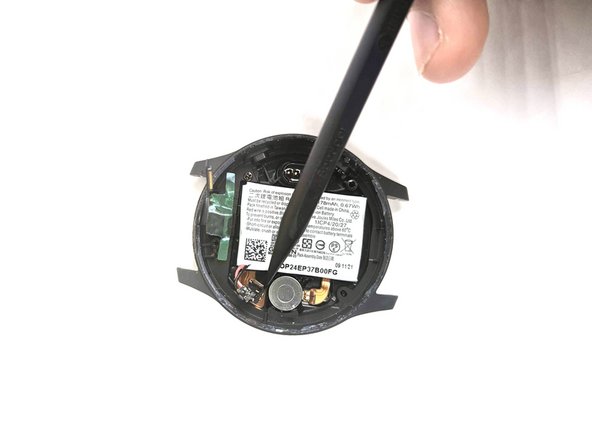
      • Use the pointed tip of a spudger to carefully push on each side of the battery connector to disconnect the battery from the motherboard.

      Спросите у FixBot

      Добавить комментарий

    2. Garmin Vívoactive 4 Button Replacement: шаг 13, изображение 1 из 3 Garmin Vívoactive 4 Button Replacement: шаг 13, изображение 2 из 3 Garmin Vívoactive 4 Button Replacement: шаг 13, изображение 3 из 3
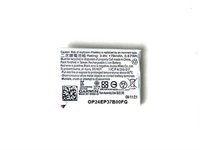
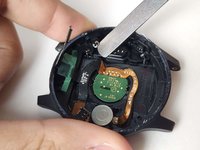
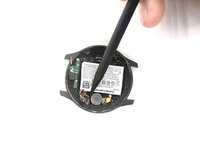
      • Use a spudger to pry the battery from the case.

      • Be careful not to damage any surrounding components.

      • There is an adhesive holding the battery down. Use an iOpener if it is too difficult to remove the battery with the spudger alone.

      Спросите у FixBot

      Добавить комментарий

    1. Garmin Vívoactive 4 Button Replacement, Button: шаг 14, изображение 1 из 3 Garmin Vívoactive 4 Button Replacement, Button: шаг 14, изображение 2 из 3 Garmin Vívoactive 4 Button Replacement, Button: шаг 14, изображение 3 из 3
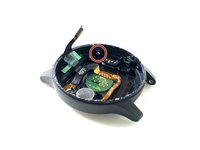
      • Wedge a spudger or your iFixit Jimmy in between the button's snap ring and the watch housing.

      • Carefully pry the snap ring off the button.

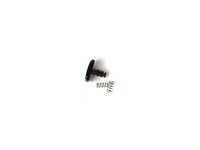
      • Remove the button and components from the watch housing.

      Спросите у FixBot

      Добавить комментарий

Заключение

To reassemble your device, follow these instructions in reverse order.

Отменить: Я не выполнил это руководство.

Bryan Chavez

Участник с: 11/01/23

380 Репутация

Автор 4 руководств

Команда

UMass Dartmouth, Team 1-3, Petersen Fall 2023 Участник UMass Dartmouth, Team 1-3, Petersen Fall 2023

UMASSD-PETERSEN-F23S1G3

4 членов

Автор 22 руководств

0 Комментарии к руководству

Добавить комментарий

Статистика просмотров:

За последние 24 часов: 0

За последние 7 дней: 5

За последние 30 дней: 33

За всё время: 1,082