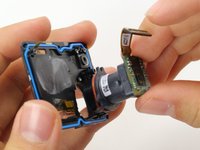
Перейти к основному содержанию
Присоединяйся к сообществу ремонтников - Создай аккаунт

GoPro Hero5 Black Lens Assembly Replacement

Выберете то, что вам нужно

    1. GoPro Hero5 Black Lens Assembly Replacement, Battery: шаг 1, изображение 1 из 3 GoPro Hero5 Black Lens Assembly Replacement, Battery: шаг 1, изображение 2 из 3 GoPro Hero5 Black Lens Assembly Replacement, Battery: шаг 1, изображение 3 из 3
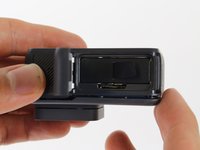
      • While pressing the button on the bottom of the GoPro, slide the battery door to the side to pop it open.

      Спросите у FixBot

      Добавить комментарий

    2. GoPro Hero5 Black Lens Assembly Replacement: шаг 2, изображение 1 из 3 GoPro Hero5 Black Lens Assembly Replacement: шаг 2, изображение 2 из 3 GoPro Hero5 Black Lens Assembly Replacement: шаг 2, изображение 3 из 3
      • Grab the plastic flap on the battery and pull the battery out.

      Спросите у FixBot

      Добавить комментарий

    1. GoPro Hero5 Black Lens Assembly Replacement, Back Housing: шаг 3, изображение 1 из 2 GoPro Hero5 Black Lens Assembly Replacement, Back Housing: шаг 3, изображение 2 из 2
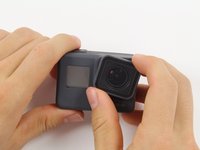
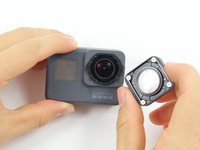
      • Pull and twist the lens cover right or left until it pops off.

      • The lens cover is secured tightly and might be difficult to twist off.

      Спросите у FixBot

      Добавить комментарий

    2. GoPro Hero5 Black Lens Assembly Replacement: шаг 4, изображение 1 из 1
      • This step is not necessary but will make the process of removing the faceplate much easier.

      • Refer to the iOpener instructions for how to heat up and use the iOpener.

      • Apply the heated iOpener to the front of the GoPro for a few minutes to melt the adhesive under the faceplate.

      • The heated iOpener is very hot and can burn your hands. Avoid burns by using towels or gloves to hold the iOpener.

      Спросите у FixBot

      Добавить комментарий

    3. GoPro Hero5 Black Lens Assembly Replacement: шаг 5, изображение 1 из 3 GoPro Hero5 Black Lens Assembly Replacement: шаг 5, изображение 2 из 3 GoPro Hero5 Black Lens Assembly Replacement: шаг 5, изображение 3 из 3
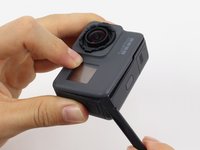
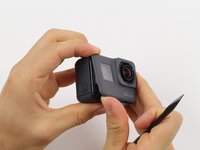
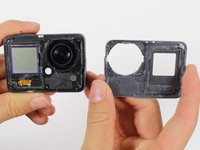
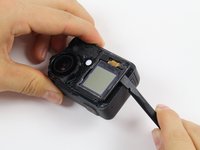
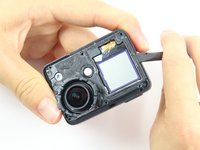
      • Starting with the edges, use the spudger to pry off the faceplate.

      • The faceplate is held down with adhesive and may take a while to get off.

      Спросите у FixBot

      Добавить комментарий

    4. GoPro Hero5 Black Lens Assembly Replacement: шаг 6, изображение 1 из 2 GoPro Hero5 Black Lens Assembly Replacement: шаг 6, изображение 2 из 2
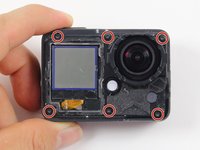
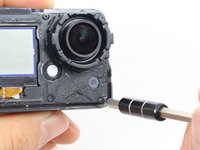
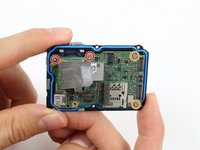
      • Remove the six T3 Torx screws.

      Спросите у FixBot

      Добавить комментарий

    5. GoPro Hero5 Black Lens Assembly Replacement: шаг 7, изображение 1 из 3 GoPro Hero5 Black Lens Assembly Replacement: шаг 7, изображение 2 из 3 GoPro Hero5 Black Lens Assembly Replacement: шаг 7, изображение 3 из 3
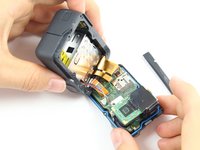
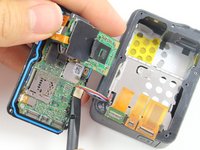
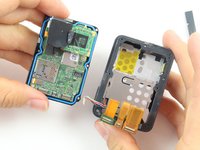
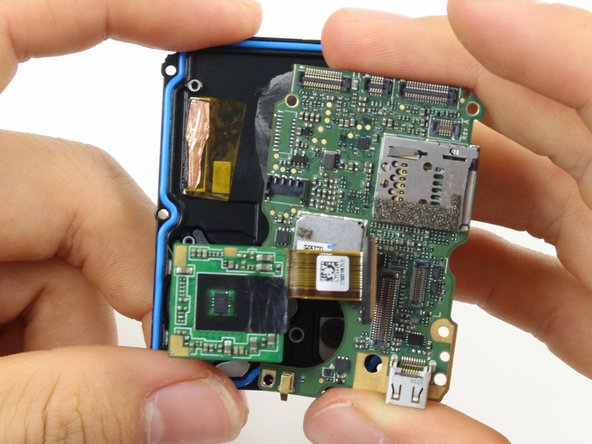
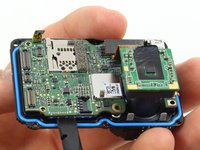
      • Be careful when pulling open the motherboard assembly as it is still connected to the back housing by four cables. The cables may break if stretched.

      • Using the spudger, slowly pry open the motherboard assembly from the LCD side of the GoPro.

      Спросите у FixBot

      Добавить комментарий

    6. GoPro Hero5 Black Lens Assembly Replacement: шаг 8, изображение 1 из 3 GoPro Hero5 Black Lens Assembly Replacement: шаг 8, изображение 2 из 3 GoPro Hero5 Black Lens Assembly Replacement: шаг 8, изображение 3 из 3
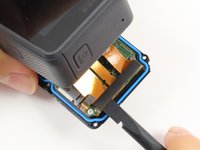
      • Use the flat end of a spudger to pry the three ribbon cables connected to the side of the motherboard.

      Спросите у FixBot

      Добавить комментарий

    7. GoPro Hero5 Black Lens Assembly Replacement: шаг 9, изображение 1 из 2 GoPro Hero5 Black Lens Assembly Replacement: шаг 9, изображение 2 из 2
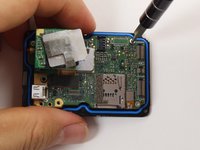
      • Use the flat end of the spudger to pry the battery housing power cable straight up from its socket on the motherboard.

      Спросите у FixBot

      Добавить комментарий

    1. GoPro Hero5 Black Lens Assembly Replacement, Motherboard: шаг 10, изображение 1 из 1
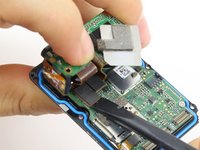
      • Use the flat end of the spudger to pry the black cover plate straight up from its socket on the motherboard.

      Спросите у FixBot

      Добавить комментарий

    2. GoPro Hero5 Black Lens Assembly Replacement: шаг 11, изображение 1 из 1
      Инструмент, используемый на этом этапе:
      Tweezers
      $4.99
      • Use the tweezers to pull the ribbon cable connector out of its white socket on the charging assembly board.

      Спросите у FixBot

      Добавить комментарий

    3. GoPro Hero5 Black Lens Assembly Replacement: шаг 12, изображение 1 из 2 GoPro Hero5 Black Lens Assembly Replacement: шаг 12, изображение 2 из 2
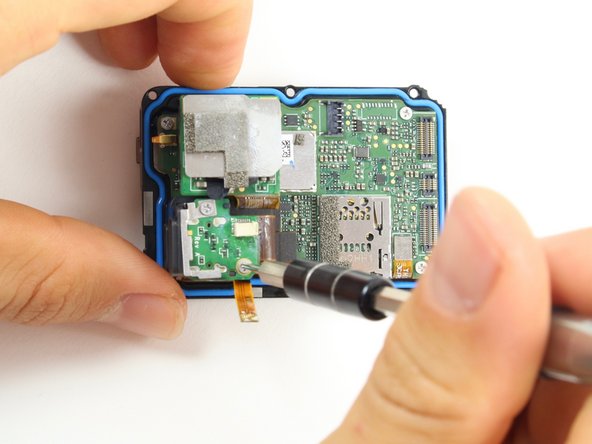
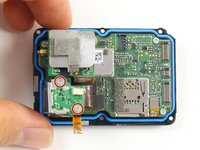
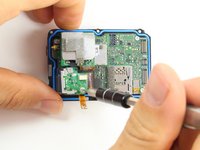
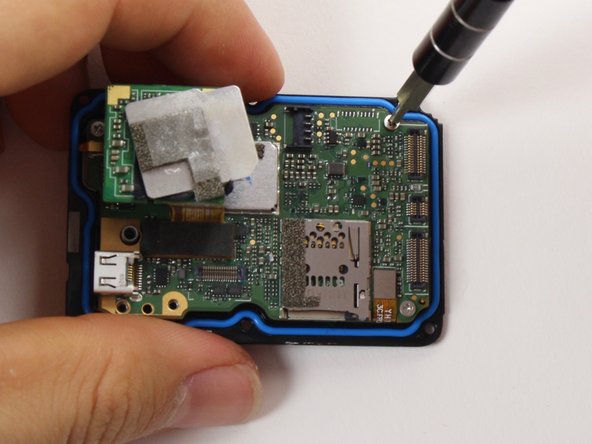
      • Remove the two #000 Phillips screw.

      Спросите у FixBot

      Добавить комментарий

    4. GoPro Hero5 Black Lens Assembly Replacement: шаг 13, изображение 1 из 2 GoPro Hero5 Black Lens Assembly Replacement: шаг 13, изображение 2 из 2
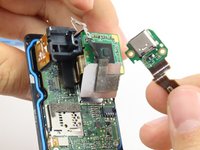
      • Use the flat end of the spudger to pry the charging port ribbon cable connector straight up from its socket on the motherboard.

      • Once the ribbon cable is disconnected from the motherboard. The charging port assembly should come right off.

      Спросите у FixBot

      Добавить комментарий

    5. GoPro Hero5 Black Lens Assembly Replacement: шаг 14, изображение 1 из 2 GoPro Hero5 Black Lens Assembly Replacement: шаг 14, изображение 2 из 2
      • Remove the 10mm #000 Phillips screw.

      Спросите у FixBot

      Добавить комментарий

    6. GoPro Hero5 Black Lens Assembly Replacement: шаг 15, изображение 1 из 1
      • Remove the charging assembly housing by pulling it straight up off the motherboard.

      Спросите у FixBot

      Добавить комментарий

    7. GoPro Hero5 Black Lens Assembly Replacement: шаг 16, изображение 1 из 2 GoPro Hero5 Black Lens Assembly Replacement: шаг 16, изображение 2 из 2
      • Remove the two 6mm #000 Phillips screws.

      • Remove the two 2mm #000 Phillips screws.

      Спросите у FixBot

      Добавить комментарий

    8. GoPro Hero5 Black Lens Assembly Replacement: шаг 17, изображение 1 из 1
      • Use the flat end of the spudger to pry the lens assembly ribbon cable connector straight up from its socket on the motherboard.

      Спросите у FixBot

      Добавить комментарий

    9. GoPro Hero5 Black Lens Assembly Replacement: шаг 18, изображение 1 из 1
      • Use the flat end of the spudger to pry the LCD screen ribbon cable connector straight up from its socket on the motherboard.

      Спросите у FixBot

      Добавить комментарий

    10. GoPro Hero5 Black Lens Assembly Replacement: шаг 19, изображение 1 из 3 GoPro Hero5 Black Lens Assembly Replacement: шаг 19, изображение 2 из 3 GoPro Hero5 Black Lens Assembly Replacement: шаг 19, изображение 3 из 3
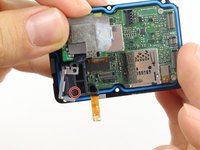
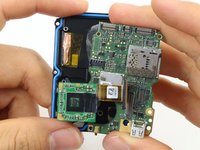
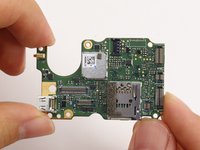
      • Use the flat end of the spudger to pry the motherboard off the midframe.

      • The motherboard is held onto the midframe with light adhesive and should come right off with a little force.

      Спросите у FixBot

      Добавить комментарий

    1. GoPro Hero5 Black Lens Assembly Replacement, Lens Assembly: шаг 20, изображение 1 из 2 GoPro Hero5 Black Lens Assembly Replacement, Lens Assembly: шаг 20, изображение 2 из 2
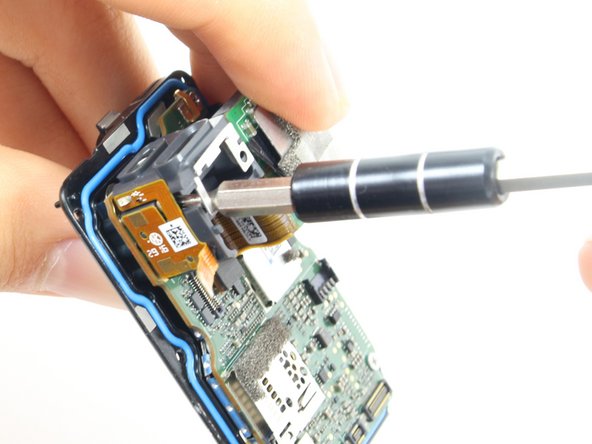
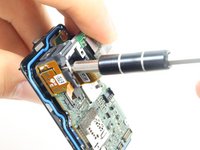
      • Remove the 2mm #000 Phillips screws using a #000 Phillips head screwdriver or tool bit.

      Спросите у FixBot

      Добавить комментарий

    2. GoPro Hero5 Black Lens Assembly Replacement: шаг 21, изображение 1 из 2 GoPro Hero5 Black Lens Assembly Replacement: шаг 21, изображение 2 из 2
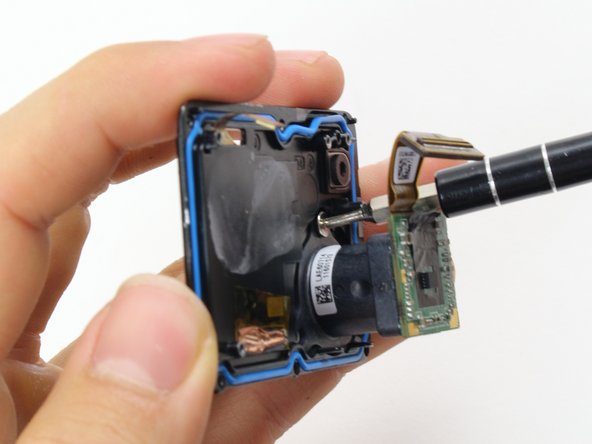
      • Pull the lens assembly straight out from the Midframe.

      Спросите у FixBot

      Добавить комментарий

Заключение

To reassemble your device, follow these instructions in reverse order.

Отменить: Я не выполнил это руководство.

16 человек успешно провели ремонт по этому руководству.

Christopher Adams

Участник с: 10/03/16

2 133 Репутация

Автор 5 руководств

Команда

Cal Poly, Team 18-6, Forte Fall 2016 Участник Cal Poly, Team 18-6, Forte Fall 2016

CPSU-FORTE-F16S18G6

4 членов

Автор 47 руководств

7 Комментарии к руководству

RageCams has interchangeable lens mod for hero5

http://ragecams.com/shop/modified-gopro-...

dennis - Ответить Поделиться
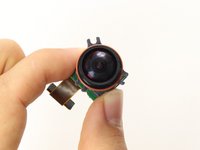
why can't You show how the lens is mount to that assembly? That's the point of it... can we change lenses that way or not?

Polina Luzenco - Ответить Поделиться
Exactly. Can the actual lens be unscrewed from the mount or it glued / fixed?

contact - Ответить Поделиться

The lens is heavily glued onto the assembly. It would be far easier to replace the entire assembly than trying to remove that glue.

Christopher Adams - Ответить Поделиться

the guy who wrote the guide apparently has never heard of pliers. it comes right out, but no idea what the threading is.

mattatron4 - Ответить Поделиться

Добавить комментарий

Статистика просмотров:

За последние 24 часов: 0

За последние 7 дней: 12

За последние 30 дней: 72

За всё время: 17,932