Перейти к основному содержанию
Присоединяйся к сообществу ремонтников - Создай аккаунт

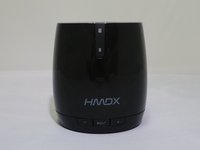
HMDX Chill Charging Port Replacement

Выберете то, что вам нужно

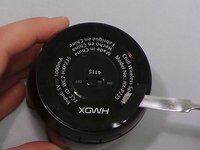
    1. HMDX Chill Charging Port Replacement, Remove Rubber Base: шаг 1, изображение 1 из 3 HMDX Chill Charging Port Replacement, Remove Rubber Base: шаг 1, изображение 2 из 3 HMDX Chill Charging Port Replacement, Remove Rubber Base: шаг 1, изображение 3 из 3
      • Insert a metal spudger under the rubber base.

      • Pry the rubber base off.

      Спросите у FixBot

      Добавить комментарий

    2. HMDX Chill Charging Port Replacement: шаг 2, изображение 1 из 1
      • Use a Phillips #1 screwdriver to remove four 9 mm screws from the base of the device.

      Спросите у FixBot

      Добавить комментарий

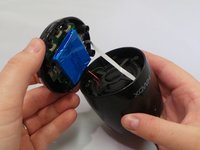
    3. HMDX Chill Charging Port Replacement: шаг 3, изображение 1 из 2 HMDX Chill Charging Port Replacement: шаг 3, изображение 2 из 2
      • Grip the base of the HMDX Chill.

      • Pull the base upwards.

      Спросите у FixBot

      Добавить комментарий

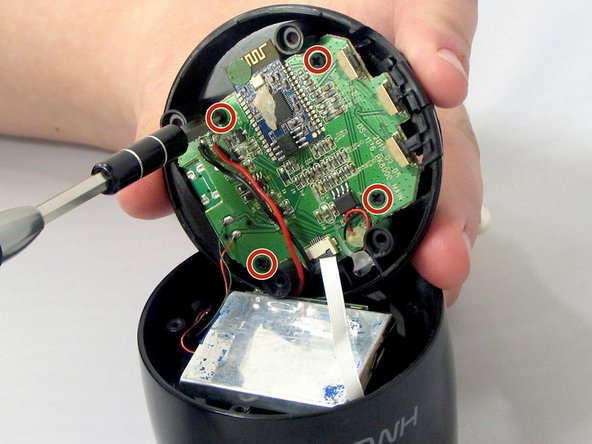
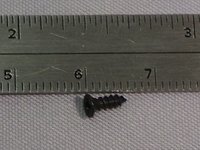
    1. HMDX Chill Charging Port Replacement, Motherboard: шаг 4, изображение 1 из 3 HMDX Chill Charging Port Replacement, Motherboard: шаг 4, изображение 2 из 3 HMDX Chill Charging Port Replacement, Motherboard: шаг 4, изображение 3 из 3
      • Use a Phillips #1 screwdriver to remove the four 6 mm screws that secure the motherboard to the base of the device.

      Спросите у FixBot

      Добавить комментарий

    2. HMDX Chill Charging Port Replacement: шаг 5, изображение 1 из 1
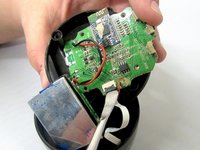
      • Pull the motherboard away from the base gently.

      • Do not pull too hard on the motherboard. It is still attached to the base by wires.

      Спросите у FixBot

      Добавить комментарий

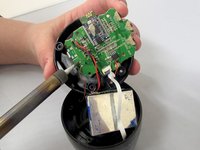
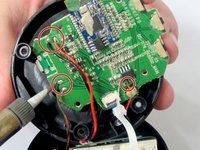
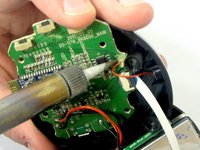
    3. HMDX Chill Charging Port Replacement: шаг 6, изображение 1 из 3 HMDX Chill Charging Port Replacement: шаг 6, изображение 2 из 3 HMDX Chill Charging Port Replacement: шаг 6, изображение 3 из 3
      • Use a soldering iron to desolder the wires connecting the motherboard to the case.

      Спросите у FixBot

      Добавить комментарий

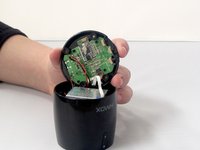
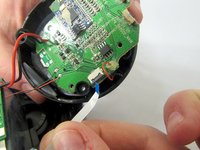
    4. HMDX Chill Charging Port Replacement: шаг 7, изображение 1 из 2 HMDX Chill Charging Port Replacement: шаг 7, изображение 2 из 2
      • Insert the spudger between the case and the wire and move the spudger upwards.

      • This will cause the case to prop open.

      • The wire behind the motherboard will now be visible. Pull this out from behind.

      Спросите у FixBot

      Добавить комментарий

    5. HMDX Chill Charging Port Replacement: шаг 8, изображение 1 из 1
      • Use the soldering iron to desolder the wires connecting the motherboard to the base of the HMDX Chill.

      Спросите у FixBot

      Добавить комментарий

    1. HMDX Chill Charging Port Replacement, Desolder the Charging Port: шаг 9, изображение 1 из 2 HMDX Chill Charging Port Replacement, Desolder the Charging Port: шаг 9, изображение 2 из 2
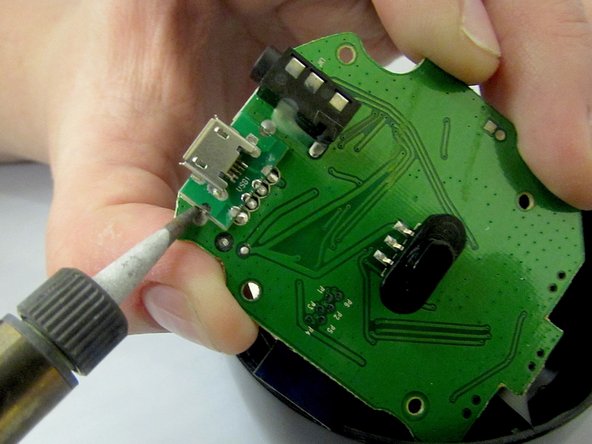
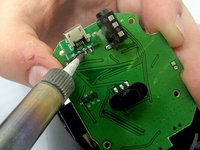
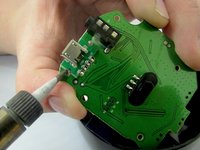
      • Using a soldering tool, desolder the charging port from the motherboard.

      Спросите у FixBot

      Добавить комментарий

Заключение

To reassemble your device, follow these instructions in reverse order.

Отменить: Я не выполнил это руководство.

Jourdan Holubasch

Участник с: 03/31/16

759 Репутация

Автор 7 руководств

Команда

EWU-Giguere-S16S1G1 Участник EWU-Giguere-S16S1G1

Community

4 членов

Автор 14 руководств

1 Комментарий к руководству

I have the charging port removed. Where do I find a replacement??

Aaron Hughes - Ответить Поделиться

Добавить комментарий

Статистика просмотров:

За последние 24 часов: 2

За последние 7 дней: 5

За последние 30 дней: 24

За всё время: 771