Перейти к основному содержанию
Присоединяйся к сообществу ремонтников - Создай аккаунт

HP Compaq Pro 6300 RAM Replacement

  1. HP Compaq Pro 6300 RAM Replacement, RAM: шаг 1, изображение 1 из 2 HP Compaq Pro 6300 RAM Replacement, RAM: шаг 1, изображение 2 из 2
    • Grab the handle and pull, then lift the cover off.

    • Make sure the power cord and other connectors are disconnected before beginning. You should also drain any residual power by pushing the power button after the computer is unplugged.

    Спросите у FixBot
  2. HP Compaq Pro 6300 RAM Replacement: шаг 2, изображение 1 из 3 HP Compaq Pro 6300 RAM Replacement: шаг 2, изображение 2 из 3 HP Compaq Pro 6300 RAM Replacement: шаг 2, изображение 3 из 3
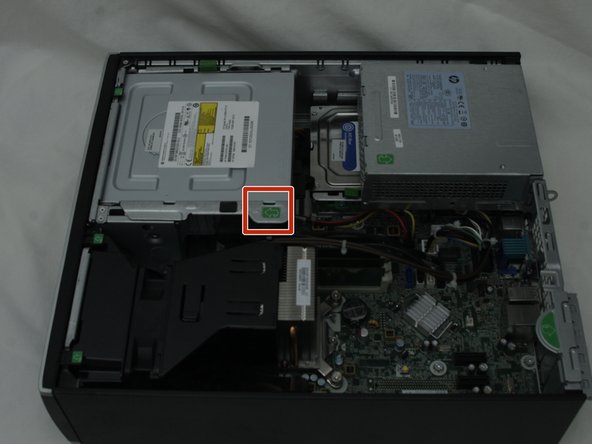
    • Grab the tab and pull up the DVD drive to access the RAM.

    Спросите у FixBot
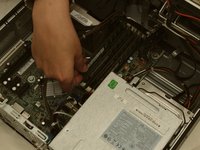
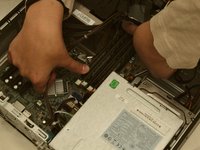
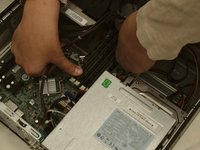
  3. HP Compaq Pro 6300 RAM Replacement: шаг 3, изображение 1 из 3 HP Compaq Pro 6300 RAM Replacement: шаг 3, изображение 2 из 3 HP Compaq Pro 6300 RAM Replacement: шаг 3, изображение 3 из 3
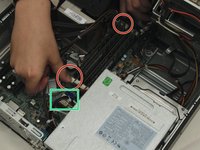
    • Put your thumbs on the two tabs surrounding the RAM sticks and push down.

    • This requires a lot of pressure, so don't be afraid to give it some force.

    • If you need more room, you can unplug the SATA cables that connect the hard drive and DVD drive to the computer- just make sure you plug them back in when you finish.

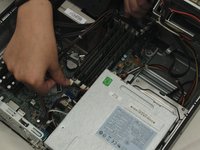
    • Pull the module out by the top or the sides. Take care not to touch the delicate pins at the bottom and the chips on the surface.

    • You may have a different number of modules depending on your configuration. If you have one or more empty slot, you can skip to step 4.

    Спросите у FixBot
  4. HP Compaq Pro 6300 RAM Replacement: шаг 4, изображение 1 из 3 HP Compaq Pro 6300 RAM Replacement: шаг 4, изображение 2 из 3 HP Compaq Pro 6300 RAM Replacement: шаг 4, изображение 3 из 3
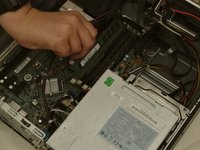
    • Insert the new module, lining the notch on the module with the notch in the slot.

    • Push down on the module until you hear both tabs lock into the notches.

    • This requires a great deal of pressure, so after you've checked that the notch on the bottom is lined up correctly, don't be afraid to push hard.

    Спросите у FixBot
Заключение

To reassemble your device, follow these instructions in reverse order.

907fixer

Участник с: 05/23/23

612 Репутация

1 руководство автора

0 Комментарии к руководству

Добавить комментарий

Статистика просмотров:

За последние 24 часов: 0

За последние 7 дней: 9

За последние 30 дней: 49

За всё время: 593