Введение
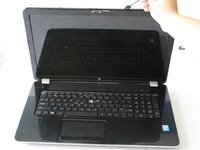
This guide will show how to replace the screen on your HP Pavilion 17-e146us. A working laptop screen is necessary to use a HP Pavilion 17-e146u and replacing the screen will ensure its continued use.
Replacing the screen could cause damage to the motherboard, so remove with caution. For more information on the causes of a faulty screen, please see our troubleshooting page.
Выберете то, что вам нужно
-
-
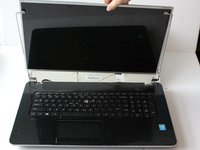
Open the laptop.
-
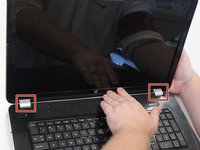
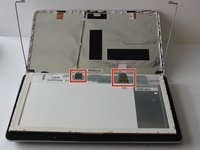
Remove the two stickers on the lower left and right-hand corner of the laptop screen.
 Спросите у FixBot
-
-
-
Using a Phillips #0 screwdriver, remove the two 5 mm screws in the lower left and right-hand corner of the laptop screen.
-
-
-
-
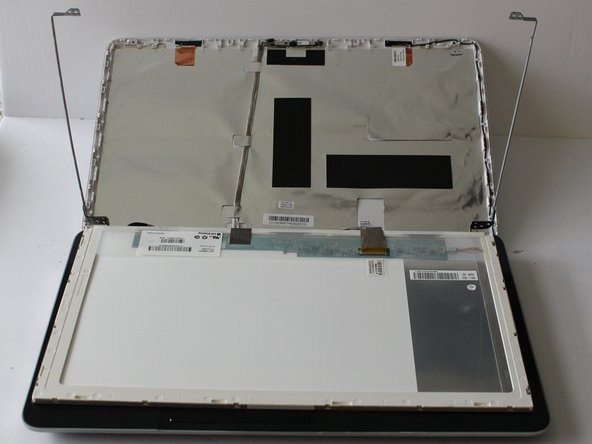
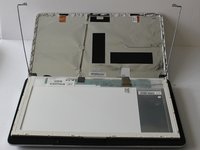
Place a spudger or opening tool between the laptop screen and the plastic laptop frame.
-
Apply light pressure to the spudger to separate the plastic laptop frame covering the edges of the laptop screen.
-
These silver pieces cover the laptop hinges and will need to be removed as well.
-
-
-
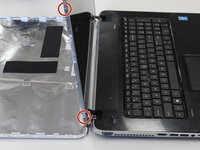
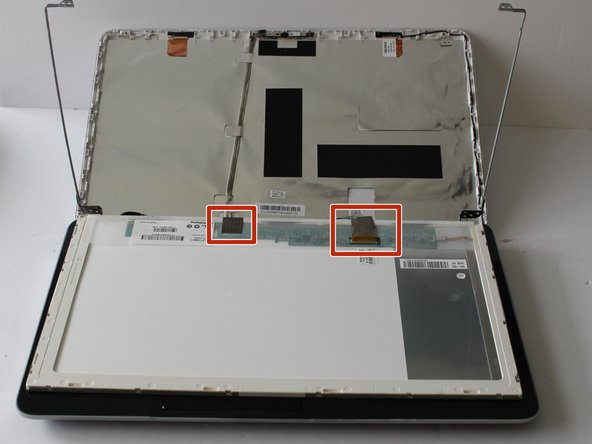
Using a Phillips #0 screwdriver, remove the four 4 mm screws in each corner of the laptop screen.
-
-
-
Using a Phillips #0 screwdriver, remove the four 3 mm screws on the side of the frame, one in each corner.
-


To reassemble your device, follow these instructions in reverse order.

Команда

University of Alabama, Team S2-G7, Bedsole Fall 2019 Участник University of Alabama, Team S2-G7, Bedsole Fall 2019
UA-BEDSOLE-F19S2G7
3 членов
Автор 5 руководств