Перейти к основному содержанию
Присоединяйся к сообществу ремонтников - Создай аккаунт

Huawei M750 Charging Port Replacement

Выберете то, что вам нужно

    1. Huawei M750 Charging Port Replacement, Battery: шаг 1, изображение 1 из 1
      • Depress the top of the battery cover, and pull downwards towards the base of the phone.

      Спросите у FixBot

      Добавить комментарий

    2. Huawei M750 Charging Port Replacement: шаг 2, изображение 1 из 1
      • Remove the battery by levering the battery out, using the cut just below the camera.

      Спросите у FixBot

      Добавить комментарий

    1. Huawei M750 Charging Port Replacement, Back Panel: шаг 3, изображение 1 из 1
      • Use the opening tool to start prying the camera and speaker cover, starting from the battery side.

      • Work the opening tool around the border of the camera and speaker cover, until it comes loose.

      Спросите у FixBot

      Добавить комментарий

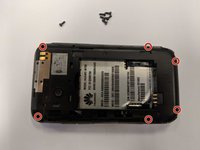
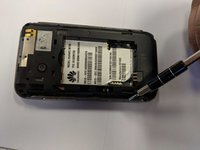
    2. Huawei M750 Charging Port Replacement: шаг 4, изображение 1 из 2 Huawei M750 Charging Port Replacement: шаг 4, изображение 2 из 2
      • Using the T5 Torx screwdriver, remove the six 6mm screws.

      Спросите у FixBot

      Добавить комментарий

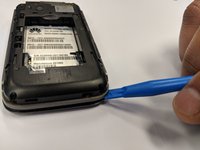
    3. Huawei M750 Charging Port Replacement: шаг 5, изображение 1 из 2 Huawei M750 Charging Port Replacement: шаг 5, изображение 2 из 2
      • Using the opening tool, pry the back panel from the front panel.

      • Work your way around the phone until the panels separate evenly.

      • This step may require a substantial amount of leverage.

      Спросите у FixBot

      Добавить комментарий

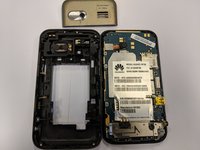
    1. Huawei M750 Charging Port Replacement, Charging Port: шаг 6, изображение 1 из 2 Huawei M750 Charging Port Replacement, Charging Port: шаг 6, изображение 2 из 2
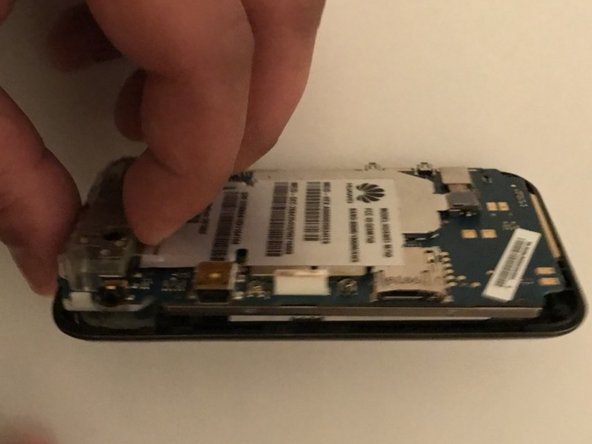
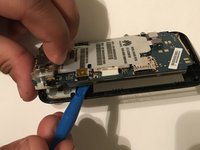
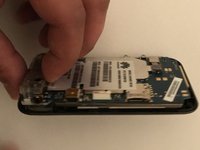
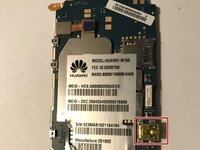
      • Using the opening tool, start prying out the motherboard from the front panel along the border.

      • When the motherboard seems separated from the front panel, pull it outwards.

      Спросите у FixBot

      Добавить комментарий

    2. Huawei M750 Charging Port Replacement: шаг 7, изображение 1 из 2 Huawei M750 Charging Port Replacement: шаг 7, изображение 2 из 2
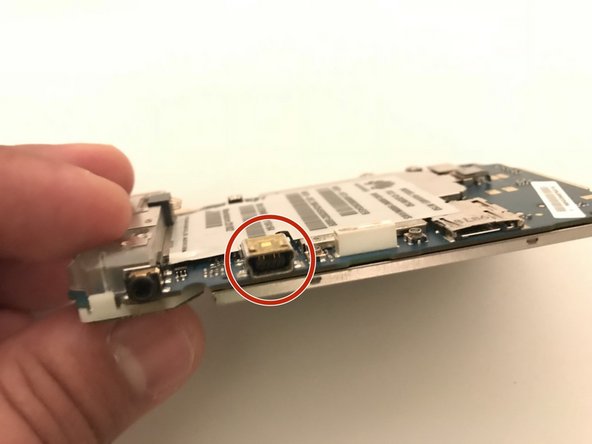
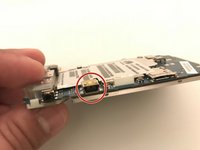
      • The charging port is soldered to the motherboard, use this guide to do the replacement.

      Спросите у FixBot

      Добавить комментарий

Заключение

To reassemble your device, follow these instructions in reverse order.

Отменить: Я не выполнил это руководство.

Еще один человек закончил это руководство.

Kshitiz Thapa

Участник с: 02/11/18

389 Репутация

Автор 3 руководств

Команда

University of North Texas, Team S1-G6, Thompson Spring 2018 Участник University of North Texas, Team S1-G6, Thompson Spring 2018

UNT-THOMPSON-S18S1G6

3 членов

Автор 45 руководств

0 Комментарии к руководству

Добавить комментарий

Статистика просмотров:

За последние 24 часов: 2

За последние 7 дней: 6

За последние 30 дней: 29

За всё время: 590