Перейти к основному содержанию
Присоединяйся к сообществу ремонтников - Создай аккаунт

Insignia NS-CLLT01 Button Replacement

Выберете то, что вам нужно

  1. Insignia NS-CLLT01 Button Replacement, Insignia NS-CLLT01 Top Casing Removal: шаг 1, изображение 1 из 2 Insignia NS-CLLT01 Button Replacement, Insignia NS-CLLT01 Top Casing Removal: шаг 1, изображение 2 из 2
    • Lift the four adhesive covers on each of the corners on the bottom of the clock using a plastic opening tool or your fingernail.

    Спросите у FixBot

    Добавить комментарий

  2. Insignia NS-CLLT01 Button Replacement: шаг 2, изображение 1 из 3 Insignia NS-CLLT01 Button Replacement: шаг 2, изображение 2 из 3 Insignia NS-CLLT01 Button Replacement: шаг 2, изображение 3 из 3
    • On the bottom of the clock, use your fingernail to push the battery cover to the right.

    • Lift the battery cover up and to the right to reveal the batteries.

    Спросите у FixBot

    Добавить комментарий

  3. Insignia NS-CLLT01 Button Replacement: шаг 3, изображение 1 из 1
    • Remove the two AA batteries by pressing the end opposite of the spring towards that spring and lifting up.

    • Once the batteries are removed, close the cover.

    Спросите у FixBot

    Добавить комментарий

  4. Insignia NS-CLLT01 Button Replacement: шаг 4, изображение 1 из 1
    • Use a long Phillips #2 screwdriver to unscrew all six 10mm Phillips screws inside the bottom of the clock.

    • Turn over the device to allow the screws to fall out, being careful to catch them so that you do not lose any.

    • The screws may not come out of the bottom of the clock. As long as you have unscrewed them, the clock can still be opened.

    Спросите у FixBot

    Добавить комментарий

  5. Insignia NS-CLLT01 Button Replacement: шаг 5, изображение 1 из 3 Insignia NS-CLLT01 Button Replacement: шаг 5, изображение 2 из 3 Insignia NS-CLLT01 Button Replacement: шаг 5, изображение 3 из 3
    • Turn the clock back over.

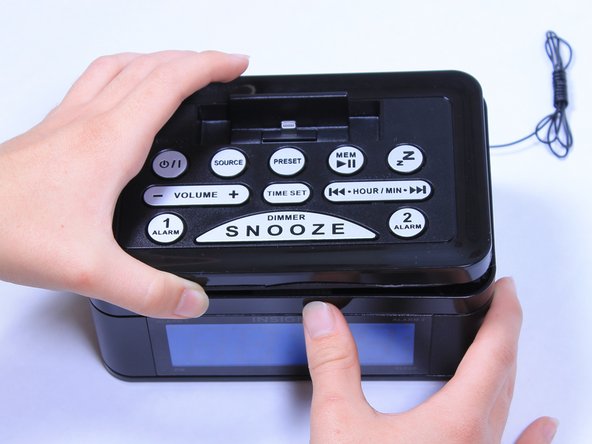
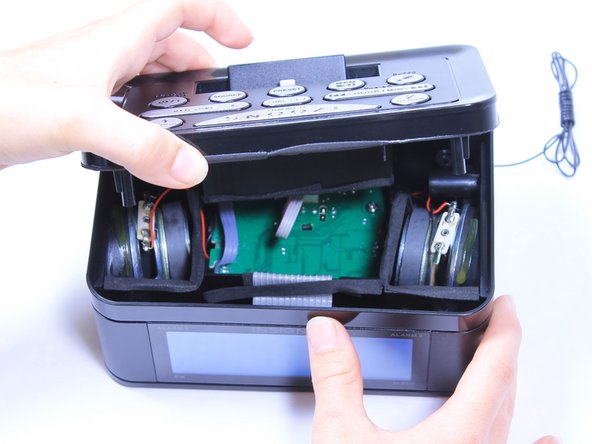
    • Lift the top off of the clock by gripping the back of the iPhone dock and pulling straight up.

    Спросите у FixBot

    Добавить комментарий

  6. Insignia NS-CLLT01 Button Replacement, Button: шаг 6, изображение 1 из 1
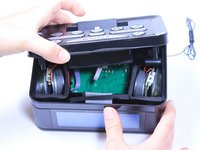
    • Using the Phillips #2 screwdriver, unscrew the seven 6mm Phillips screws on the circuit board that is attached to the top of the case.

    Спросите у FixBot

    Добавить комментарий

  7. Insignia NS-CLLT01 Button Replacement: шаг 7, изображение 1 из 1
    • Lift the circuit board from the device.

    Спросите у FixBot

    Добавить комментарий

  8. Insignia NS-CLLT01 Button Replacement: шаг 8, изображение 1 из 2 Insignia NS-CLLT01 Button Replacement: шаг 8, изображение 2 из 2
    Инструмент, используемый на этом этапе:
    Tweezers
    $4.99
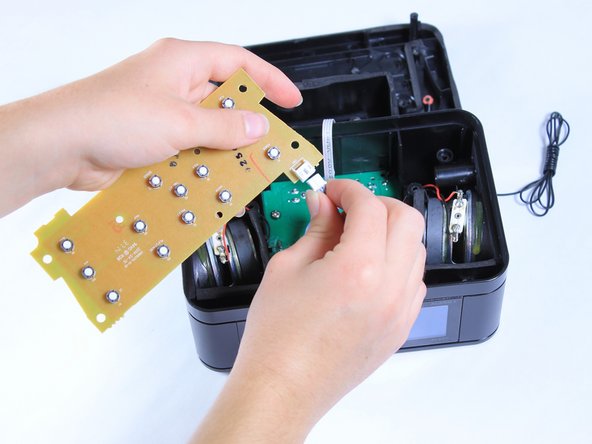
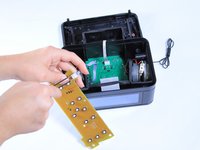
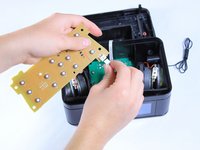
    • Detach the circuit board from the rest of the clock by gripping the sides of the white ribbon cable connector on the left-hand side of the board and pulling it straight off. You may need to use tweezers to grip the connector.

    Спросите у FixBot

    Добавить комментарий

  9. Insignia NS-CLLT01 Button Replacement: шаг 9, изображение 1 из 3 Insignia NS-CLLT01 Button Replacement: шаг 9, изображение 2 из 3 Insignia NS-CLLT01 Button Replacement: шаг 9, изображение 3 из 3
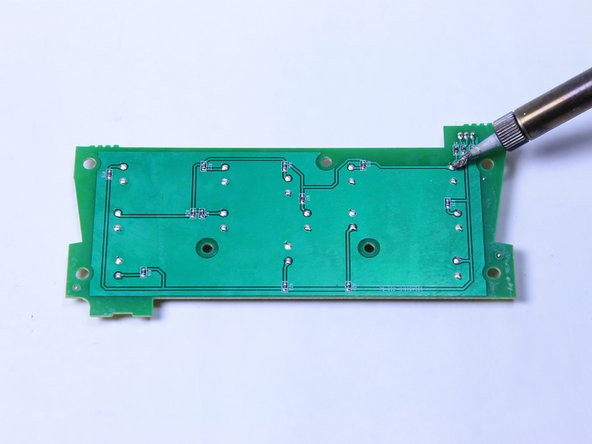
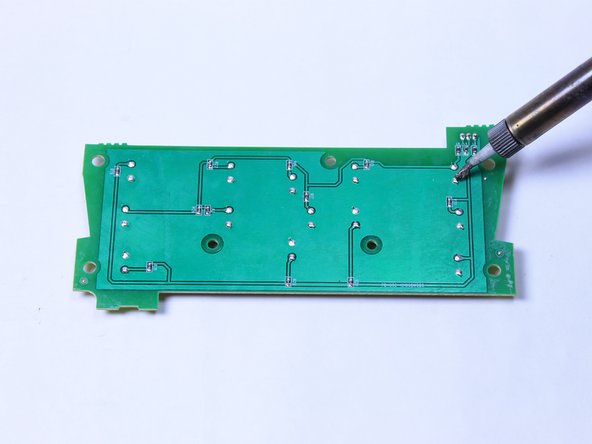
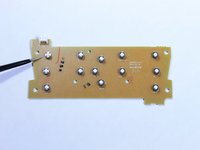
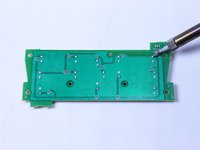
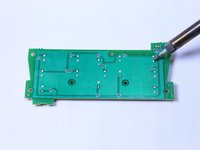
    • Use this soldering guide to remove and replace any buttons that were not working.

    • The buttons will be labeled on the top of the circuit board, and you will be working with the corresponding connections on the back.

    Спросите у FixBot

    Добавить комментарий

Заключение

To reassemble your device, follow these instructions in reverse order.

Отменить: Я не выполнил это руководство.

Preston Jackson

Участник с: 09/23/15

201 Репутация

Автор 2 руководств

Команда

Baylor, Team 6-9, Williams Fall 2015 Участник Baylor, Team 6-9, Williams Fall 2015

BU-WILLIAMS-F15S6G9

3 членов

Автор 6 руководств

0 Комментарии к руководству

Добавить комментарий

Статистика просмотров:

За последние 24 часов: 1

За последние 7 дней: 8

За последние 30 дней: 27

За всё время: 639