Введение
Is your screen frozen? Check out these troubleshooting steps if you have not already.
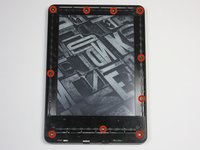
If you do in fact want to replace your LED circuit board, then you are in the right place.
It should be noted that this replacement will require you to take apart your entire Kindle, but this guide will help you every step of the way.
Выберете то, что вам нужно
-
-
-
At each corner, use the blue plastic opening tool to unhook and separate the front panel from the adhesive.
-
Run the tool along the seams to pry open the front panel.
 Спросите у FixBot
-
-
-
Peel the front panel off to remove it from the Kindle.
-
To prevent damaging the front panel, peel the panel from the corners towards the middle of the Kindle.
-
-
-
-
-
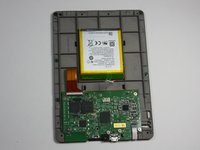
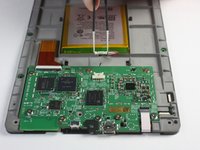
Working evenly along the corners and edges, separate the internal contents from the back panel.
-
-
-
Инструмент, используемый на этом этапе:Tweezers$4.99
-
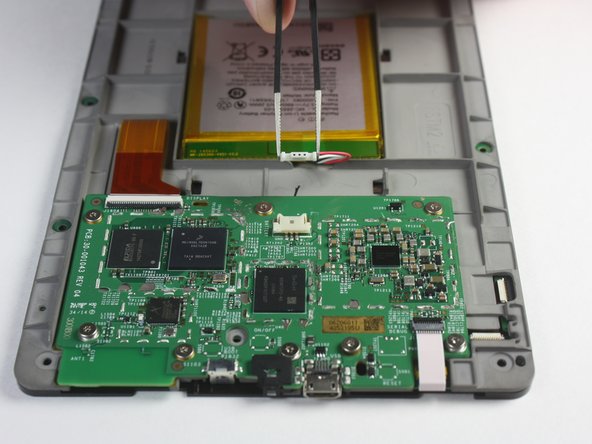
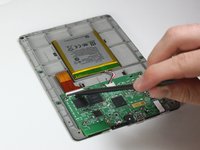
Flip the screen over to face the motherboard and battery pack.
-
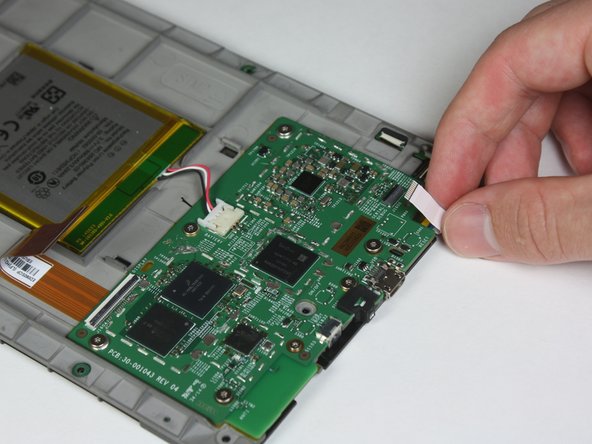
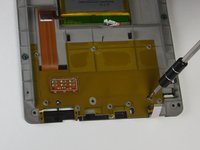
Use the blunted precision tweezers to gently unclip and detach the cable connecting the battery pack and motherboard.
-
-
-
-
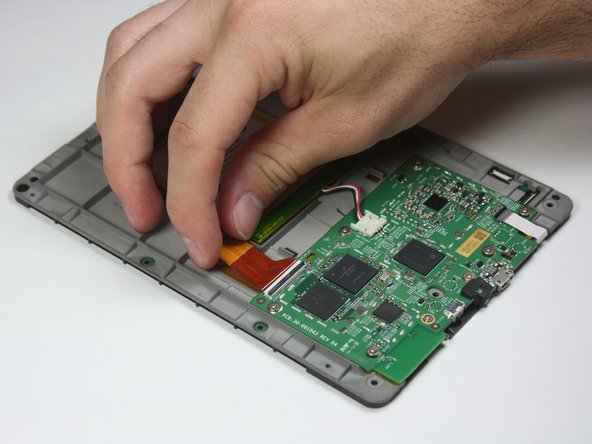
Use the tip of the spudger to flip up the small retaining flap on the copper colored zero insertion force (ZIF) connector.
-
Pull the cable from the connector.
-
-
-
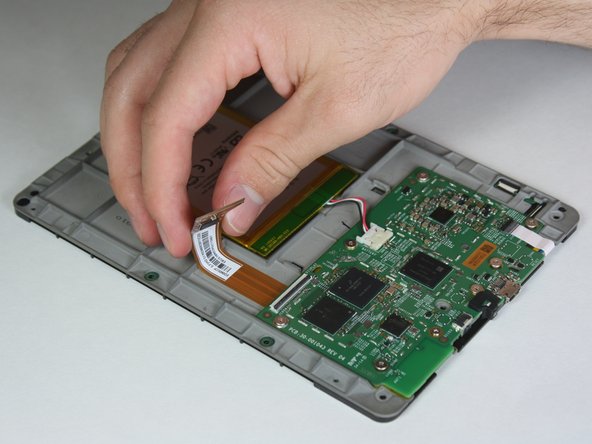
Similar to the previous step, flip up the retaining flap on the white cable connector.
-
Pull the white cable from the connection.
-
-
-
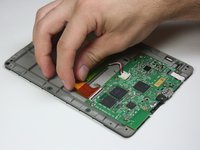
Disconnect the touch digitiser bridge cable by using your Spudger to lift up the white tabs on both connectors.
-
Use tweezers to pull out the cable.
-
The touch digitiser bridge cable is the one connecting between these two connectors.
-
-
-
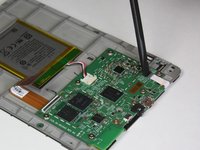
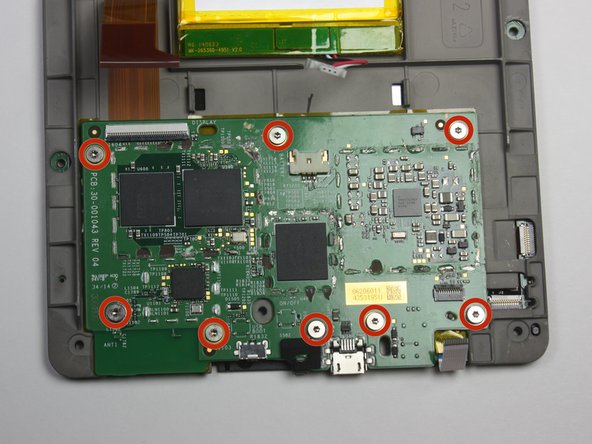
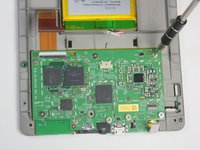
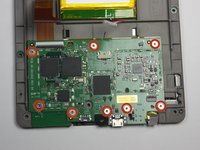
Use the T5 Torx screwdriver to remove the eight 3.0 mm Torx screws.
-
-
-
-
-
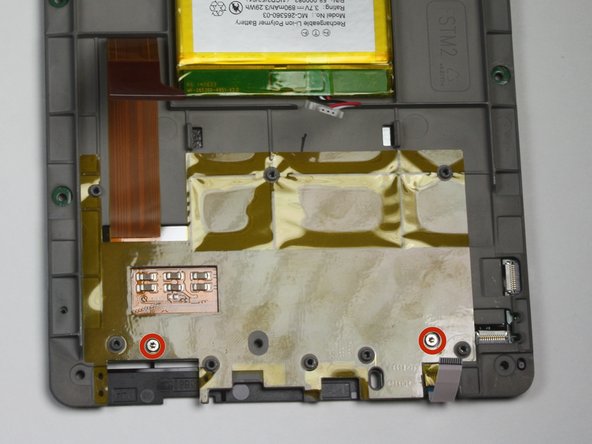
Remove the two 2.5 mm Torx screws using the T5 Torx screwdriver.
-
-
-
Run the plastic opening tool around the edge to separate the bezel from the adhesive.
-
-
-
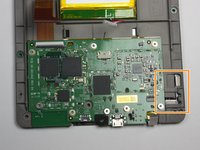
Flip the bezel over to view the circuit board.
-
Use the T5 Torx screwdriver to undo the six 2.0 mm screws holding the circuit board to the bezel.
-
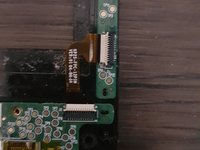
Remove the LED circuit board.
-
-


To reassemble your device, follow these instructions in reverse order.
Отменить: Я не выполнил это руководство.
2 человек успешно провели ремонт по этому руководству.
Команда

Cal Poly, Team 6-28, Amido Winter 2015 Участник Cal Poly, Team 6-28, Amido Winter 2015
CPSU-AMIDO-W15S6G28
4 членов
Автор 26 руководств
2 Комментарии к руководству
Where do you buy the replacement parts?
Same here I need a new circuit board ;(