Перейти к основному содержанию
Присоединяйся к сообществу ремонтников - Создай аккаунт

Kodak Easyshare C813 Shutter Button Replacement

Выберете то, что вам нужно

  1. Kodak Easyshare C813 Shutter Button Replacement, Battery: шаг 1, изображение 1 из 1
    • Turn off camera by firmly pressing the power button that is located on the top of the camera near the selector dial.

    Спросите у FixBot

    Добавить комментарий

  2. Kodak Easyshare C813 Shutter Button Replacement: шаг 2, изображение 1 из 3 Kodak Easyshare C813 Shutter Button Replacement: шаг 2, изображение 2 из 3 Kodak Easyshare C813 Shutter Button Replacement: шаг 2, изображение 3 из 3
    • Press thumb firmly on battery door and slide it in the direction of the arrow.

    • Lift thumb allowing the door to swing open.

    Спросите у FixBot

    Добавить комментарий

  3. Kodak Easyshare C813 Shutter Button Replacement, Back Cover: шаг 3, изображение 1 из 1
    Инструмент, используемый на этом этапе:
    Anti-Static Wrist Strap
    $7.95
    Спросите у FixBot

    Добавить комментарий

  4. Kodak Easyshare C813 Shutter Button Replacement: шаг 4, изображение 1 из 1
    • Turn the camera off by firmly pressing the power button located on top of the camera.

    Спросите у FixBot

    Добавить комментарий

  5. Kodak Easyshare C813 Shutter Button Replacement: шаг 5, изображение 1 из 3 Kodak Easyshare C813 Shutter Button Replacement: шаг 5, изображение 2 из 3 Kodak Easyshare C813 Shutter Button Replacement: шаг 5, изображение 3 из 3
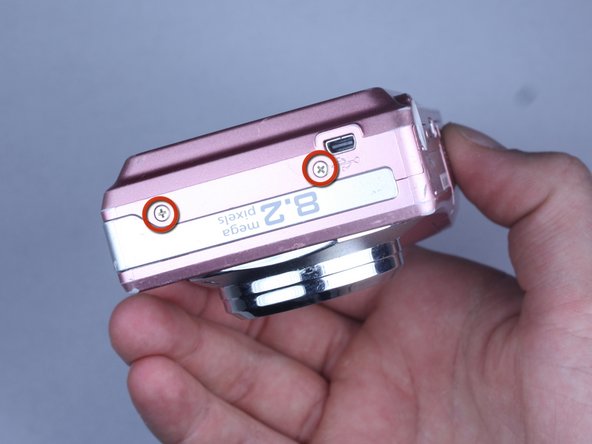
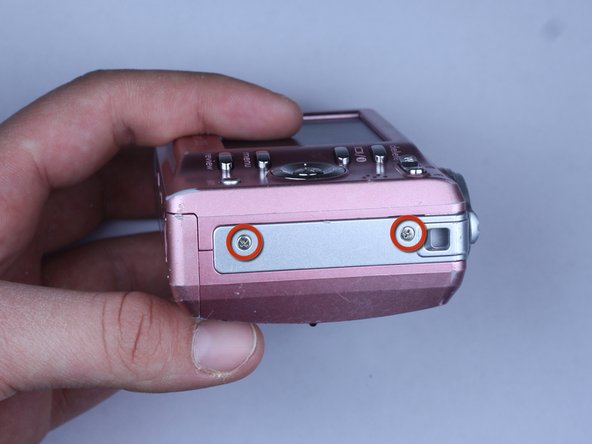
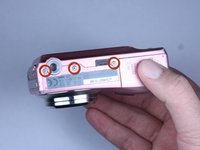
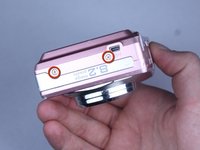
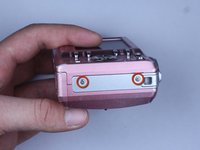
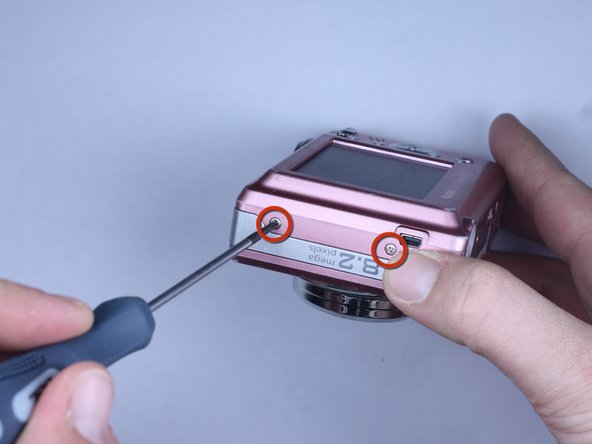
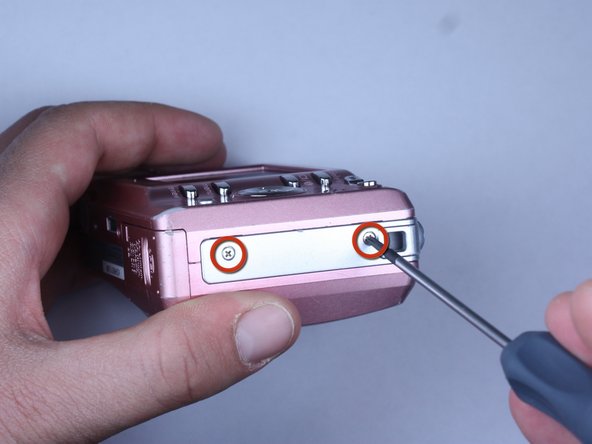
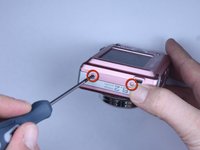
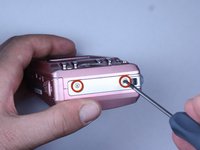
    • Locate the 7 screws holding the back cover on.

    • Three screws are located on the bottom of the camera.

    • Two screws are located on the side shown in the photograph.

    • Two final screws are located on the opposite side shown in the photograph.

    Спросите у FixBot

    Добавить комментарий

  6. Kodak Easyshare C813 Shutter Button Replacement: шаг 6, изображение 1 из 3 Kodak Easyshare C813 Shutter Button Replacement: шаг 6, изображение 2 из 3 Kodak Easyshare C813 Shutter Button Replacement: шаг 6, изображение 3 из 3
    • Remove all 7 screws:

    • Hold the camera firmly with one hand so that you can still see a screw.

    • Place the Philips 00(Found here)screwdriver into the screw.

    • Turn the screwdriver to the left until it is free.

    • Repeat for the remaining screws.

    Спросите у FixBot

    Добавить комментарий

  7. Kodak Easyshare C813 Shutter Button Replacement: шаг 7, изображение 1 из 3 Kodak Easyshare C813 Shutter Button Replacement: шаг 7, изображение 2 из 3 Kodak Easyshare C813 Shutter Button Replacement: шаг 7, изображение 3 из 3
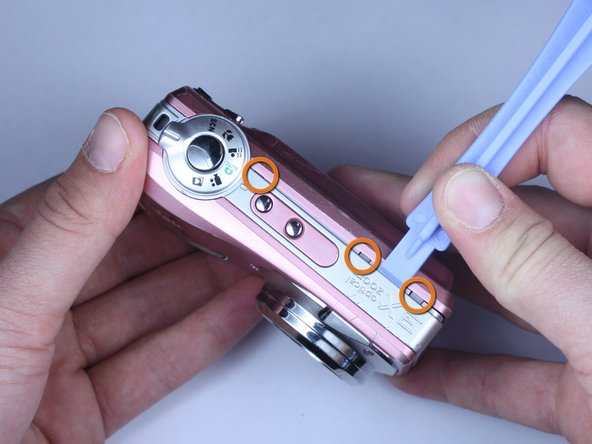
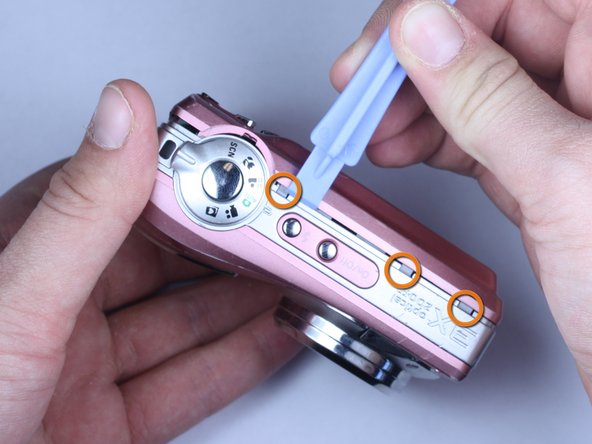
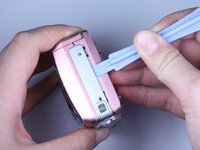
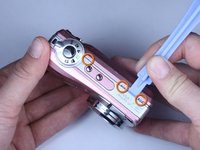
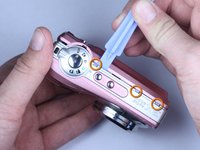
    • Use plastic opening tools to slightly open the side of the case.

    • Insert a plastic opening tool and apply pressure to the internal three tabs at the top.

    • The first two are near the words "3X Optical Zoom".

    • The third is near the shutter button.

    Спросите у FixBot

    Добавить комментарий

  8. Kodak Easyshare C813 Shutter Button Replacement: шаг 8, изображение 1 из 3 Kodak Easyshare C813 Shutter Button Replacement: шаг 8, изображение 2 из 3 Kodak Easyshare C813 Shutter Button Replacement: шаг 8, изображение 3 из 3
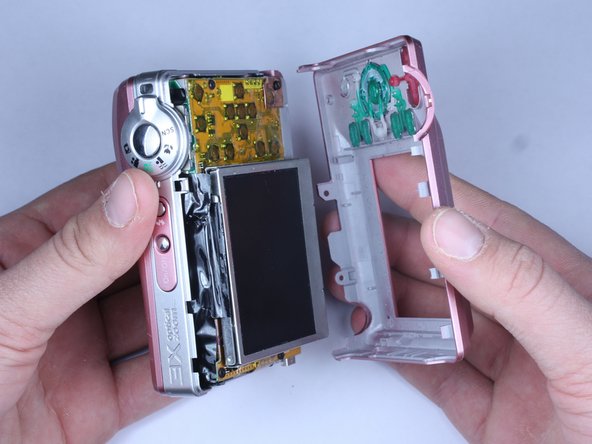
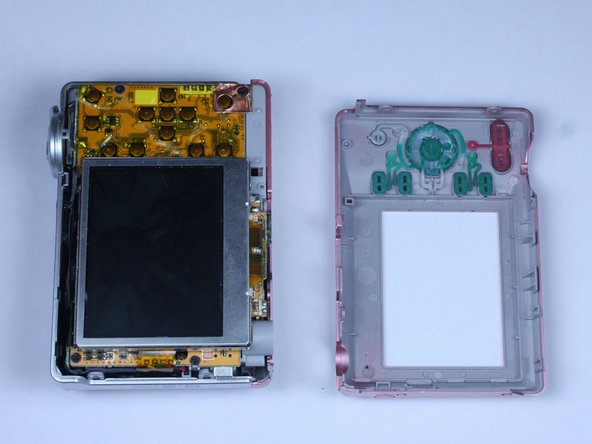
    • Gently pull apart the back cover from the rest of the camera.

    • Make sure there are no more screws or tabs keeping the cover on.

    • Use the plastic opening tool to separate any sides still closely connected.

    Спросите у FixBot

    Добавить комментарий

  9. Kodak Easyshare C813 Shutter Button Replacement, Front Cover: шаг 9, изображение 1 из 2 Kodak Easyshare C813 Shutter Button Replacement, Front Cover: шаг 9, изображение 2 из 2
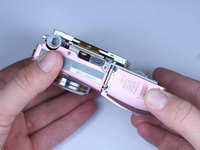
    • Open the battery door.

    • Press thumb firmly on battery door and slide it in the direction of the arrow.

    • Lift thumb allowing the door to swing open.

    Спросите у FixBot

    Добавить комментарий

  10. Kodak Easyshare C813 Shutter Button Replacement: шаг 10, изображение 1 из 3 Kodak Easyshare C813 Shutter Button Replacement: шаг 10, изображение 2 из 3 Kodak Easyshare C813 Shutter Button Replacement: шаг 10, изображение 3 из 3
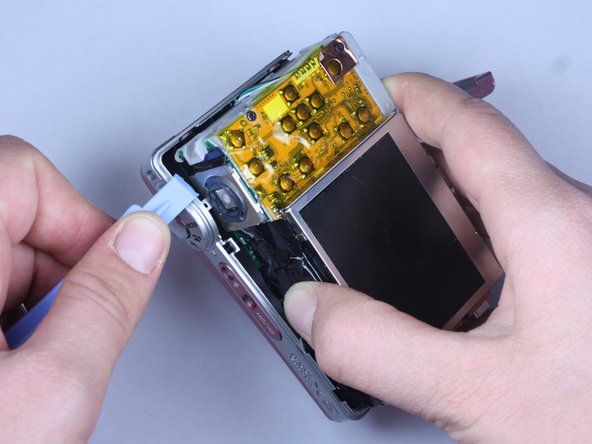
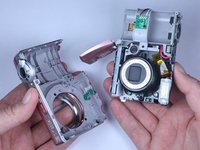
    • Use the plastic opening tool to lift the casing around the shutter button.

    • Gently remove the front cover from the device.

    Спросите у FixBot

    Добавить комментарий

  11. Kodak Easyshare C813 Shutter Button Replacement: шаг 11, изображение 1 из 1
    • Do not touch the terminals shown in the photo. These link to the capacitor which could shock you if not discharged.

    • To discharge the capacitor follow this guide.

    Спросите у FixBot

    Добавить комментарий

  12. Kodak Easyshare C813 Shutter Button Replacement, Shutter Button: шаг 12, изображение 1 из 2 Kodak Easyshare C813 Shutter Button Replacement, Shutter Button: шаг 12, изображение 2 из 2
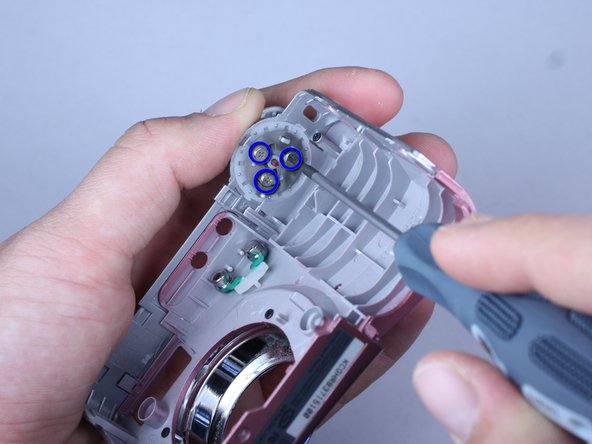
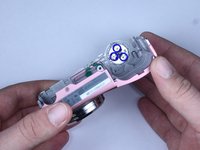
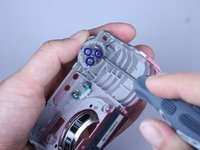
    • The shutter button is held on to the front cover by three screws

    • Hold the shutter button in place

    • Use a Philips 00 screwdriver to remove the screws.

    • Careful that the power and flash button do not fall off

    Спросите у FixBot

    Добавить комментарий

  13. Kodak Easyshare C813 Shutter Button Replacement: шаг 13, изображение 1 из 3 Kodak Easyshare C813 Shutter Button Replacement: шаг 13, изображение 2 из 3 Kodak Easyshare C813 Shutter Button Replacement: шаг 13, изображение 3 из 3
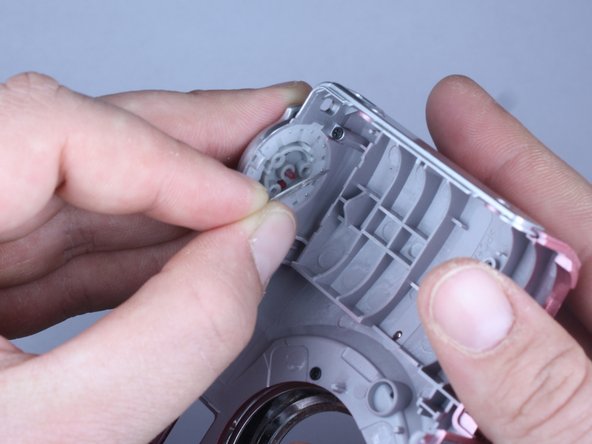
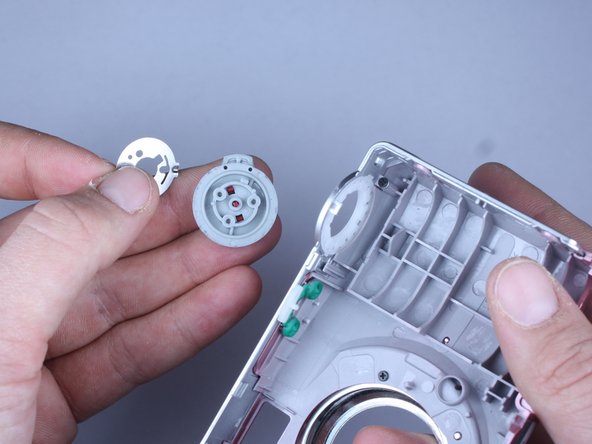
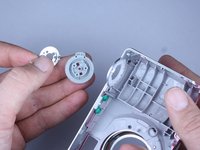
    • Keep the shutter button in place while removing the circular metal plate

    • Remove the shutter button by allowing it to fall into your hand

    Спросите у FixBot

    Добавить комментарий

  14. Kodak Easyshare C813 Shutter Button Replacement: шаг 14, изображение 1 из 3 Kodak Easyshare C813 Shutter Button Replacement: шаг 14, изображение 2 из 3 Kodak Easyshare C813 Shutter Button Replacement: шаг 14, изображение 3 из 3
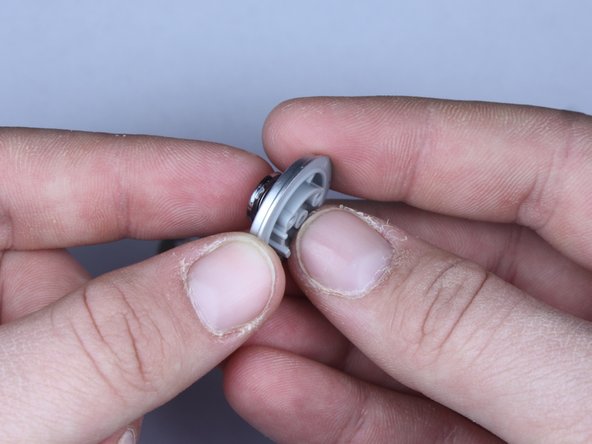
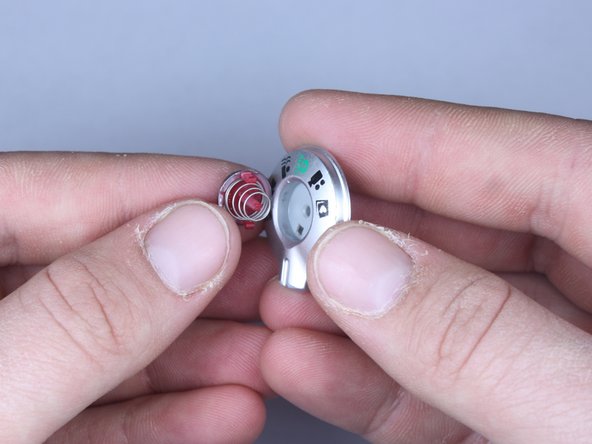
    • Hold down the shutter button portion of the selector dial

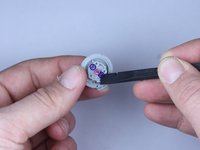
    • Press down the red tabs and slowly relieve pressure on the shutter button

    • Press down on the center red stick

    • Careful not to lose the spring

    • Tool shown is Found here

    Спросите у FixBot

    Добавить комментарий

  15. Kodak Easyshare C813 Shutter Button Replacement: шаг 15, изображение 1 из 1
    • If cleaning, remove dirt from button

    • When putting back together, the button should be be oriented so that the green automatic mode points towards the power button.

    Спросите у FixBot

    Добавить комментарий

Заключение

To reassemble your device, follow these instructions in reverse order.

Отменить: Я не выполнил это руководство.

Еще один человек закончил это руководство.

Susan Marano

Участник с: 04/15/10

342 Репутация

Автор 7 руководств

Команда

Cal Poly, Team 24-22, Regan Spring 2010 Участник Cal Poly, Team 24-22, Regan Spring 2010

CPSU-REGAN-S10S24G22

4 членов

Автор 22 руководств

1 Комментарий к руководству

does anybody know how the pins works on the surface mounted shutter switch button on the PCB? this would be very helpful thanks!

random - Ответить Поделиться
Добавить комментарий

Статистика просмотров:

За последние 24 часов: 1

За последние 7 дней: 9

За последние 30 дней: 49

За всё время: 8,478