Введение
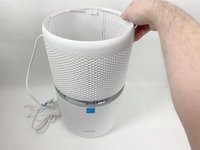
Your Levoit Core 300-RAC's power board distributes power safely from a wall outlet to the fan and control board. If your device's fan stops spinning or it simply won't power on, then your power board may have failed. This guide will walk you through replacing this critical part.
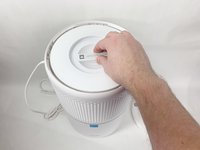
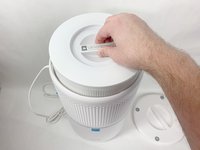
Before you begin the repair, take a look at the Levoit Core 300-RAC Troubleshooting page. Once you've determined it is the power board that needs to be replaced, make sure to power off the device and unplug it from the outlet before you begin.
Выберете то, что вам нужно
-
-
-
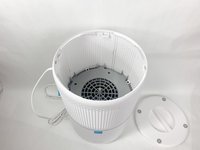
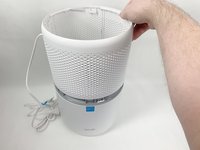
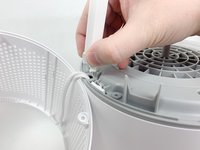
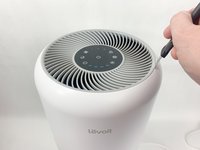
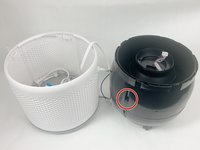
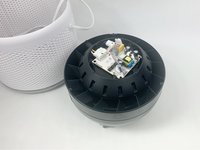
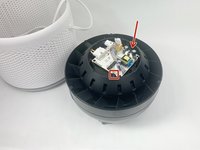
Turn the Levoit Core 300-RAC over so the bottom is facing up.
 Спросите у FixBot
-
-
-
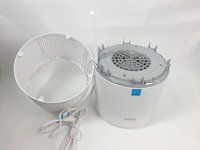
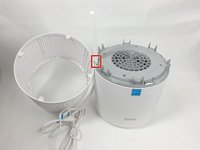
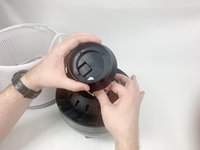
Turn the bottom cover counterclockwise and lift it off to remove it.
-
-
-
-
-
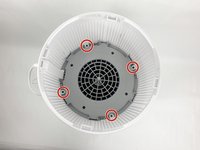
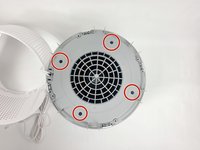
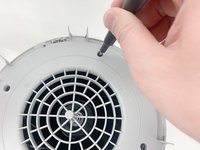
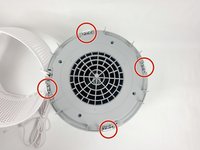
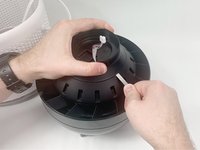
Use a Phillips #2 screwdriver to remove the four screws that secure the gray lid towards the base of the device.
-
-
-
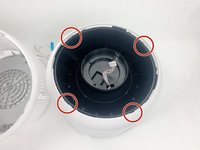
Use a metal spudger or Jimmy to gently pry between the four white tabs and the white housing to release the outer housing.
-
-
-
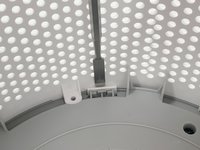
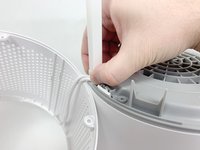
Grab the cable channel by its base, squeeze, and pull up at the same time to remove it.
-
-
-
-
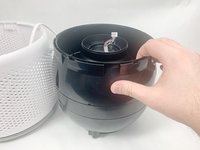
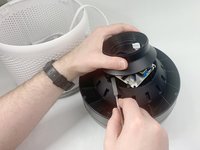
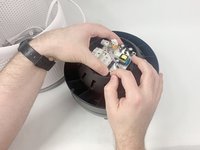
Remove the four Phillips #2 screws securing the gray face plate.
-
-
-
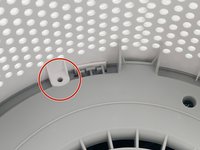
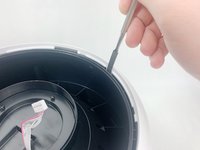
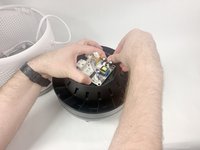
Insert a Jimmy or spudger between the white tab and the gray faceplate body to release the faceplate.
-
Lift it out.
-
-
-
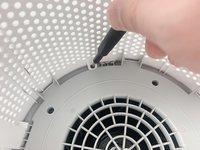
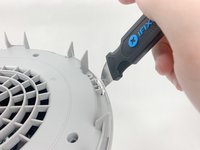
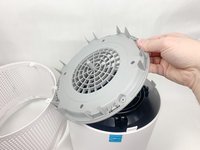
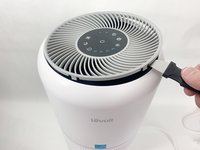
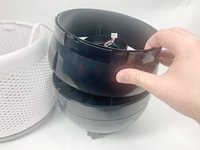
Insert the Jimmy between the gray grille cover and the top of the device.
-
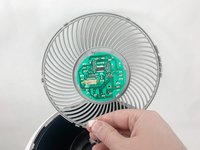
Work your way around the grille cover with the Jimmy to release the clips holding it in place.
-
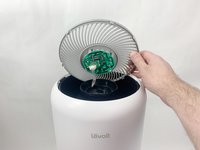
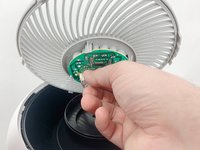
Remove the grille cover gently as it is connected by a ribbon cable.
-
-
-
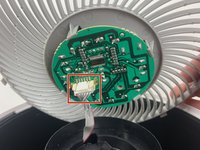
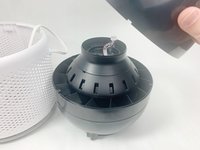
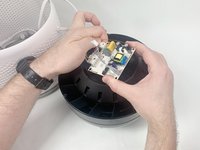
Squeeze the tab on the connector to release the bundled cable from the control board.
-
-
-
Insert a spudger or Jimmy into the four tabs to release them from holding the outer white housing to the inner black core.
-
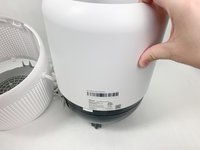
Remove the white outer housing.
-
-
-
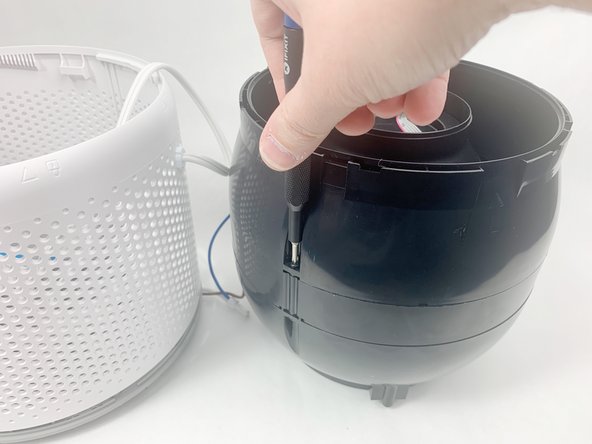
Use a Phillips #2 screwdriver to remove the three screws holding the top of the black center section to the middle section.
-
-
-
Insert a spudger into the slots around the seam to gently pry the upper part off of the assembly.
-
-
-
Feed the ribbon connector through the space in the top part of the assembly before removing it.
-
-
-
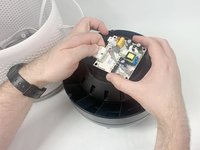
Use your hands to pry apart the two tabs on opposite sides of the power board.
-
-
-
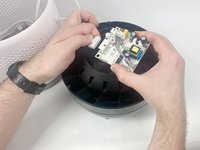
Squeeze down on the clips holding the connectors in place to release the cables.
-
-


To reassemble your device, follow these instructions in reverse order.

Команда

UMass Dartmouth, Team 1-6, Petersen Fall 2023 Участник UMass Dartmouth, Team 1-6, Petersen Fall 2023
UMASSD-PETERSEN-F23S1G6
5 членов
Автор 8 руководств