Перейти к основному содержанию
Присоединяйся к сообществу ремонтников - Создай аккаунт

Linksys WAP 11 Outer Case Replacement

Выберете то, что вам нужно

    1. Linksys WAP 11 Outer Case Replacement, Outer Case: шаг 1, изображение 1 из 1
      • Disconnect the power cables and ethernet from the device.

      • Unscrew the external plastic antennas. There is one antenna on each side of the device.

      Спросите у FixBot

      Добавить комментарий

    2. Linksys WAP 11 Outer Case Replacement: шаг 2, изображение 1 из 3 Linksys WAP 11 Outer Case Replacement: шаг 2, изображение 2 из 3 Linksys WAP 11 Outer Case Replacement: шаг 2, изображение 3 из 3
      Инструмент, используемый на этом этапе:
      Tweezers
      $4.99
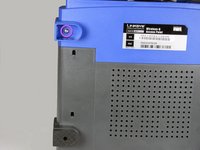
      • To open the Linksys WAP11, you will need a Phillips #1 screwdriver and a pair of metal tweezers.

      • Use the tweezers to remove the two rubber boots from the front two legs. Insert the tweezers in the hole of the boot and pull outwards.

      • This will reveal two small Phillips-head screws. Remove them.

      • Keep these two screws together.

      Спросите у FixBot

      Добавить комментарий

    3. Linksys WAP 11 Outer Case Replacement: шаг 3, изображение 1 из 2 Linksys WAP 11 Outer Case Replacement: шаг 3, изображение 2 из 2
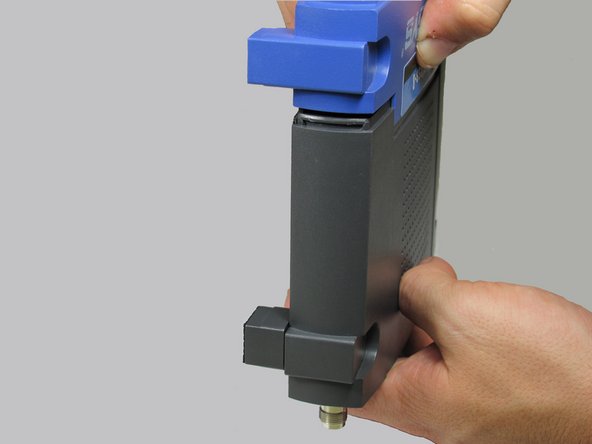
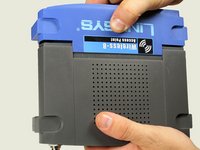
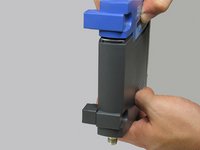
      • Using two hands, pull on the top and bottom sections to separate the blue and the black pieces.

      • This requires significant amount of force.

      • The seal is located where the blue plastic meets the black plastic. This is where you will apply pressure.

      Спросите у FixBot

      Добавить комментарий

    4. Linksys WAP 11 Outer Case Replacement: шаг 4, изображение 1 из 1
      • After the face of the device has been removed, slide the base of the device off to reveal the motherboard and other internal components.

      • When removing the base, do not damage the wires that are attached to the device.

      Спросите у FixBot

      Добавить комментарий

    5. Linksys WAP 11 Outer Case Replacement: шаг 5, изображение 1 из 1
      • This is what the device looks like when it is fully opened.

      Спросите у FixBot

      Добавить комментарий

Заключение

To reassemble your device, follow these instructions in reverse order.

Отменить: Я не выполнил это руководство.

Joe M

Участник с: 10/12/11

159 Репутация

Автор 3 руководств

Команда

Cal Poly, Team 3-17, Regan Fall 2011 Участник Cal Poly, Team 3-17, Regan Fall 2011

CPSU-REGAN-F11S3G17

5 членов

Автор 40 руководств

0 Комментарии к руководству

Добавить комментарий

Статистика просмотров:

За последние 24 часов: 1

За последние 7 дней: 4

За последние 30 дней: 27

За всё время: 1,398