Перейти к основному содержанию
Присоединяйся к сообществу ремонтников - Создай аккаунт

Microsoft Surface 3 Kickstand Replacement

Выберете то, что вам нужно

    1. Microsoft Surface 3 Kickstand Replacement, Casing: шаг 1, изображение 1 из 2 Microsoft Surface 3 Kickstand Replacement, Casing: шаг 1, изображение 2 из 2
      • Warm up an iOpener following the instructions found in the iOpener guide.

      • Place the warm iOpener on top of the edges of the screen. This heat will weaken the strength of the adhesive between the display and body.

      Спросите у FixBot

      Добавить комментарий

    2. Microsoft Surface 3 Kickstand Replacement: шаг 2, изображение 1 из 2 Microsoft Surface 3 Kickstand Replacement: шаг 2, изображение 2 из 2
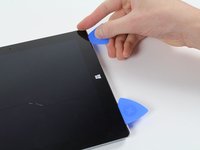
      • Use iFixit opening picks to wedge under the edge of the screen at the speaker port.

      • This may take significant force. A fingernail might work better for the initial lift

      • If you push straight down near the edge you will go through the speaker mesh and possibly end up damaging your speaker; try to push the pick in at a shallow angle.

      Спросите у FixBot

      Добавить комментарий

    3. Microsoft Surface 3 Kickstand Replacement: шаг 3, изображение 1 из 2 Microsoft Surface 3 Kickstand Replacement: шаг 3, изображение 2 из 2
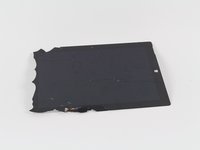
      • Carefully try to work your way around the device using the picks, reapplications of the heated iOpener, and luck.

      • If you break the glass on one side you might want to try again starting from the other side so that you have a clean, unbroken, edge on that side.

      • While the glass on this display is not particularly sharp when broken, it is still broken glass and you should be careful with it.

      Спросите у FixBot

      Добавить комментарий

    4. Microsoft Surface 3 Kickstand Replacement: шаг 4, изображение 1 из 1
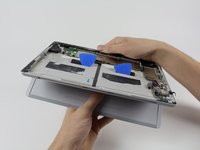
      • Flip the display over so that parts underneath it are easily accessible.

      • Do not pull out the display as it is still attached to the motherboard.

      • If you are replacing the display, or want it out of the way, continue with the display replacement guide steps.

      Спросите у FixBot

      Добавить комментарий

    1. Microsoft Surface 3 Kickstand Replacement, Battery: шаг 5, изображение 1 из 1
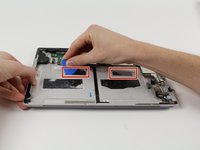
      • Now that you've gotten the casing off of the Surface 3, you can start removing the battery pack.

      Спросите у FixBot

      Добавить комментарий

    2. Microsoft Surface 3 Kickstand Replacement: шаг 6, изображение 1 из 3 Microsoft Surface 3 Kickstand Replacement: шаг 6, изображение 2 из 3 Microsoft Surface 3 Kickstand Replacement: шаг 6, изображение 3 из 3
      Инструмент, используемый на этом этапе:
      Plastic Cards
      $2.99
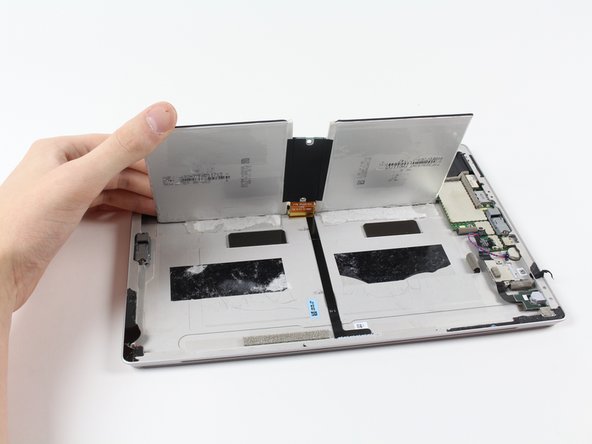
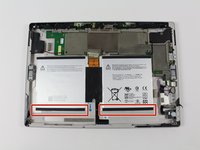
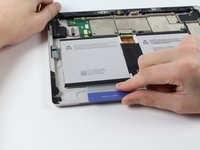
      • Slide the iFixit plastic cards under the compartments of the battery pack.

      • Slide the card around to undo the adhesive under the battery pack

      Спросите у FixBot

      Добавить комментарий

    3. Microsoft Surface 3 Kickstand Replacement: шаг 7, изображение 1 из 3 Microsoft Surface 3 Kickstand Replacement: шаг 7, изображение 2 из 3 Microsoft Surface 3 Kickstand Replacement: шаг 7, изображение 3 из 3
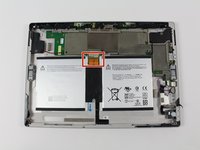
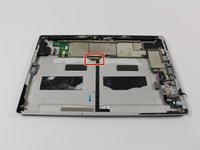
      • Carefully slide the battery's flat power and data connector from its insert.

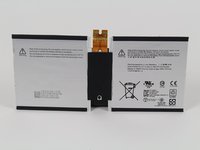
      • You may now switch out the battery pack for a new one.

      Спросите у FixBot

      Добавить комментарий

    1. Microsoft Surface 3 Kickstand Replacement, Kickstand: шаг 8, изображение 1 из 2 Microsoft Surface 3 Kickstand Replacement, Kickstand: шаг 8, изображение 2 из 2
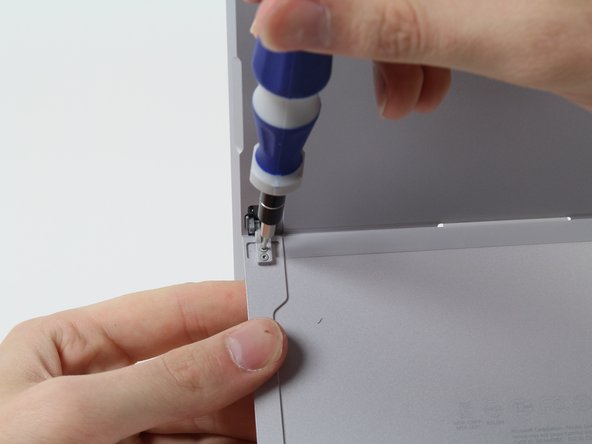
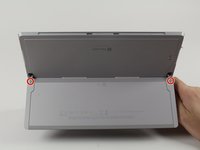
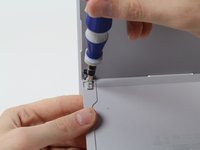
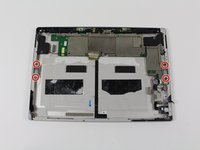
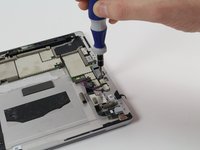
      • Remove these four 3/32" Torx #3 screws.

      • If you do not need to remove the hinges, skip to the step that handles the retaining tabs.

      Спросите у FixBot

      Добавить комментарий

    2. Microsoft Surface 3 Kickstand Replacement: шаг 9, изображение 1 из 2 Microsoft Surface 3 Kickstand Replacement: шаг 9, изображение 2 из 2
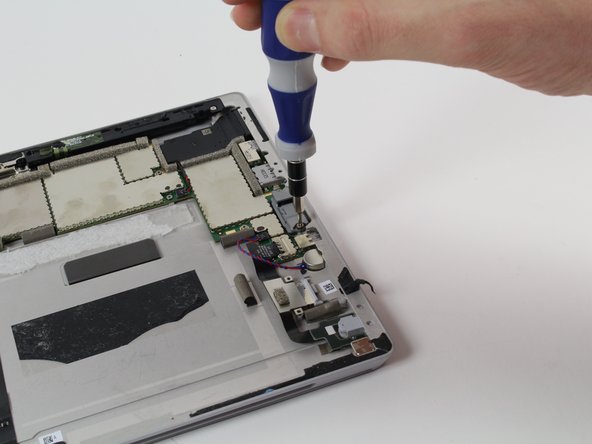
      • Remove these four 3/16" Torx #5 screws that hold in the hinges to replace the hinges.

      Спросите у FixBot

      Добавить комментарий

    3. Microsoft Surface 3 Kickstand Replacement: шаг 10, изображение 1 из 3 Microsoft Surface 3 Kickstand Replacement: шаг 10, изображение 2 из 3 Microsoft Surface 3 Kickstand Replacement: шаг 10, изображение 3 из 3
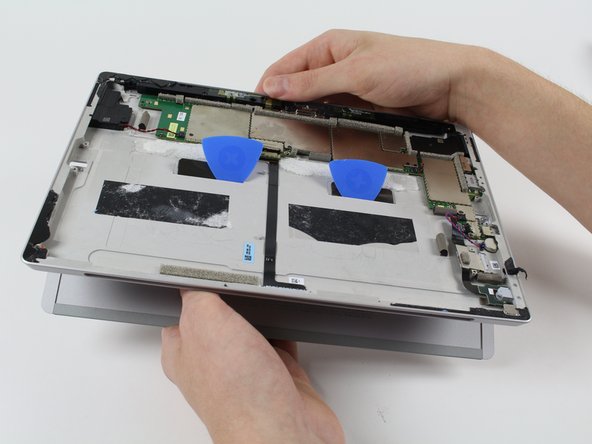
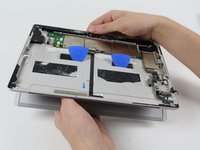
      • These two retaining tabs need to be fed through the slots in the case to release the kickstand.

      • Use picks to make the tab slide through the slot then simply pull out the kickstand,

      Спросите у FixBot

      Добавить комментарий

Заключение

To reassemble your device, follow these instructions in reverse order.

Отменить: Я не выполнил это руководство.

4 человек успешно провели ремонт по этому руководству.

Harold Hall

Участник с: 10/08/15

1 332 Репутация

Автор 3 руководств

Команда

Cal Poly, Team 5-12, Maness Fall 2015 Участник Cal Poly, Team 5-12, Maness Fall 2015

CPSU-MANESS-F15S5G12

4 членов

Автор 30 руководств

2 Комментарии к руководству

I think I will NOT be trying to do this. To many potentials for something to go wrong beyond your control, even when being extra careful. I do not feel like replacing someone’s device if that happens.

QuickTech - Ответить Поделиться

Please can you tell me which kickstand the surface pro 3 64 GB (2013) needs? Is it the same as the surface pro 4 ? I have broken the stand and am trying yo source a replacement.

Tilly Mortimore - Ответить Поделиться
Добавить комментарий

Статистика просмотров:

За последние 24 часов: 0

За последние 7 дней: 2

За последние 30 дней: 42

За всё время: 10,110