Перейти к основному содержанию
Присоединяйся к сообществу ремонтников - Создай аккаунт

Netgear WGR614v9 Antenna Replacement

Выберете то, что вам нужно

  1. Netgear WGR614v9 Antenna Replacement, Lower Case: шаг 1, изображение 1 из 1
    • Rotate the device so that the bottom is facing up.

    Спросите у FixBot
  2. Netgear WGR614v9 Antenna Replacement: шаг 2, изображение 1 из 2 Netgear WGR614v9 Antenna Replacement: шаг 2, изображение 2 из 2
    • Lift up all four rubber pads on the bottom of the router with the plastic opening tool.

    • Be careful not to pull the rubber pads all the way out when lifting as they are difficult to reinsert.

    Спросите у FixBot
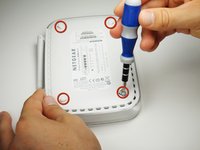
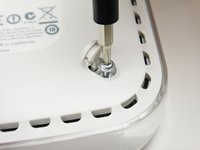
  3. Netgear WGR614v9 Antenna Replacement: шаг 3, изображение 1 из 2 Netgear WGR614v9 Antenna Replacement: шаг 3, изображение 2 из 2
    • Unscrew the four 11.8 mm T-8 torx screws from the bottom of the router.

    Спросите у FixBot
  4. Netgear WGR614v9 Antenna Replacement: шаг 4, изображение 1 из 1
    • Lift the bottom casing straight up from the router.

    Спросите у FixBot
  5. Netgear WGR614v9 Antenna Replacement, Motherboard: шаг 5, изображение 1 из 1
    • Remove the clear plastic casing by lifting it straight up from the router.

    Спросите у FixBot
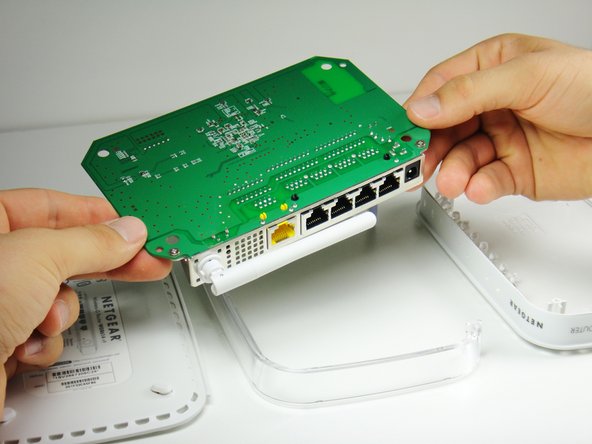
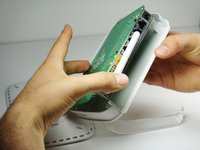
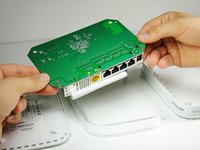
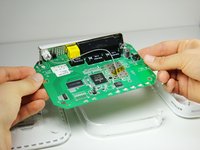
  6. Netgear WGR614v9 Antenna Replacement: шаг 6, изображение 1 из 2 Netgear WGR614v9 Antenna Replacement: шаг 6, изображение 2 из 2
    • Separate the motherboard from the top shell by lifting it straight up from the router.

    Спросите у FixBot
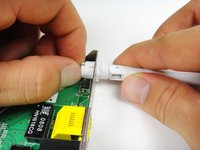
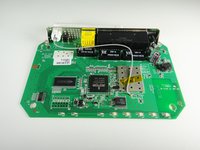
  7. Netgear WGR614v9 Antenna Replacement, Antenna: шаг 7, изображение 1 из 2 Netgear WGR614v9 Antenna Replacement, Antenna: шаг 7, изображение 2 из 2
    • Rotate the motherboard so that the top is facing up.

    • Set the motherboard on a flat clean surface.

    Спросите у FixBot
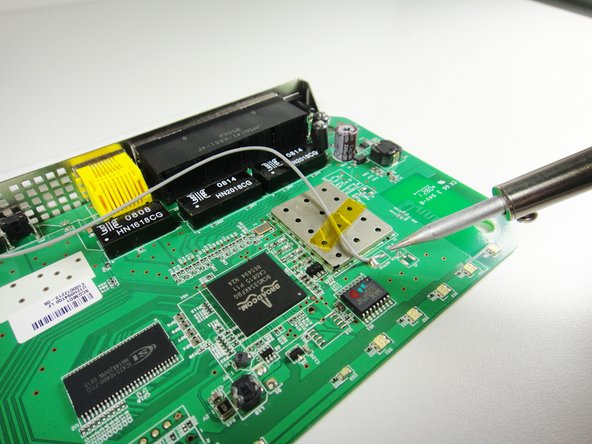
  8. Netgear WGR614v9 Antenna Replacement: шаг 8, изображение 1 из 2 Netgear WGR614v9 Antenna Replacement: шаг 8, изображение 2 из 2
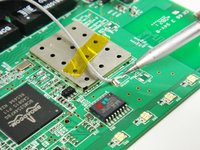
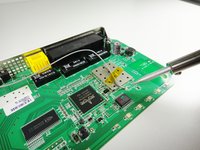
    • Do not refer to the pictures in this step for proper de-soldering and soldering techniques. They are for illustration purposes only.

    • Refer to this link for proper de-soldering and soldering techniques.

    • Be patient. This may take some time depending on the quality of your soldering iron.

    Спросите у FixBot
  9. Netgear WGR614v9 Antenna Replacement: шаг 9, изображение 1 из 1
    • Peel off the yellow tape holding the wires.

    • Set the tape aside on a clean surface so that it can be reused.

    Спросите у FixBot
  10. Netgear WGR614v9 Antenna Replacement: шаг 10, изображение 1 из 2 Netgear WGR614v9 Antenna Replacement: шаг 10, изображение 2 из 2
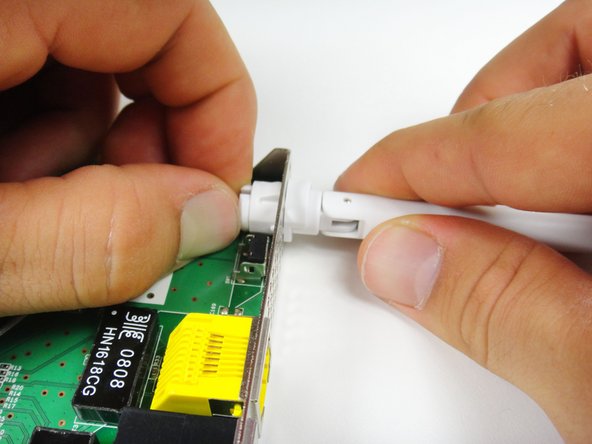
    • Extend the antenna outwards from the device so that it is straight.

    • Locate the clips that hold the antenna onto the router.

    • Push the clips in with one hand and pull the antenna out with your other hand. Slightly twist the antenna until it becomes free from the hole.

    Спросите у FixBot
  11. Netgear WGR614v9 Antenna Replacement: шаг 11, изображение 1 из 1
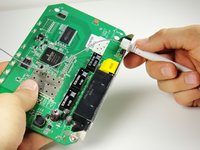
    • Pull out the antenna as well as the connected wire.

    Спросите у FixBot
Заключение

To reassemble your device, follow these instructions in reverse order.

3 человек успешно провели ремонт по этому руководству.

Ryan Murphy

Участник с: 10/03/11

488 Репутация

Автор 4 руководств

Команда

Cal Poly, Team 21-24, Maness Fall 2011 Участник Cal Poly, Team 21-24, Maness Fall 2011

CPSU-MANESS-F11S21G24

4 членов

Автор 11 руководств

0 Комментарии к руководству

Добавить комментарий

Статистика просмотров:

За последние 24 часов: 1

За последние 7 дней: 9

За последние 30 дней: 93

За всё время: 8,163