Введение
If you need to remove or replace the sensor in your Olympus C-765 camera, this guide may help.
Instead of film, digital cameras use image sensors to capture images. The sensor works by converting the light captured by the camera into a digital image. If the image sensor is damaged or has stopped working, it may need to be replaced.
The image sensor is located deep inside the camera and requires multiple specialized steps to remove.
Step 4 of this guide requires disconnecting ribbon cables.
Steps 6 and 7 of this guide require removing the motherboard from the camera. Removing the motherboard from the camera involves desoldering components from the camera's motherboard.
Before beginning, make sure to power off your camera and disconnect any external power source.
Выберете то, что вам нужно
-
-
-
Use a Phillips #00 screwdriver to remove the single 4mm screw located directly to the right of the viewfinder on the back of the camera.
-
Remove the two 2mm screws from the left side panel.
-
Remove the single 3mm screw from the right side panel.
-
Remove the five 3mm screws from the bottom of the camera.
 Спросите у FixBot
-
-
Инструмент, используемый на этом этапе:Tweezers$4.99
-
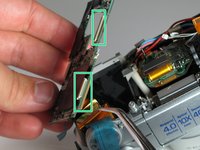
Rock the two ribbon cables gently out of their sockets.
-
Grasp and pull the white cable out of its clip with metal tweezers.
-
Remove the back panel completely.
-
-
-
Peel off the black plastic sheets.
-
Use the Phillips #00 screwdriver to remove the two 3mm screws holding the motherboard in place.
-
-
-
Remove the ribbon cable directly below the viewfinder.
-
Detach the white plastic clip from its socket with a pair of tweezers.
-
Disconnect the ribbon cable from the center of the board, near the central hole.
-
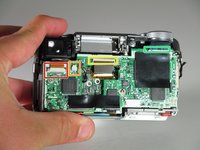
Disconnect the three ribbon cables from the top right of the motherboard, near the selector wheel. One is on the top of the board, and the other two are on the underside.
-
-
-
-
Remove the single 3mm ground screw attached to the right side of the camera body using the Phillips #00 screwdriver.
-
-
-
Use the soldering iron to desolder the connections from the motherboard.
-
-
-
-
-
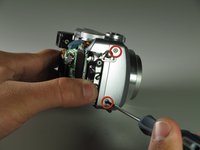
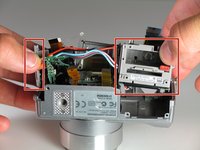
Unscrew the two 3mm screws from the right side of the casing.
-
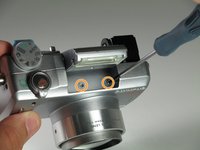
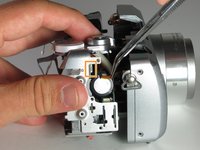
Pop the flash up to get access to the two body screws underneath.
-
Undo the two 3mm screws.
-
-
-
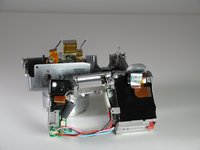
Gently pull on the battery casing and the A/V ports to remove the connected components.
-
Remove the small ribbon cable from the right side of the casing.
-
-
-
Undo the three flat-top 4mm screws.
-
Gently pull the lens away from the camera body.
-
-
-
-
-
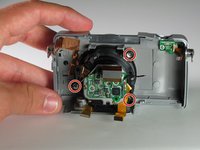
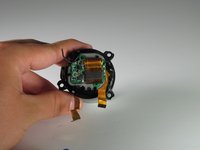
Remove the three 3mm screws holding the sensor in place.
-
-









To reassemble your device, follow these instructions in reverse order.

Команда

Cal Poly, Team 12-33, Maness Spring 2011 Участник Cal Poly, Team 12-33, Maness Spring 2011
CPSU-MANESS-S11S12G33
3 членов
Автор 7 руководств
