Этот перевод был сделан машиной и пока не проверен человеком. Говорите на этом языке? Просмотрите его.
Введение
Светодиод показывает состояние камеры и мигает при выполнении операций. Несмотря на простоту детали, процесс ремонта довольно сложный. Для замены потребуется пайка и глубокое разбор устройства.
Выберете то, что вам нужно
-
-
-
С помощью отвертки Phillips #00 открутите один винт длиной 4 мм, расположенный непосредственно справа от видоискателя на задней панели камеры.
-
Открутите два винта длиной 2 мм с левой боковой панели.
-
Открутите один винт длиной 3 мм с правой боковой панели.
-
Открутите пять винтов длиной 3 мм с нижней части камеры.
 Спросите у FixBot
-
-
Инструмент, используемый на этом этапе:Tweezers$4.99
-
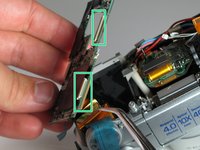
Аккуратно покачивая, извлеките оба шлейфа из разъемов.
-
Захватите белый кабель металлическим пинцетом и вытяните его из крепления.
-
Полностью снимите заднюю панель.
-
-
-
Отклейте черные пластиковые пленки.
-
С помощью отвертки Phillips #00 открутите два винта длиной 3 мм, фиксирующие материнскую плату.
-
-
-
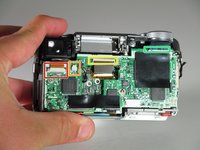
Отсоедините шлейф, расположенный прямо под видоискателем.
-
С помощью пинцета отсоедините белый пластиковый фиксатор от разъема.
-
Отсоедините шлейф от центральной части платы, рядом с центральным отверстием.
-
Отсоедините три шлейфа в верхней правой части материнской платы, рядом с колесом выбора режима. Один находится на верхней стороне платы, а два других — на нижней.
-
-
-
-
Выкрутите один винт заземления длиной 3 мм, расположенный с правой стороны корпуса камеры, с помощью отвертки Phillips #00.
-
-
-
Используйте паяльник, чтобы отпаять соединения от материнской платы.
-
-
-
-
-
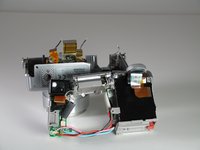
Извлеките большинство компонентов камеры из передней части корпуса.
-
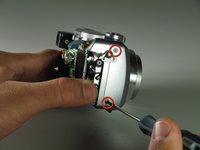
Выкрутите два винта длиной 3 мм с правой стороны корпуса с помощью отвертки Phillips #00.
-
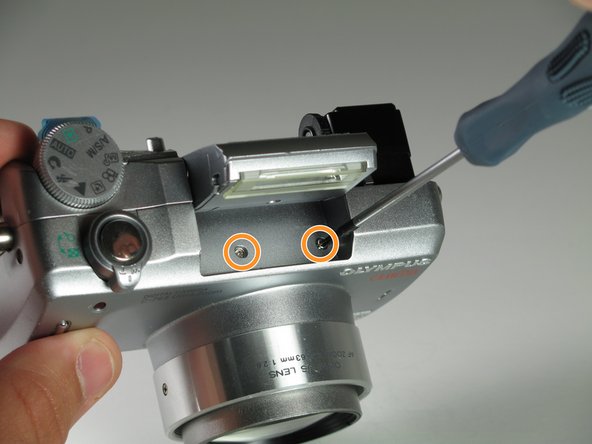
Поднимите вспышку, чтобы получить доступ к двум винтам корпуса под ней.
-
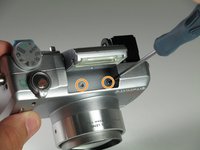
Выкрутите два винта длиной 3 мм из-под вспышки с помощью отвертки Phillips #00.
-
-
-
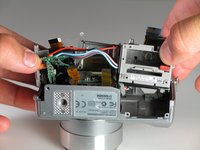
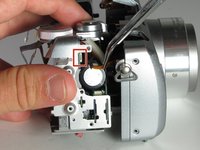
Аккуратно потяните за корпус аккумулятора и разъемы аудио/видео, чтобы извлечь соединенные компоненты.
-
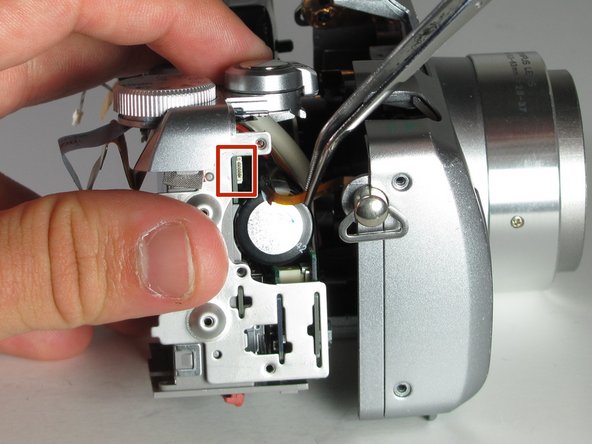
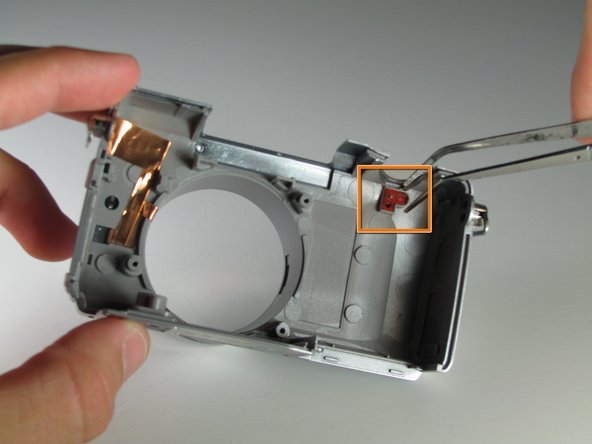
Отсоедините небольшой шлейф с правой стороны корпуса.
-
-
Инструмент, используемый на этом этапе:Tweezers$4.99
-
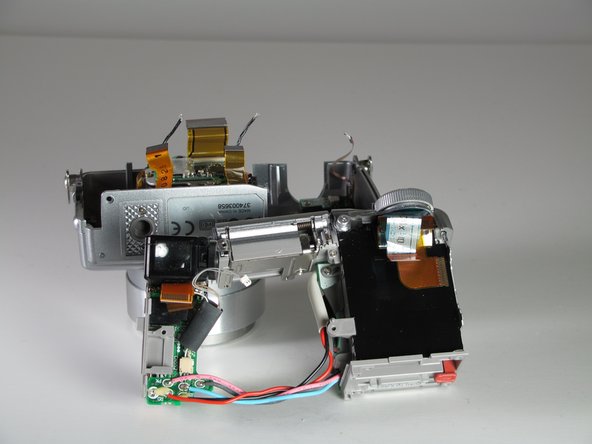
Снимите плату светодиодов.
-
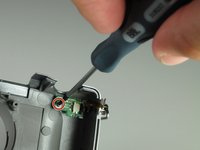
Выкрутите один винт 3 мм с помощью отвертки Phillips #00.
-
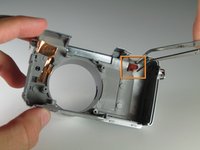
Используйте пинцет, чтобы извлечь плату светодиода состояния.
-
-






Для обратной сборки устройства следуйте этим инструкциям в обратном порядке.

Команду

Cal Poly, Team 12-33, Maness Spring 2011 Участник Cal Poly, Team 12-33, Maness Spring 2011
CPSU-MANESS-S11S12G33
3 членов
Автор 72 руководств
