Введение
Use this guide to replace a broken rear glass panel on your OnePlus 8.
You'll need replacement adhesive in order to complete this repair.
Note: Retaining water resistance after the repair will depend on how precisely the adhesive is reapplied, but your device will lose its IP (Ingress Protection) rating. However, only the T-Mobile (IN2017) and Verizon (IN2019) models offer IP ratings.
Выберете то, что вам нужно
-
-
Power off your phone and unplug any cables.
-
Heat an iOpener and apply it to the rear glass for two minutes.
-
-
-
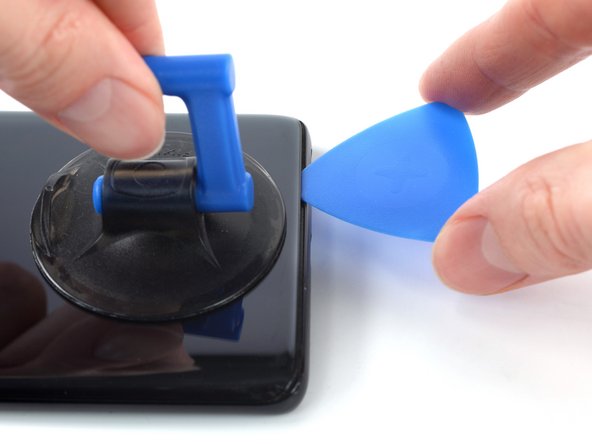
Apply a suction handle to the center of the bottom edge of the rear glass, as close to the edge as possible.
-
Pull up on the suction handle with strong, steady force to create a gap between the rear glass and frame.
-
Insert an opening pick into the gap.
-
-
-
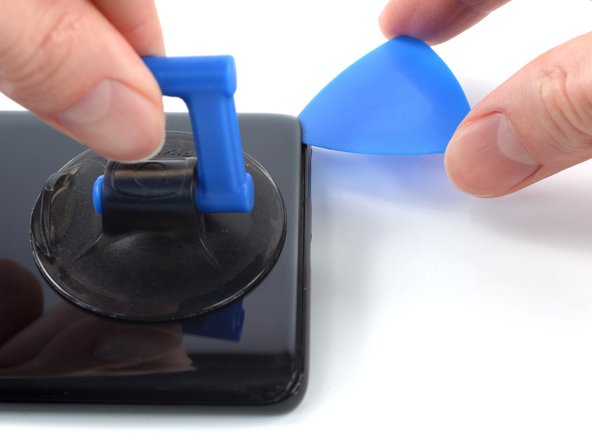
Slide the opening pick to the bottom right corner to slice the adhesive securing the rear glass.
-
Leave the opening pick in the bottom right corner to prevent the adhesive from resealing.
-
-
-
-
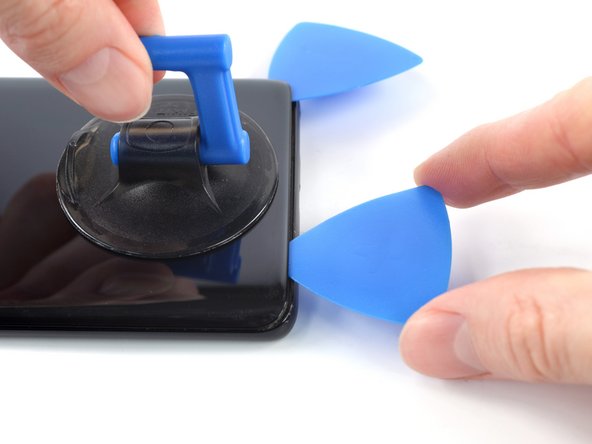
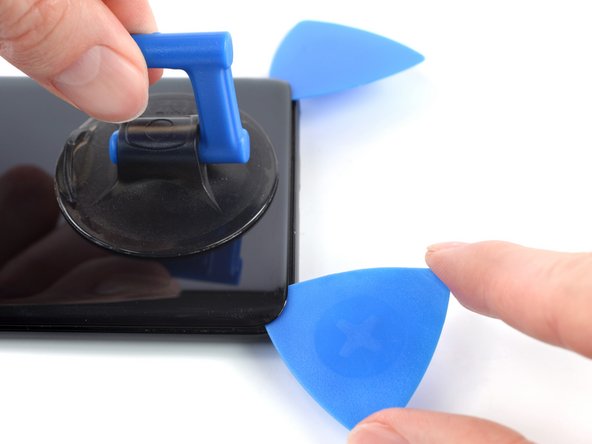
Insert a second opening pick under the bottom edge of the rear glass, into the gap you just created.
-
Slide the opening pick to the bottom left corner to slice the adhesive.
-
Leave the opening pick in the bottom left corner to prevent the adhesive from resealing.
-
-
-
Insert a third opening pick under the bottom left corner of the rear glass.
-
Slide the opening pick up the left edge to slice the adhesive.
-
Leave the opening pick in the top left corner to prevent the adhesive from resealing.
-
-
-
Insert a fourth opening pick under the top left corner of the rear glass.
-
Slide the opening pick along the top edge to slice the adhesive.
-
Leave the opening pick in the top right corner to prevent the adhesive from resealing.
-
-
-
Insert a fifth opening pick under the top right corner of the rear glass.
-
Slide the opening pick down the right edge to slice the remaining adhesive.
-
-
-
Remove the rear glass.
-
Secure the rear glass with pre-cut adhesive or double-sided adhesive tape.
-
After installing the rear glass, apply strong, steady pressure to your phone for several minutes to help the adhesive form a good bond.
-


To reassemble your device, follow these instructions in reverse order.
Take your e-waste to an R2 or e-Stewards certified recycler.
Repair didn’t go as planned? Try some basic troubleshooting, or ask our Answers Community for help.
To reassemble your device, follow these instructions in reverse order.
Take your e-waste to an R2 or e-Stewards certified recycler.
Repair didn’t go as planned? Try some basic troubleshooting, or ask our Answers Community for help.
Отменить: Я не выполнил это руководство.
Еще один человек закончил это руководство.

