Введение
This guide will walk you through the steps to remove the display from a Palm T|X.
Выберете то, что вам нужно
-
-
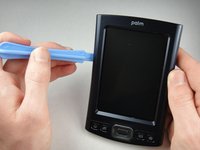
Orient the device so that the display faces forward.
-
Remove the stylus from the right side.
 Спросите у FixBot
-
-
-
Turn over the device so that the back panel faces forward.
-
Use a T5 Torx screwdriver to remove the four 6.35mm corner screws.
-
-
-
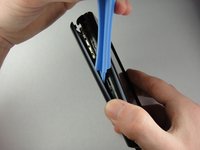
Rotate the device so that the display faces forward.
-
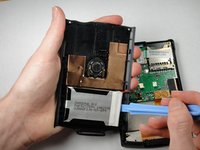
Insert a plastic opening tool with the angled tip pointing downward into the crevice on the left side of the device.
-
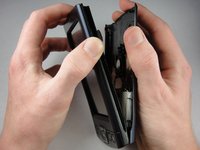
Pry along the crevice to loosen the back panel.
-
Repeat this process for the right side.
-
-
-
-
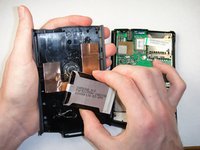
Use a plastic opening tool to peel the battery pack from the back panel.
-
-
-
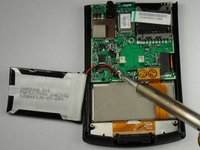
Use a soldering iron to disconnect the battery wires from the motherboard.
-
For soldering instructions, you can view the Soldering Guide.
-
-
-
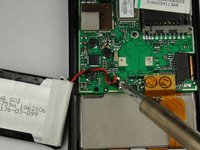
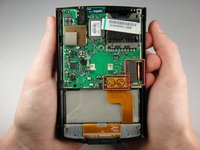
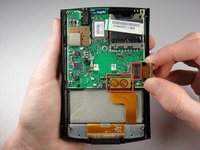
Pull straight up on the ribbon cables located on the bottom right of the motherboard to disconnect them.
-
-
-
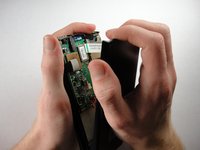
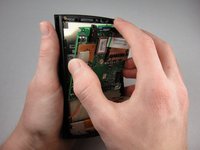
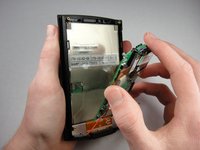
Orient the device sideways, as shown in the picture.
-
Lightly push the front of the display to separate it from the front panel.
-


To reassemble your device, follow these instructions in reverse order.
Отменить: Я не выполнил это руководство.
3 человек успешно провели ремонт по этому руководству.
Команда

Cal Poly, Team 1-15, Amido Winter 2011 Участник Cal Poly, Team 1-15, Amido Winter 2011
CPSU-AMIDO-W11S1G15
4 членов
Автор 16 руководств
2 Комментарии к руководству
It's not necessary to unsolder the battery back for this at all, as long as you're careful not to pull on the battery wires, all you have to do is leave it attached and make sure it doesn't move too far from the board.
This stops with the display supposedly still firmly attached to the motherboard. How is this a display replacement procedure?