Перейти к основному содержанию
Присоединяйся к сообществу ремонтников - Создай аккаунт

Plantronics CS50 Headset Speaker Replacement

Выберете то, что вам нужно

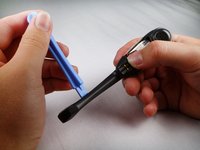
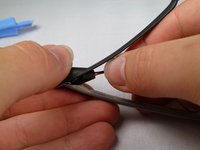
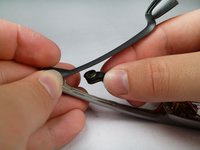
    1. Plantronics CS50 Headset Speaker Replacement, Battery: шаг 1, изображение 1 из 3 Plantronics CS50 Headset Speaker Replacement, Battery: шаг 1, изображение 2 из 3 Plantronics CS50 Headset Speaker Replacement, Battery: шаг 1, изображение 3 из 3
      • Flip the headset face down.

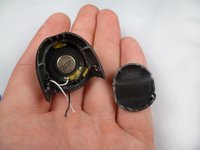
      • Squeeze both sides of the battery cover.

      • While squeezing, pull the cover up slowly to remove it.

      Спросите у FixBot

      Добавить комментарий

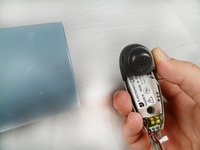
    2. Plantronics CS50 Headset Speaker Replacement: шаг 2, изображение 1 из 3 Plantronics CS50 Headset Speaker Replacement: шаг 2, изображение 2 из 3 Plantronics CS50 Headset Speaker Replacement: шаг 2, изображение 3 из 3
      • Locate and detatch the white connector that connects the wires of the battery to the wires of the headset.

      Спросите у FixBot

      Добавить комментарий

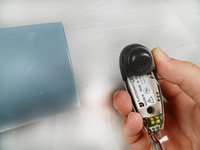
    1. Plantronics CS50 Headset Speaker Replacement, Microphone: шаг 3, изображение 1 из 2 Plantronics CS50 Headset Speaker Replacement, Microphone: шаг 3, изображение 2 из 2
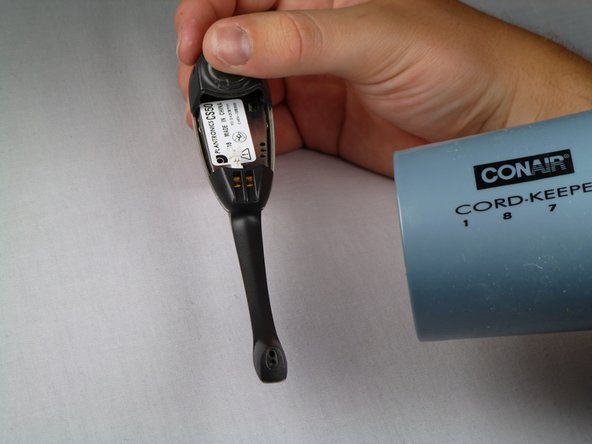
      • Use a hairdryer or heat gun to melt the adhesive along the crevice that joins the black and silver components.

      • Apply additional heat at the tip of the microphone.

      Спросите у FixBot

      Добавить комментарий

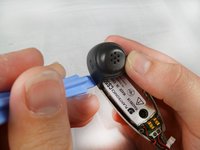
    2. Plantronics CS50 Headset Speaker Replacement: шаг 4, изображение 1 из 2 Plantronics CS50 Headset Speaker Replacement: шаг 4, изображение 2 из 2
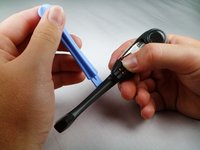
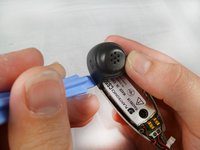
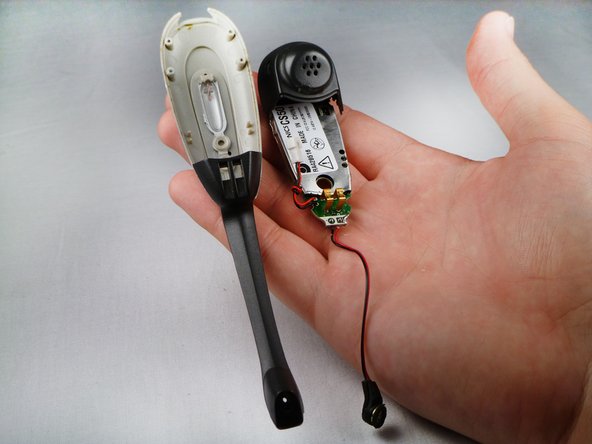
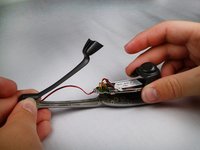
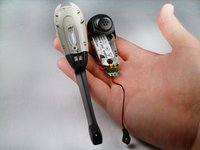
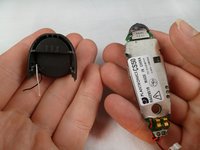
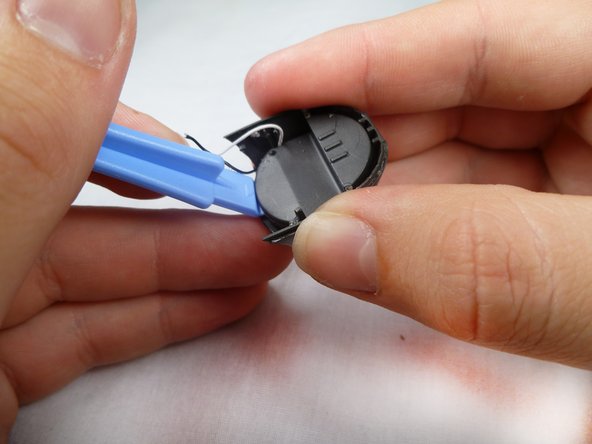
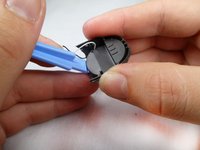
      • After heating the headset, use the plastic opening tool to carefully pry the black cover from the headset.

      • Be aware of the two plastic connectors inside the headset. If the black cover does not come off smoothly, apply additional heat on the connectors.

      Спросите у FixBot

      Добавить комментарий

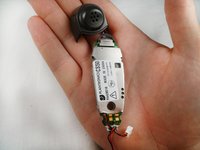
    3. Plantronics CS50 Headset Speaker Replacement: шаг 5, изображение 1 из 2 Plantronics CS50 Headset Speaker Replacement: шаг 5, изображение 2 из 2
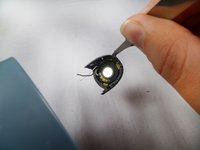
      • Remove the microphone from the tip of the plastic.

      • You will have to lift the microphone straight up because it is held in place by a small piece of plastic.

      Спросите у FixBot

      Добавить комментарий

    4. Plantronics CS50 Headset Speaker Replacement: шаг 6, изображение 1 из 2 Plantronics CS50 Headset Speaker Replacement: шаг 6, изображение 2 из 2
      • Use the heat gun to melt the adhesive connecting the headset face to the speaker casing.

      • Use the plastic opening tool to separate the speaker casing from the headset face.

      • Add extra heat to the sides to melt the adhesive between the plastic connectors.

      Спросите у FixBot

      Добавить комментарий

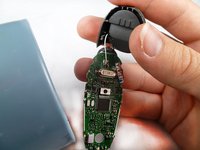
    5. Plantronics CS50 Headset Speaker Replacement: шаг 7, изображение 1 из 2 Plantronics CS50 Headset Speaker Replacement: шаг 7, изображение 2 из 2
      • Slowly separate the motherboard from the rest of the headset.

      Спросите у FixBot

      Добавить комментарий

    6. Plantronics CS50 Headset Speaker Replacement: шаг 8, изображение 1 из 1
      • Locate the microphone wires on the bottom of the motherboard.

      • Use a hairdryer or heat gun to melt the glue off of the motherboard.

      Спросите у FixBot

      Добавить комментарий

    7. Plantronics CS50 Headset Speaker Replacement: шаг 9, изображение 1 из 1
      • Flip the device over.

      • Use a soldering iron to remove the solder that holds the wires to the motherboard.

      • For help soldering, click here.

      • The microphone piece should be completely detached from the motherboard.

      Спросите у FixBot

      Добавить комментарий

    1. Plantronics CS50 Headset Speaker Replacement, Motherboard: шаг 10, изображение 1 из 3 Plantronics CS50 Headset Speaker Replacement, Motherboard: шаг 10, изображение 2 из 3 Plantronics CS50 Headset Speaker Replacement, Motherboard: шаг 10, изображение 3 из 3
      • Using a blow dryer or a heat gun, heat the crevice to melt the adhesive between the plastic covers.

      • Using a plastic opening tool, prop open the edges.

      • Gently pull the black speaker casing up to remove it.

      Спросите у FixBot

      Добавить комментарий

    2. Plantronics CS50 Headset Speaker Replacement: шаг 11, изображение 1 из 2 Plantronics CS50 Headset Speaker Replacement: шаг 11, изображение 2 из 2
      • Use the heat gun or blow dryer to melt the glue that connects the wires to the headset's motherboard.

      • The wires should come off as they are not soldered to the motherboard.

      Спросите у FixBot

      Добавить комментарий

    1. Plantronics CS50 Headset Speaker Replacement, Speaker: шаг 12, изображение 1 из 3 Plantronics CS50 Headset Speaker Replacement, Speaker: шаг 12, изображение 2 из 3 Plantronics CS50 Headset Speaker Replacement, Speaker: шаг 12, изображение 3 из 3
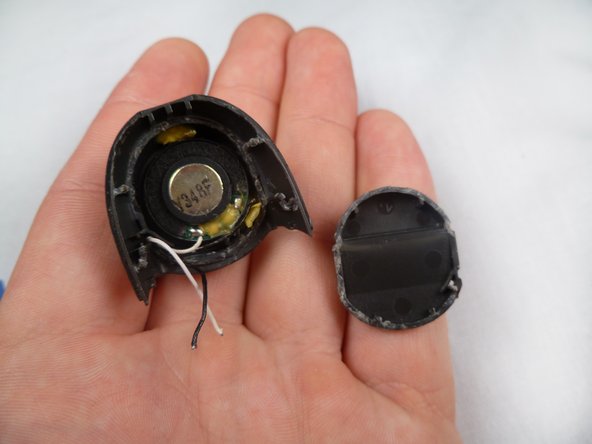
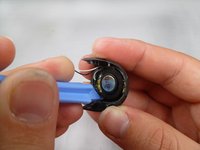
      • Use the heat gun to melt the adhesive that holds the bottom of the casing.

      • Use the plastic opening tool to remove the bottom of the casing.

      Спросите у FixBot

      Добавить комментарий

    2. Plantronics CS50 Headset Speaker Replacement: шаг 13, изображение 1 из 3 Plantronics CS50 Headset Speaker Replacement: шаг 13, изображение 2 из 3 Plantronics CS50 Headset Speaker Replacement: шаг 13, изображение 3 из 3
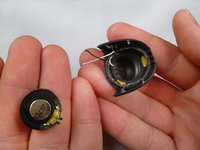
      • Use the blow dryer or heat gun to melt the glue that holds the speaker.

      • Use the plastic opening tool to carefully remove the speaker from its casing.

      Спросите у FixBot

      Добавить комментарий

Заключение

To reassemble your device, follow these instructions in reverse order. Replace the glue and solder where they are needed.

Отменить: Я не выполнил это руководство.

Yuliya Levitskaya

Участник с: 04/09/12

77 Репутация

Автор 2 руководств

Команда

Cal Poly, Team 17-29, Amido Spring 2012 Участник Cal Poly, Team 17-29, Amido Spring 2012

CPSU-AMIDO-S12S17G29

4 членов

Автор 62 руководств

0 Комментарии к руководству

Добавить комментарий

Статистика просмотров:

За последние 24 часов: 4

За последние 7 дней: 15

За последние 30 дней: 37

За всё время: 2,366