Перейти к основному содержанию
Присоединяйся к сообществу ремонтников - Создай аккаунт

Porter-Cable PCE211 Fan Replacement

Выберете то, что вам нужно

    1. Porter-Cable PCE211 Fan Replacement, Gearcase: шаг 1, изображение 1 из 2 Porter-Cable PCE211 Fan Replacement, Gearcase: шаг 1, изображение 2 из 2
      • Using the Hex Security SAE 7/32", remove the four 10 mm socket screws at the base of the gearcase.

      Спросите у FixBot

      Добавить комментарий

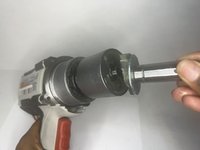
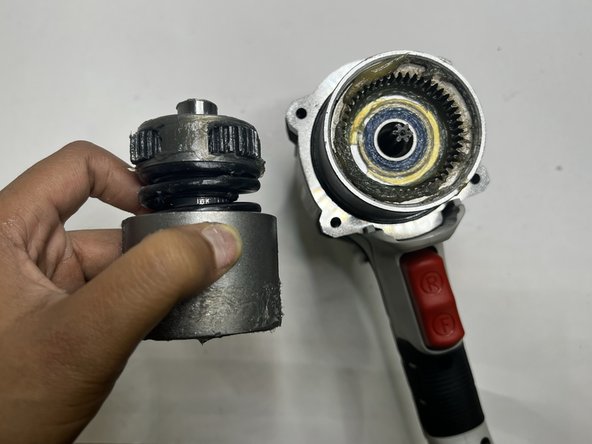
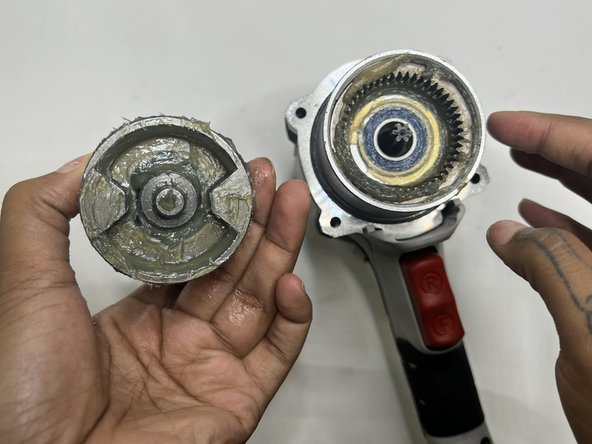
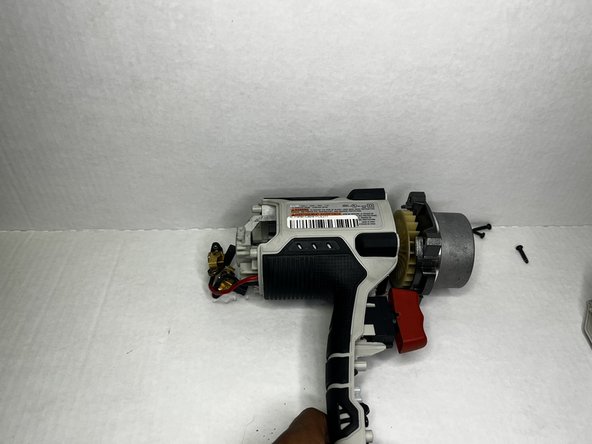
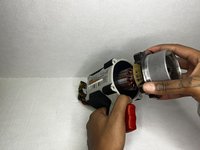
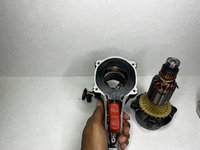
    2. Porter-Cable PCE211 Fan Replacement: шаг 2, изображение 1 из 3 Porter-Cable PCE211 Fan Replacement: шаг 2, изображение 2 из 3 Porter-Cable PCE211 Fan Replacement: шаг 2, изображение 3 из 3
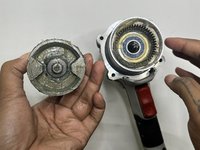
      • Grip the body of the impact wrench with one hand and the gearcase in the other and firmly pull to remove it.

      • Be careful about any loose parts when removing the head.

      Спросите у FixBot

      Добавить комментарий

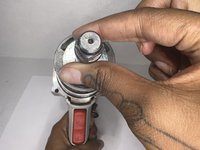
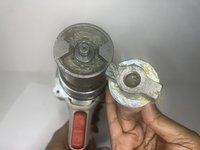
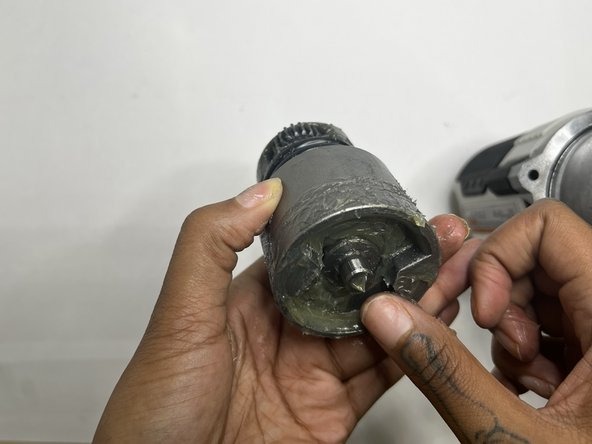
    1. Porter-Cable PCE211 Fan Replacement, Anvil: шаг 3, изображение 1 из 3 Porter-Cable PCE211 Fan Replacement, Anvil: шаг 3, изображение 2 из 3 Porter-Cable PCE211 Fan Replacement, Anvil: шаг 3, изображение 3 из 3
      • Firmly pull the to remove drill bit holder also known as the anvil.

      • Before replacing the anvil, lubricate the base for the best performance.

      Спросите у FixBot

      Добавить комментарий

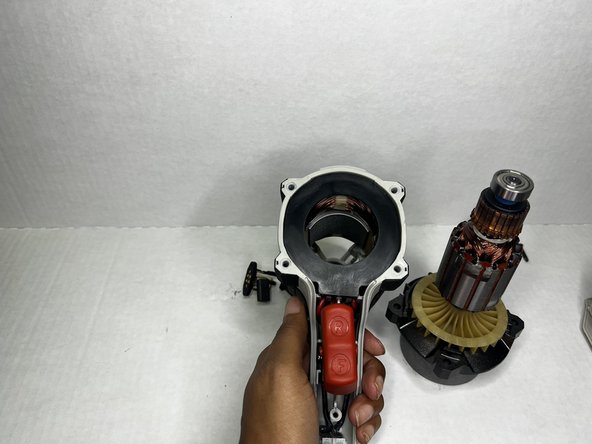
    1. Porter-Cable PCE211 Fan Replacement, Motor: шаг 4, изображение 1 из 3 Porter-Cable PCE211 Fan Replacement, Motor: шаг 4, изображение 2 из 3 Porter-Cable PCE211 Fan Replacement, Motor: шаг 4, изображение 3 из 3
      • This section tends to get messy so it would be best to have a paper towel or microfiber towel handy.

      • Pull the motor out with your hands.

      Спросите у FixBot

      Добавить комментарий

    2. Porter-Cable PCE211 Fan Replacement: шаг 5, изображение 1 из 3 Porter-Cable PCE211 Fan Replacement: шаг 5, изображение 2 из 3 Porter-Cable PCE211 Fan Replacement: шаг 5, изображение 3 из 3
      • Wipe out the old grease with a towel. Use the appropriate motor grease for electric tools to lubricate the top area, base of the motor, and the space the motor sits.

      Спросите у FixBot

      Добавить комментарий

    1. Porter-Cable PCE211 Fan Replacement, Rear Housing: шаг 6, изображение 1 из 2 Porter-Cable PCE211 Fan Replacement, Rear Housing: шаг 6, изображение 2 из 2
      • Remove the four 6 mm screws using a Phillips #2 screwdriver.

      • The screws are tight so you will need to use a bit of arm strength.

      Спросите у FixBot

      Добавить комментарий

    2. Porter-Cable PCE211 Fan Replacement: шаг 7, изображение 1 из 2 Porter-Cable PCE211 Fan Replacement: шаг 7, изображение 2 из 2
      • Pull the rear housing off the back of the impact wrench.

      • Be careful when removing the rear case that loose parts don't get damaged.

      Спросите у FixBot

      Добавить комментарий

    1. Porter-Cable PCE211 Fan Replacement, Grip: шаг 8, изображение 1 из 2 Porter-Cable PCE211 Fan Replacement, Grip: шаг 8, изображение 2 из 2
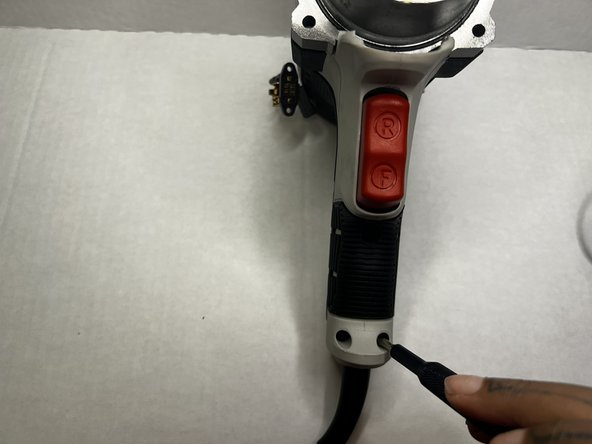
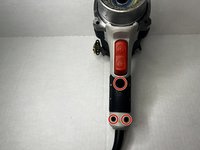
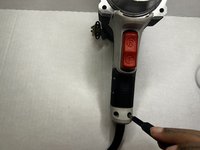
      • Using the Phillips #2 screwdriver, remove the three 8 mm screws from the grip of the impact wrench.

      Спросите у FixBot

      Добавить комментарий

    2. Porter-Cable PCE211 Fan Replacement: шаг 9, изображение 1 из 2 Porter-Cable PCE211 Fan Replacement: шаг 9, изображение 2 из 2
      • Pull the grip from the body of the impact wrench.

      Спросите у FixBot

      Добавить комментарий

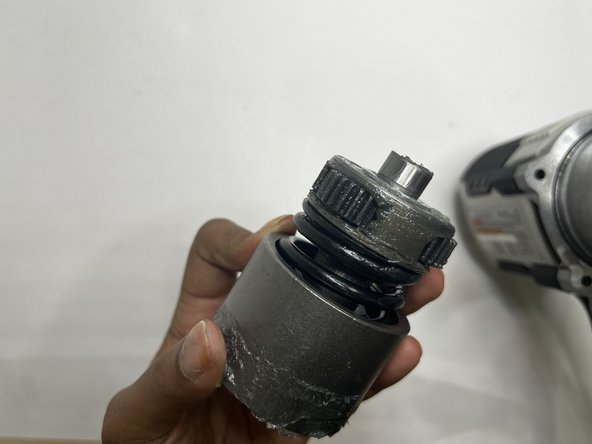
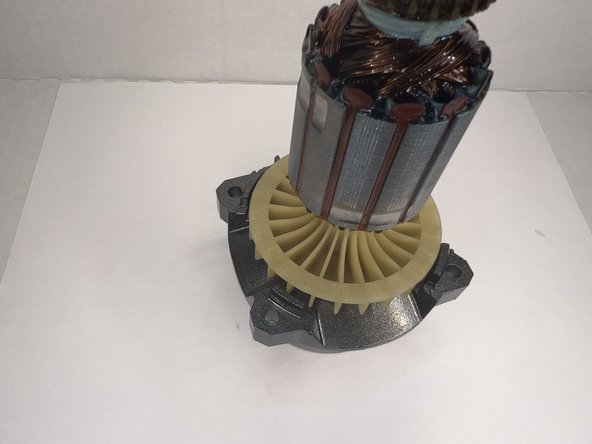
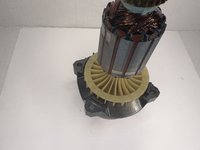
    1. Porter-Cable PCE211 Fan Replacement, Fan: шаг 10, изображение 1 из 2 Porter-Cable PCE211 Fan Replacement, Fan: шаг 10, изображение 2 из 2
      • Lift the hammer block (which is attached to the fan) out of the case.

      • It is a little heavy so be careful when lifting it out.

      Спросите у FixBot

      Добавить комментарий

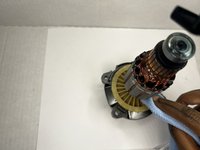
    2. Porter-Cable PCE211 Fan Replacement: шаг 11, изображение 1 из 2 Porter-Cable PCE211 Fan Replacement: шаг 11, изображение 2 из 2
      • If you're doing maintenance and the fan isn't damage, use a microfiber cloth to clean the fan.

      • Wipe well until there's no residue or oil lubricant.

      Спросите у FixBot

      Добавить комментарий

Заключение

To reassemble your device, follow these instructions in reverse order.

Отменить: Я не выполнил это руководство.

Layla Berry

Участник с: 09/19/22

678 Репутация

Автор 7 руководств

Команда

Austin Community College, Team 13-1, Watkins Fall 2022 Участник Austin Community College, Team 13-1, Watkins Fall 2022

AUSTINCC-WATKINS-F22S13G1

3 членов

Автор 28 руководств

0 Комментарии к руководству

Добавить комментарий

Статистика просмотров:

За последние 24 часов: 0

За последние 7 дней: 7

За последние 30 дней: 31

За всё время: 437