Перейти к основному содержанию
Присоединяйся к сообществу ремонтников - Создай аккаунт

Rug Doctor Spray Button Replacement

Выберете то, что вам нужно

  1. Rug Doctor Spray Button Replacement, Handle: шаг 1, изображение 1 из 1
    • Before you begin disassembly, make sure that the Rug Doctor is not plugged in and that all reservoirs are empty of liquids.

    • Unclip the clear hose from the back of the Rug Doctor.

    Спросите у FixBot
  2. Rug Doctor Spray Button Replacement: шаг 2, изображение 1 из 2 Rug Doctor Spray Button Replacement: шаг 2, изображение 2 из 2
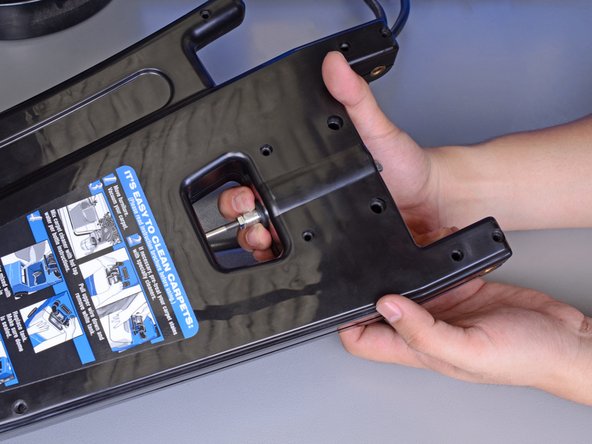
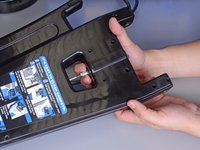
    • Use a 7/16" (11 mm OK) wrench to hold the handle axle while you use a 7/16" socket to remove the cap nut securing the axle end.

    Спросите у FixBot
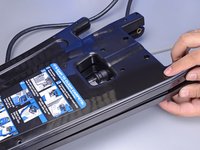
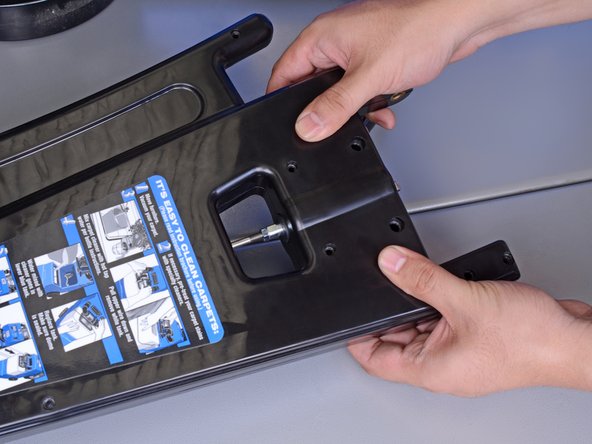
  3. Rug Doctor Spray Button Replacement: шаг 3, изображение 1 из 2 Rug Doctor Spray Button Replacement: шаг 3, изображение 2 из 2
    • Support the handle with one hand. It will be loose after this step.

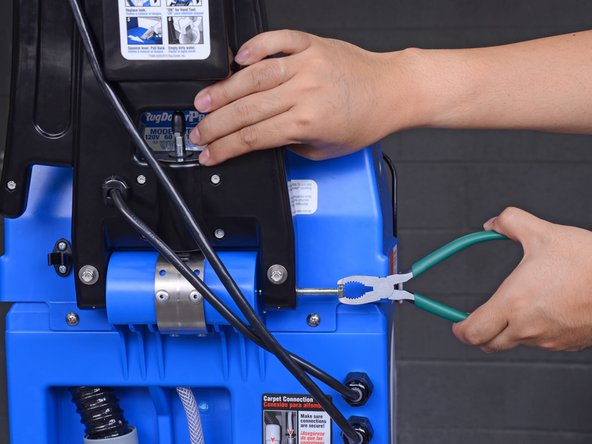
    • Use fingers or pliers to pull out the handle axle.

    • If the axle feels hard to pull out, squeeze the handle release lever to release pressure on the axle.

    Спросите у FixBot
  4. Rug Doctor Spray Button Replacement: шаг 4, изображение 1 из 1
    • Detach the handle from the Rug Doctor and set it down.

    • If you need more cable slack, you can set the Rug Doctor on its side.

    Спросите у FixBot
  5. Rug Doctor Spray Button Replacement, Spray Button: шаг 5, изображение 1 из 2 Rug Doctor Spray Button Replacement, Spray Button: шаг 5, изображение 2 из 2
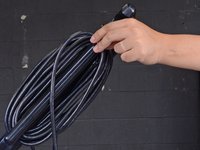
    • Uncoil the power cable from the handle.

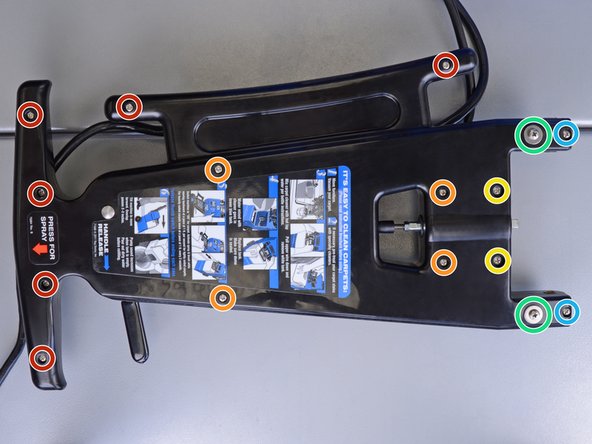
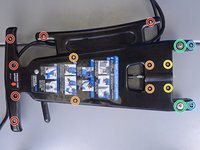
    • Remove the sixteen Phillips fasteners of the following lengths:

    • Six 22.7 mm machine screws

    • Four 35.3 mm machine screws

    • Two 25.2 mm (thicker) machine screws

    • Two 48.4 mm bolts with washers

    • When reinstalling these, the order should be: bolt, washer, handle, washer, 3/8" nut.

    • Two 30.1 mm screws

    Спросите у FixBot
  6. Rug Doctor Spray Button Replacement: шаг 6, изображение 1 из 2 Rug Doctor Spray Button Replacement: шаг 6, изображение 2 из 2
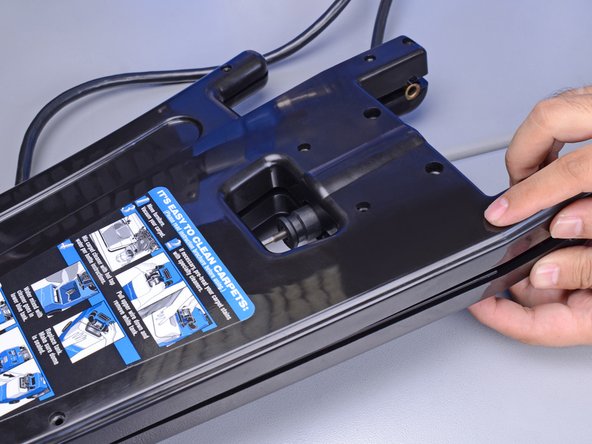
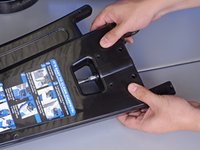
    • Separate the bottom edge of the handle slightly until the spring-loaded plunger pops out of its socket.

    Спросите у FixBot
  7. Rug Doctor Spray Button Replacement: шаг 7, изображение 1 из 3 Rug Doctor Spray Button Replacement: шаг 7, изображение 2 из 3 Rug Doctor Spray Button Replacement: шаг 7, изображение 3 из 3
    • Re-assembly tip—Follow this step to re-seat the plunger.

    • Use your fingers to push the black plunger down towards the bottom of the handle into position. This may take significant force.

    • Once the plunger slips into position, squeeze the the two handle halves together.

    • If done correctly, the handle should close tightly without a gap and lock the plunger in place.

    • If that doesn't happen, check to see if the plunger is properly positioned, and that no wires are pinched.

    • Continue squeezing the two handle halves together while you reinstall the handle's lower screws.

    Спросите у FixBot
  8. Rug Doctor Spray Button Replacement: шаг 8, изображение 1 из 2 Rug Doctor Spray Button Replacement: шаг 8, изображение 2 из 2
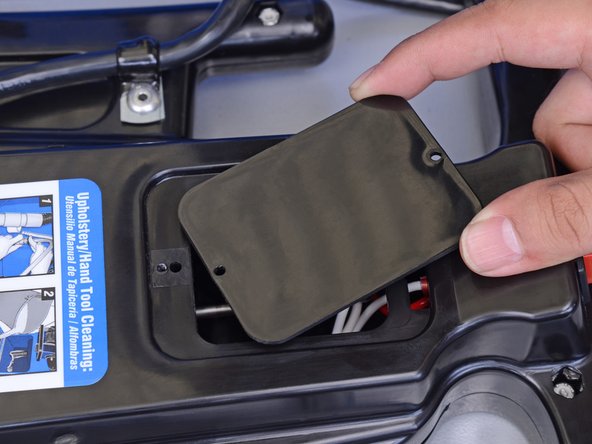
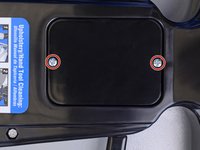
    • Remove the two 11.4 mm long Phillips screws holding the cover plate on the handle.

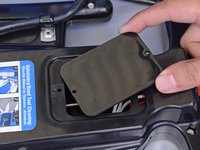
    • Remove the cover plate.

    Спросите у FixBot
  9. Rug Doctor Spray Button Replacement: шаг 9, изображение 1 из 3 Rug Doctor Spray Button Replacement: шаг 9, изображение 2 из 3 Rug Doctor Spray Button Replacement: шаг 9, изображение 3 из 3
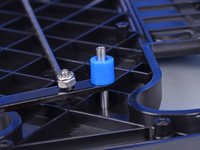
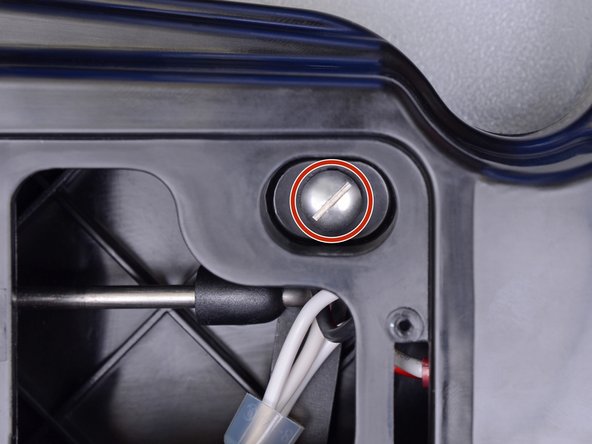
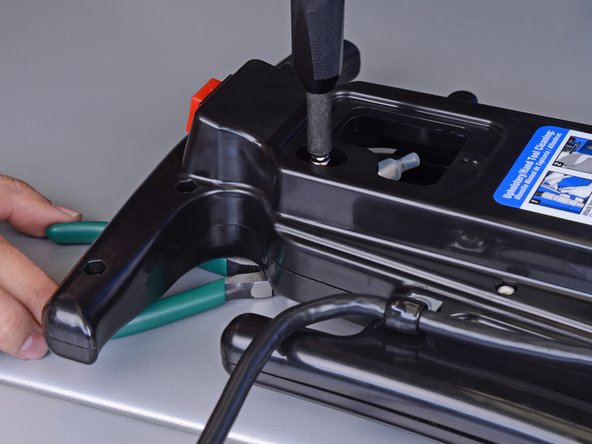
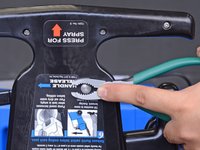
    • Use a pair of pliers to grasp the lip of the screw post close to the handle release lever.

    • While gripping the screw post, use a large flathead screwdriver to remove the machine screw mated to the other end of the screw post.

    Спросите у FixBot
  10. Rug Doctor Spray Button Replacement: шаг 10, изображение 1 из 2 Rug Doctor Spray Button Replacement: шаг 10, изображение 2 из 2
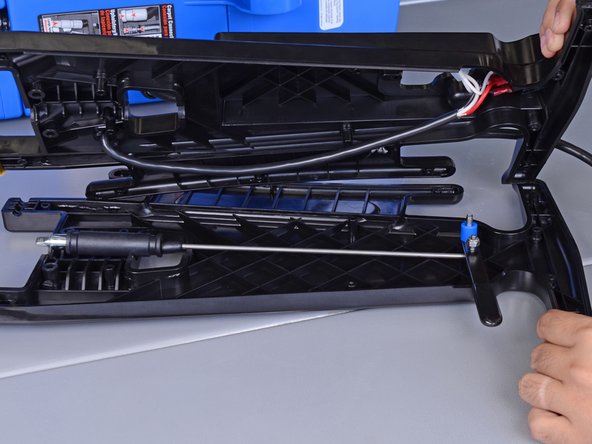
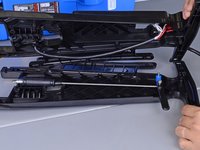
    • Pull the two handle halves apart.

    Спросите у FixBot
  11. Rug Doctor Spray Button Replacement: шаг 11, изображение 1 из 2 Rug Doctor Spray Button Replacement: шаг 11, изображение 2 из 2
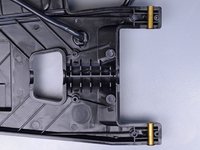
    • Re-assembly tip—Before you close the handle, check the following:

    • The lever mechanism components are properly stacked and oriented as shown.

    • Both brass bushings are in their sockets.

    Спросите у FixBot
  12. Rug Doctor Spray Button Replacement: шаг 12, изображение 1 из 3 Rug Doctor Spray Button Replacement: шаг 12, изображение 2 из 3 Rug Doctor Spray Button Replacement: шаг 12, изображение 3 из 3
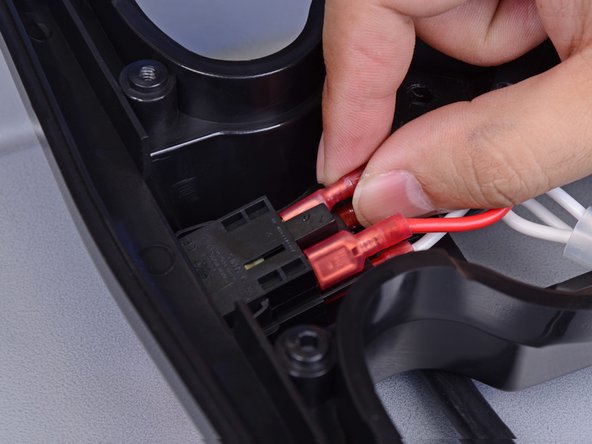
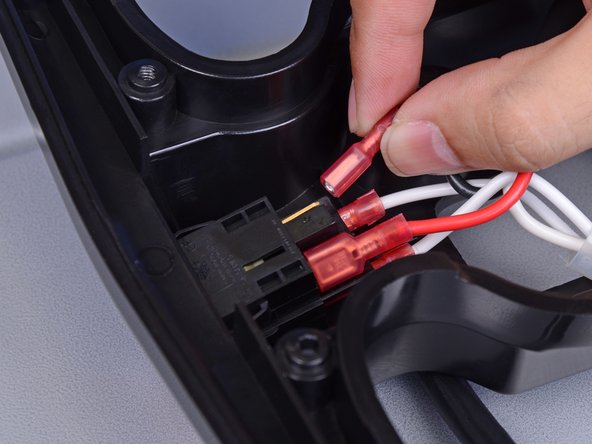
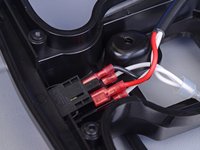
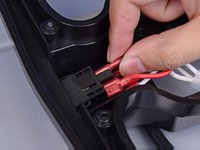
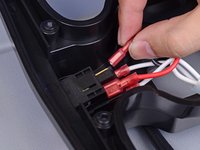
    • Note how the switch is wired:

    • Red and black wires on the top sockets (order does not matter)

    • Two white wires on the bottom sockets

    • Use fingers or pliers to wiggle and pull the four connectors from the switch module.

    Спросите у FixBot
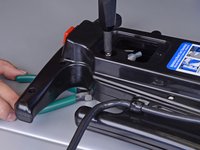
  13. Rug Doctor Spray Button Replacement: шаг 13, изображение 1 из 3 Rug Doctor Spray Button Replacement: шаг 13, изображение 2 из 3 Rug Doctor Spray Button Replacement: шаг 13, изображение 3 из 3
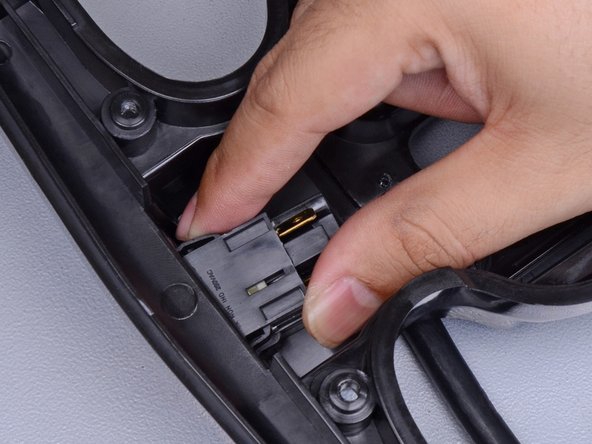
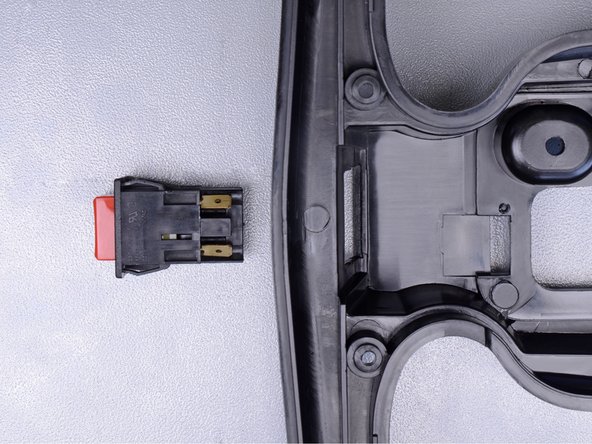
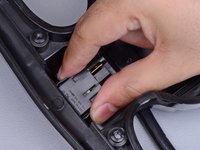
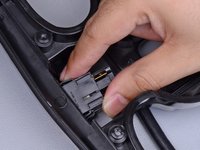
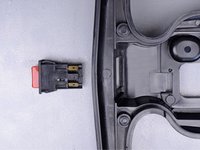
    • Use fingers or wide pliers to squeeze the black retainer tabs on each side of the button module.

    • While squeezing, wiggle and push the button module out of the front of the handle.

    • Remove the button module.

    • To install a replacement button, push the button in through the top of the handle until it clicks in place. It should not be loose or easily budged.

    Спросите у FixBot
Заключение

To reassemble your device, follow these instructions in reverse order while noting the re-assembly tips.

11 человек успешно провели ремонт по этому руководству.

Arthur Shi

Участник с: 01/03/18

335 619 Репутация

Автор 848 руководств

Команда

iFixit Участник iFixit

Staff

123 членов

Автор 25 697 руководств

3 Комментарии к руководству

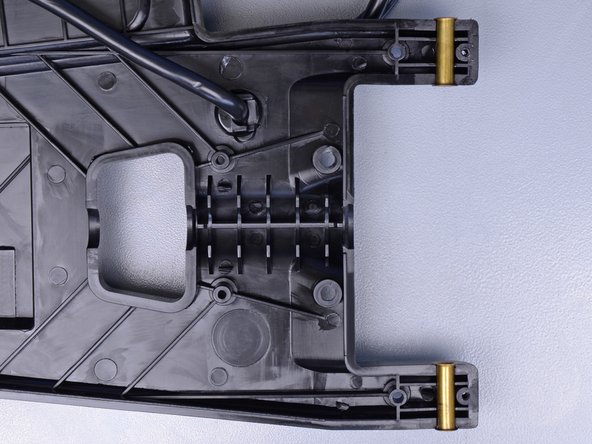
Remove the power cables strain relief at the handle for slack, not the 16 screws to split the handle. That takes all day and one time you will lose a screw or 2 or 4.
NICHOLAS - Ответить Поделиться

could not use pliers, label was as thick as face on head, will end up replacing whole handle assembly, bad choice for fastener

JOSEPH - Ответить Поделиться

cut a notch in the fastener with a dremel to get out the handle bolt

JEREMY - Ответить Поделиться

Добавить комментарий

Статистика просмотров:

За последние 24 часов: 9

За последние 7 дней: 46

За последние 30 дней: 157

За всё время: 7,832