Выберете то, что вам нужно
-
-
Using your thumb, press down and slide the back cover away from the camera.
 Спросите у FixBot
-
-
-
Remove the battery from the phone by using your plastic opening tool to find a gap at any edge of the battery and lifting the battery up.
-
-
-
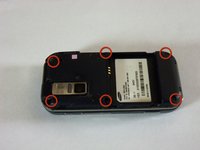
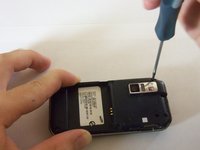
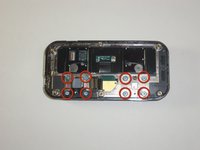
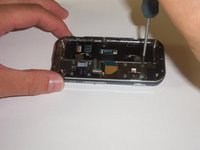
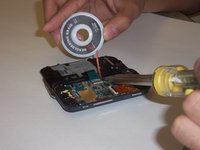
Use a Phillips #00 screwdriver to remove the six 4mm screws.
-
-
-
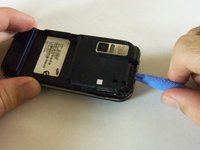
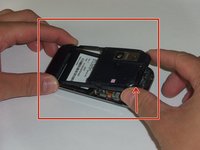
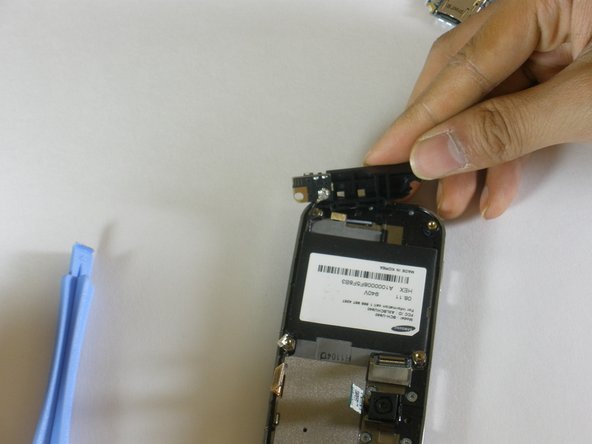
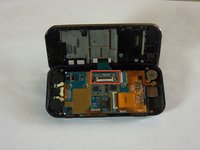
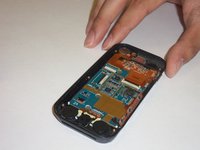
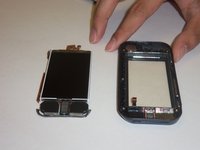
Find a gap on the top side of the phone and pry apart the phone case using the plastic opening tool . Use moderate pressure to slowly maneuver around until the case is pryed apart.
-
Take the case off with your fingers
-
-
-
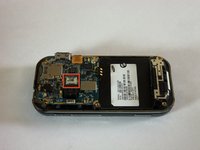
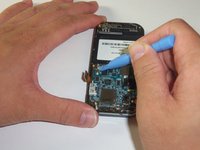
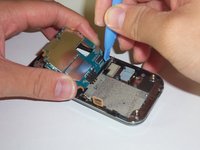
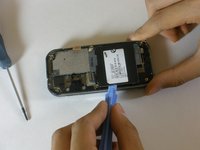
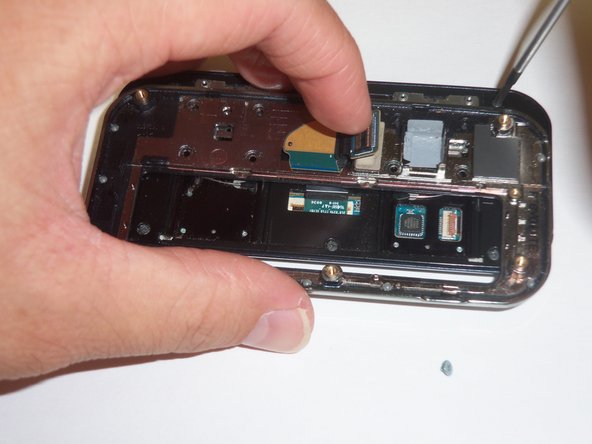
The green film is located above the camera. It is the camera connector to the motherboard.
-
Disconnect the camera connector with the plastic opening tool.
-
-
-
Take a close up of the picture for this step for a better view.
-
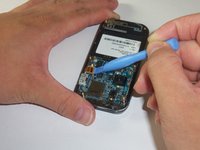
Use a plastic opening tool to disconnect the keyboard connector.
-
-
-
-
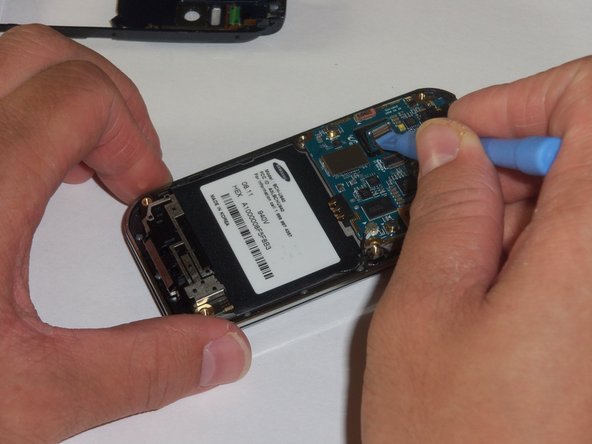
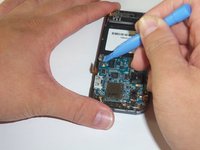
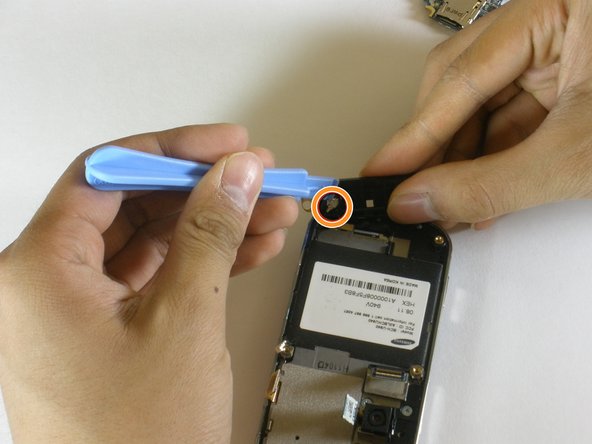
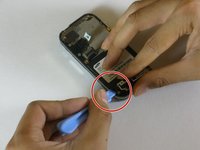
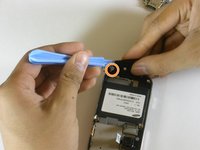
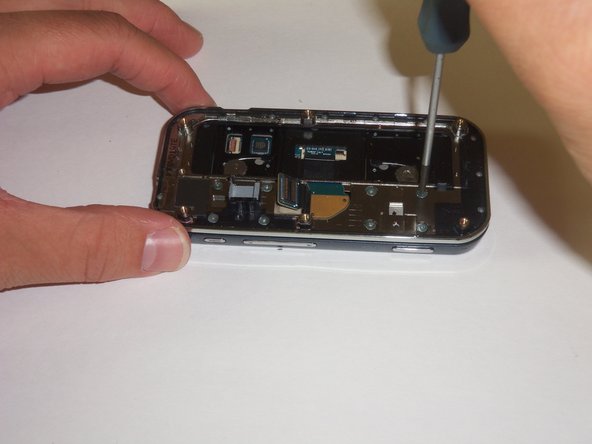
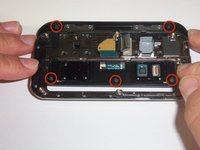
The motherboard is held in place by the circular connector.
-
Using a plastic opening tool, disconnect the circular connector.
-
-
-
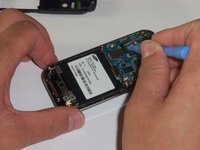
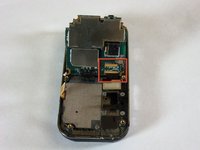
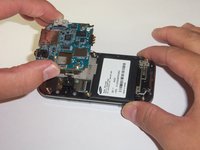
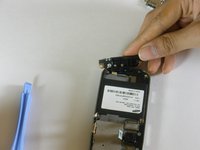
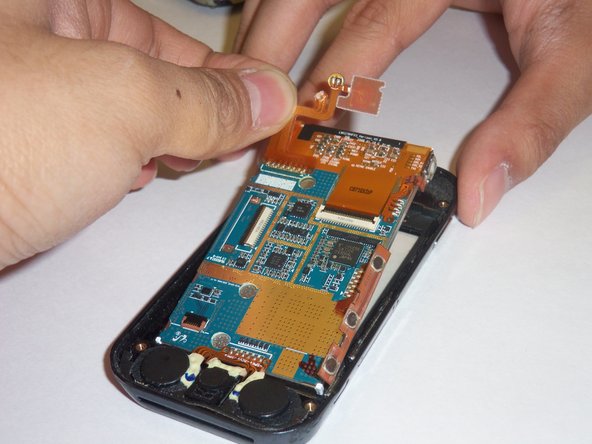
A LCD connector is located underneath the motherboard.
-
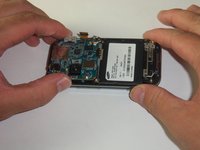
Lift the far edge of the motherboard gently upwards toward the center.
-
Using a plastic opening tool, disconnect the LCD connector.
-
-
-
Lift the motherboard up with your fingers.
-
Place the motherboard in a secure area.
-
-
-
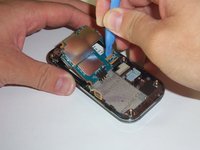
Look for the antenna which is located at the bottom end of the device. Prop the antenna out by using the plastic opening tool and slipping the tip of the tool into the edges of the antenna.
-
Using the plastic opening tool, disconnect the connector that leads from the phone to the antenna.
-
With your hands finish prying apart the antenna by lifting it up.
-
-
-
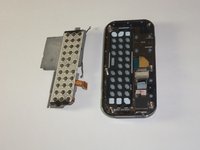
The keyboard chip is located on top of the device. Pry the keyboard off of the case with the plastic opening tool.
-
-
-
Using a #00 screwdriver, remove the 8 2mm screws connecting the display case to the sliding mechanism.
-
-
-
Now remove the 5 4mm screws located under the sliding mechanism connecting the back-plate to the display.
-
You will need to maneuver the sliding mechanism around to reach all of the screws.
-
-
-
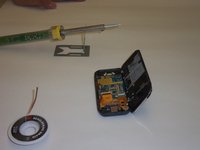
Now it's time to desolder some components. You can gain some instruction from here.
-
Using your soldering wick and a soldering iron, desolder the contacts of the flex cable.
-
-
-
After desoldering, verify that the gates on the two flex cables are in the "up" position and remove them.
-


To reassemble your device, follow these instructions in reverse order.
Отменить: Я не выполнил это руководство.
Еще один человек закончил это руководство.
Команда

Cal Poly, Team 3-12, Regan Fall 2011 Участник Cal Poly, Team 3-12, Regan Fall 2011
CPSU-REGAN-F11S3G12
4 членов
Автор 28 руководств