Введение
Sometimes the disk tray won’t open, and your favorite movie is stuck inside. Before just going and buying a new movie, try following the tips here in the troubleshooting page for this device. If the troubleshooting page doesn’t solve the issue, you may need to replace the disk drive, and your favorite movie. Sometimes the DVD reader is defective, and you will need to replace the disk drive as a whole. This guide will demonstrate how painless it is to replace the disk drive and get your blu-ray player back to playing your favorite movies.
Выберете то, что вам нужно
-
-
-
Using the Phillips #2 Screwdriver, remove the five 9mm from the bottom of the device.
-
Remove the metal cover.
-
-
-
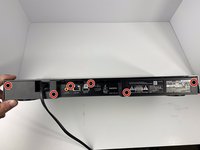
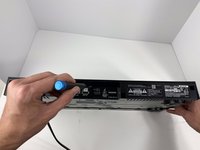
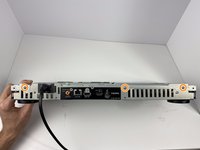
Using the Phillips #2 Screwdriver, remove the six 9mm screws from the back of the device.
-
-
-
-
-
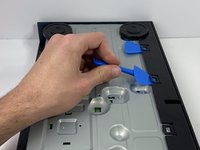
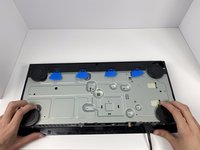
Using the plastic opening tool, open one of the tabs on the bottom of the device.
-
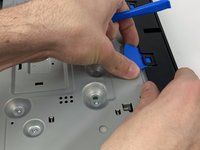
While keeping the tab open, insert a opening pick in between the opening tool and tab.
-
Repeat this for the 3 other tabs.
-
-
-
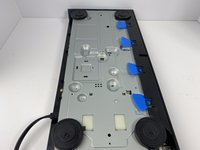
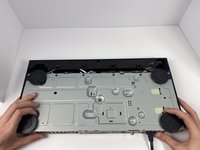
Place your hands on the two black circles on the bottom of the device.
-
Pull on the black circles to remove the device from its front panel cover.
-
-
-
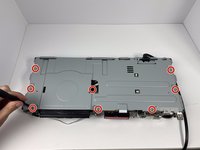
Using the Phillips #2 Screwdriver, remove the seven 9mm screws from the top of the device.
-
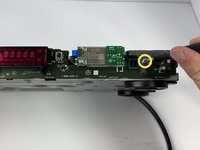
Using the same screwdriver, remove the three 9mm screws from the back of the device.
-
Using the same screwdriver, remove the one 9mm screw still connecting the small metal clip to the front of the device.
-
-
-
Remove the small metal clip on the front of the device.
-
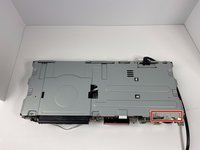
Remove the metal cover on the top of the device.
-
-
-
-
-
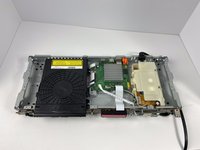
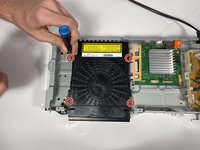
Using the Phillips #2 Screwdriver, unscrew the four 9mm screws from disk drive.
-
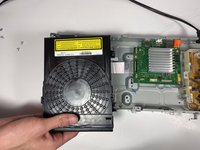
Disconnect the 3 ribbon cables connecting the disk drive to the motherboard
-
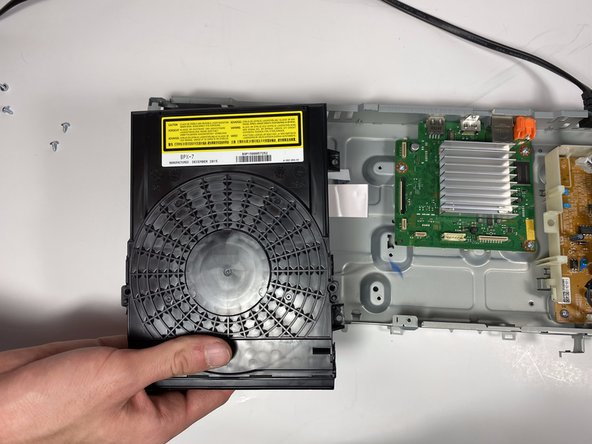
Pull the disk drive from the device to remove it.
-
-

 Спросите у FixBot











To reassemble your device, follow these instructions in reverse order.
Отменить: Я не выполнил это руководство.
Еще один человек закончил это руководство.

Команда

Embry-Riddle Aeronautical University, Team S7-G11, Rauch Spring 2020 Участник Embry-Riddle Aeronautical University, Team S7-G11, Rauch Spring 2020
ERAU-RAUCH-S20S7G11
3 членов
Автор 8 руководств
