Введение
This guide will help users replace damaged or malfunctioning LED control PCBs on the Sony SRS-XB43 Bluetooth speaker. Please refer to the Troubleshooting Page for other solutions before beginning the replacement guide steps.
Выберете то, что вам нужно
-
-
-
Insert the metal spudger into the mesh's seam/opening located at the bottom of the speaker.
-
Begin applying pressure, prying along the run of the seam until the mesh cover begins to come loose.
-
Fully open the hinged mesh cover and pry it off the unit.
 Спросите у FixBot
-
-
-
Turn the speaker so the back is facing you.
-
Remove the factory tamper seal below the speaker volume toggle to reveal a single screw.
-
Remove the single screw using a T8 Torx.
-
-
-
Slowly lift the speaker face off of the housing unit.
-
Unplug the six wires connecting the faceplate to the motherboard.
-
-
-
-
-
-
Orient the speaker's backplate so that the plastic chassis and internal electronics are facing upwards.
-
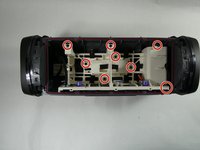
Remove the eight 10 mm screws securing the motherboard chassis to the backplate using a Phillips #1 screwdriver.
-
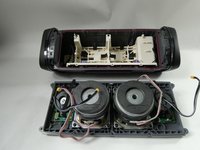
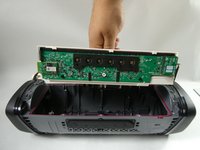
Grab the motherboard chassis and gently remove it from the backplate of the speaker.
-
-
-
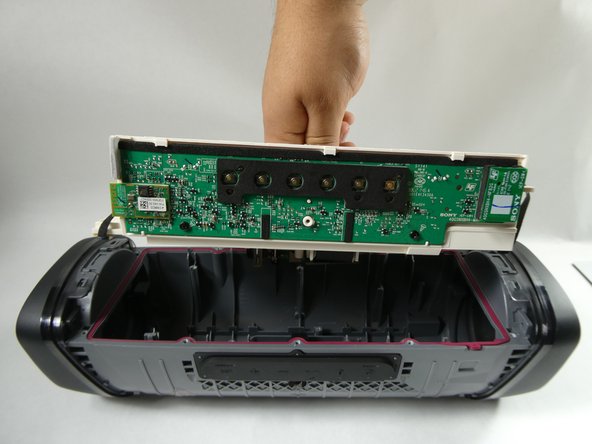
Orient the motherboard chassis so that the side with the six buttons is facedown on the table and the opposite side is visible to you.
-
Disconnect the seven-prong cable (the one with red, yellow, and black wires) plugged into the motherboard by prying on its edge/extruding lip with a spudger.
-
-
-
Orient the plastic chassis so that the port housing PCB is facing upward.
-
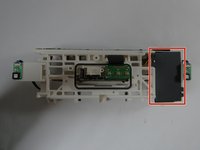
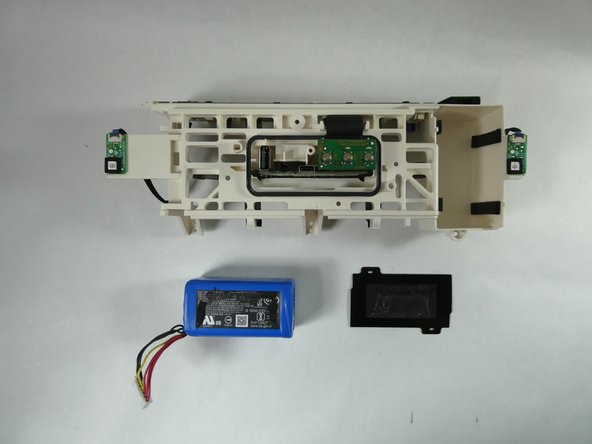
Remove the plastic black film covering the battery, leaving the blue battery exposed.
-
-
-
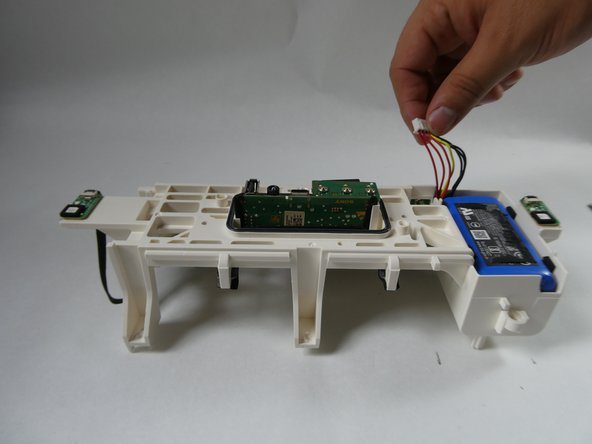
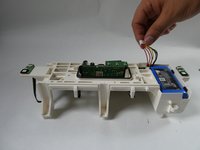
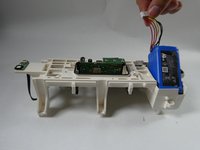
Lightly pull the seven-prong cable upwards until the battery is angled in such a way that you can get a proper grip on both sides with your fingers.
-
Using your fingers, pull upwards until the battery is removed from its enclosure.
-
-
-
-
-
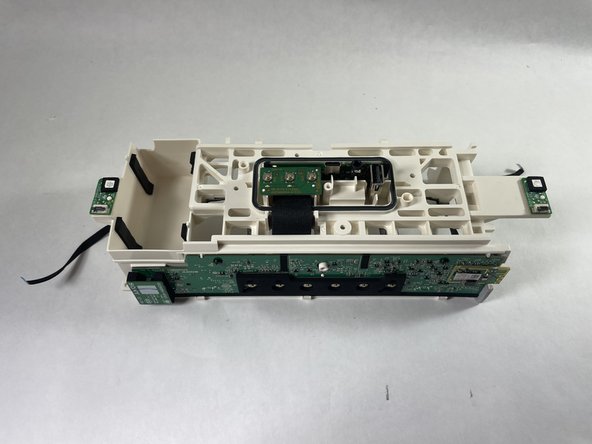
Orient the motherboard chassis so that the battery compartment is facing upwards.
-
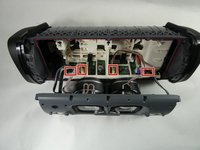
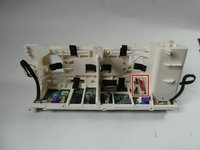
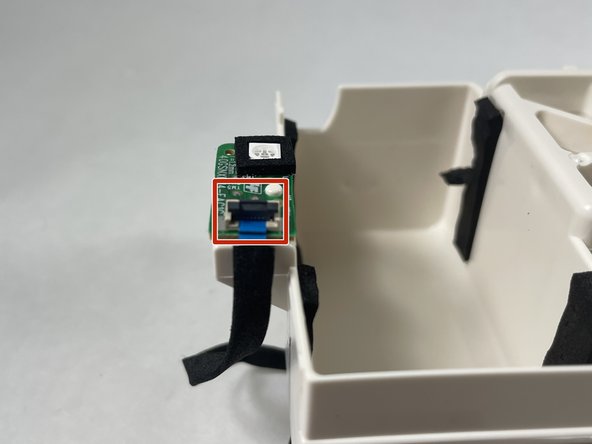
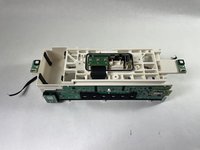
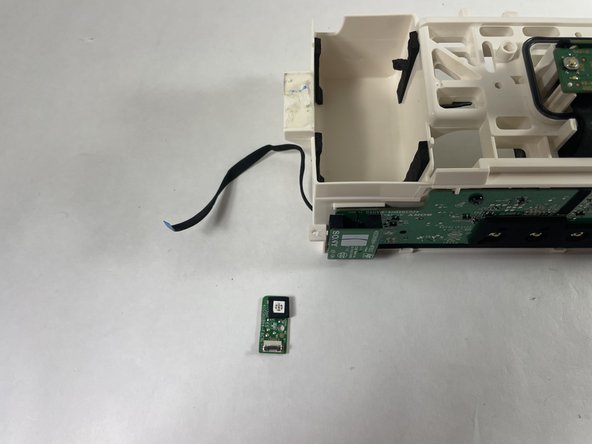
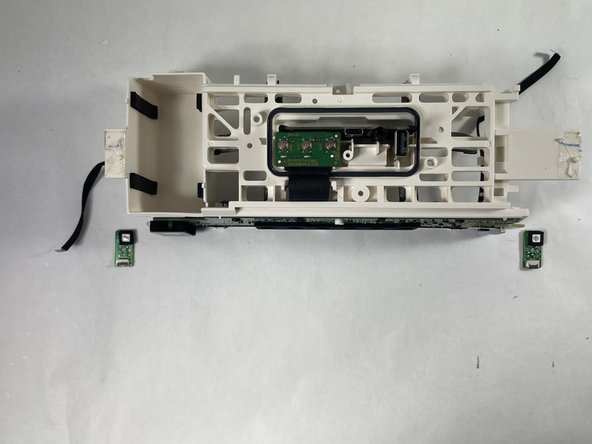
Identify the two LED control PCBs located on the left and right edges of the plastic chassis.
-
-
-
Identify the black latch on each of the plugs that are connected to the PBCs.
-
Swing the black latch open by gently prying the front/extruding lip of the plug with a spudger or other flat tool.
-
Grab each ribbon cable and apply a horizontal pulling force (with respect to the LED control PCBs) to disconnect them from the connectors.
-
-
Инструмент, используемый на этом этапе:Plastic Cards$2.99
-
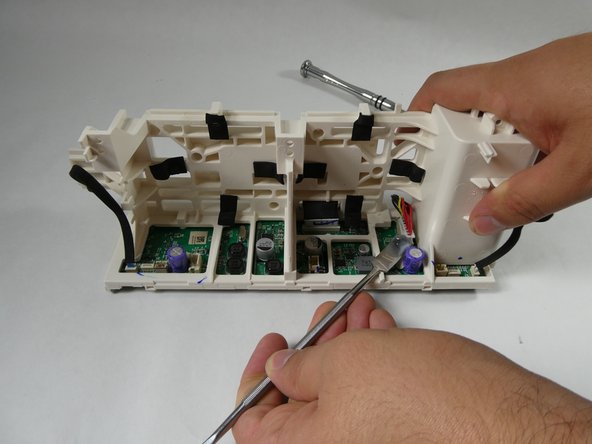
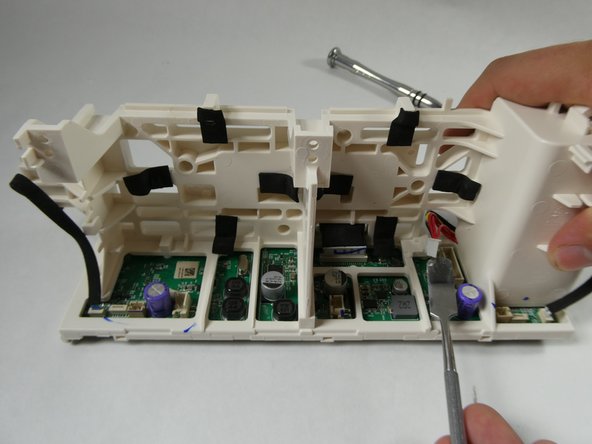
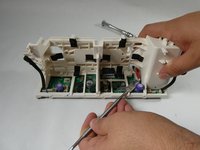
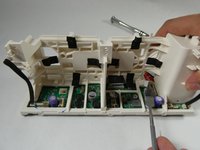
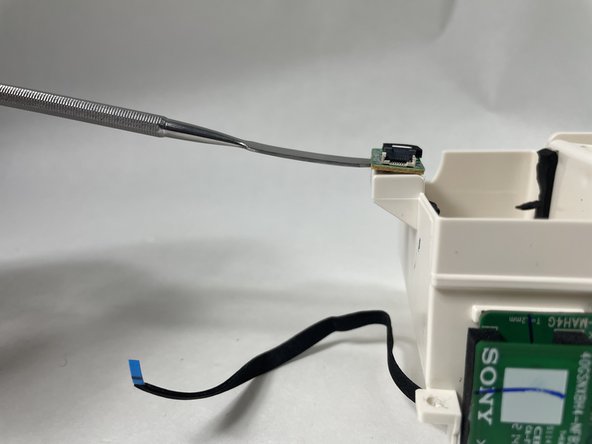
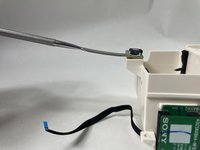
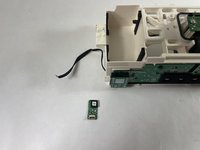
Insert the spudger below the LED control PCBs and pry to remove it from the plastic chassis.
-
-









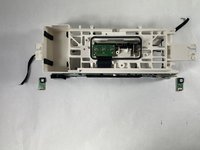
To reassemble your device, follow these instructions in reverse order.
Отменить: Я не выполнил это руководство.
2 человек успешно провели ремонт по этому руководству.

Команда

UMass Dartmouth, Team 3-5, Botvin Fall 2022 Участник UMass Dartmouth, Team 3-5, Botvin Fall 2022
UMASSD-BOTVIN-F22S3G5
4 членов
Автор 10 руководств
1 Комментарий к руководству
i need email to contact You please
