Введение
This guide is for the replacement of the USB-C module for the Sony Xperia XA1. It is common that after some time the USB-C receiver can go bad.
Before using this guide to replace the headphone jack, be sure to check out the troubleshooting page to ensure the speaker needs to be replaced.
Выберете то, что вам нужно
-
-
Using a hair dryer, apply heat evenly around the edges of the back of the phone. This will loosen the adhesive and allow you to remove the back panel.
-
As you're heating up the phone, begin to pry open the back starting from the middle, and going to the corners.
 Спросите у FixBot
-
-
-
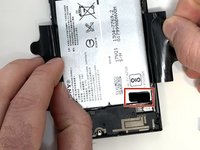
Use a plastic opening tool to lift the battery connector.
-
Lift the flaps on both sides of the battery.
-
-
-
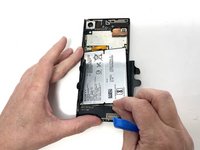
Pinch the pull tab at the bottom of the battery.
-
Gently lift the battery out.
-
-
-
-
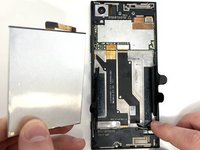
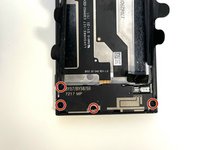
Use a Phillips #000 screwdriver to remove the four 3 mm screws that secure the bottom component.
-
-
-
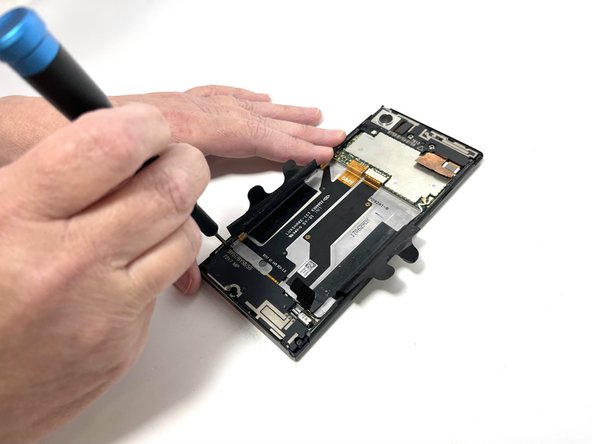
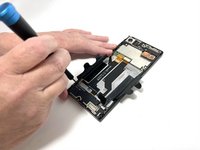
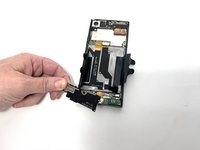
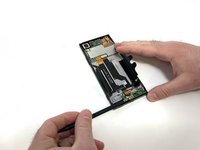
Insert a spudger into the opening above the charging port, and apply gentle pressure to free the speaker piece.
-
Once the piece is loose, use your hand to remove the speaker from the phone.
-
-
-
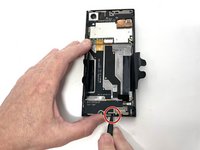
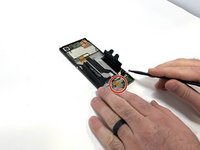
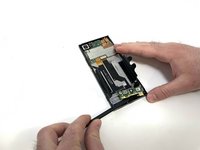
Locate the connecting cable and use a spudger or iFixit Opening Tool to remove the connector.
-
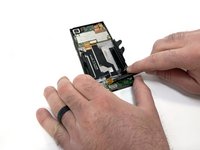
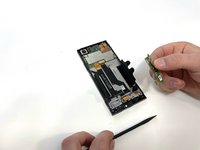
Disconnect the wifi/Bluetooth antenna wire, located at the top right of the USB-C charger board.
-
-
-
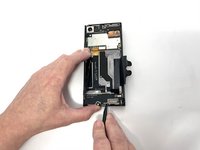
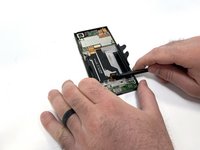
After removing the connector and antennas, you are able to pry the USB-C board using a plastic spudger.
-


To reassemble your device, follow these instructions in reverse order.
Команда

Utah Tech University, Team 1-4, McMurrin Spring 2023 Участник Utah Tech University, Team 1-4, McMurrin Spring 2023
UTAHTECH-MCMURRIN-S23S1G4
3 членов
Автор 7 руководств
1 Комментарий к руководству
thanks a lot, super clear, done everything in ~10 minutes