Введение
In this guide you will be required to take off the back cover of the device in order to locate and remove the battery. You will need to use a soldering iron to accomplish this task.
Because this task requires the use of a soldering iron, prior experience with soldering/desoldering will be beneficial.
Выберете то, что вам нужно
-
-
-
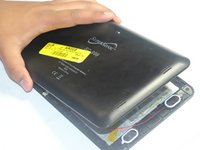
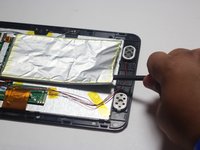
Wedge the plastic opening tool between the back cover of the device and the front panel.
-
You will hear a snapping sound as the cover is separated from the body of the device.
 Спросите у FixBot
-
-
-
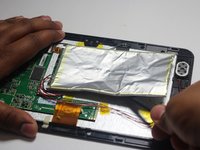
Slide the opening tool along the seam between the front panel and the back cover to un-clip the remaining connections around the device.
-
Again, you will hear a snapping sound as the cover is separated from the body of the device.
-
-
-
-
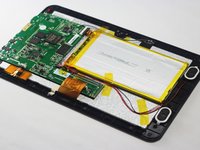
Lift the back cover from the body of the device to expose the internal components.
-
-
-
-
-
Remove the Battery
-
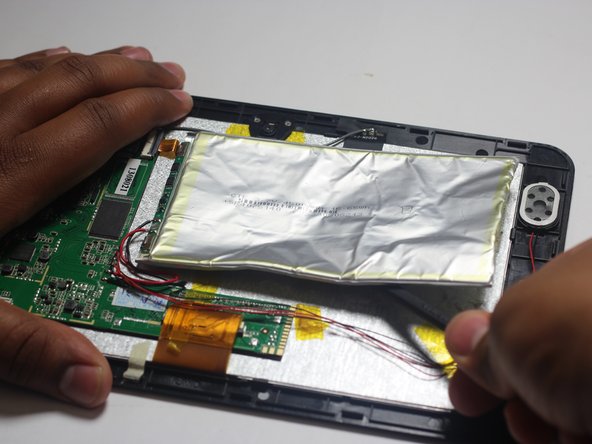
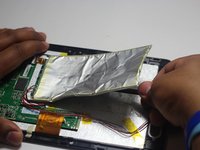
The battery is secured to the back panel with tape and glue.
-
Peel back the tape around the battery and discard it.
-
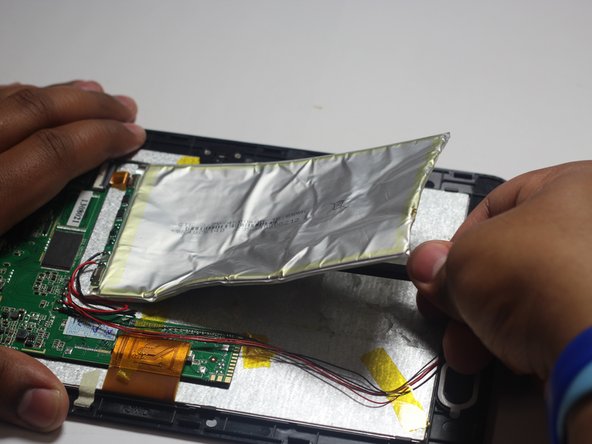
Tear through the adhesive holding the battery by using the spudger tool.
-
-
-
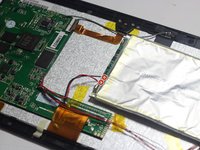
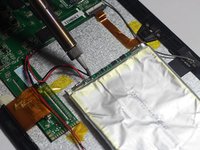
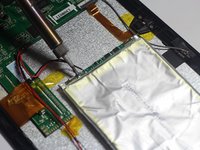
Desolder the 2 Battery Wires
-
The Battery has two wires connected to the motherboard (one black and one red).
-
-





To reassemble your device, follow these instructions in reverse order.
Отменить: Я не выполнил это руководство.
2 человек успешно провели ремонт по этому руководству.

Команда

Baylor, Team 6-1, Shaver Spring 2015 Участник Baylor, Team 6-1, Shaver Spring 2015
BU-SHAVER-S15S6G1
4 членов
Автор 18 руководств
