Введение
If the lens on the TMY V08 need to be replaced, the process to replace it will be found here. This guide is needed if the projection is obstructed, or if the lens is cracked. If any of these issues apply to your device, reference our troubleshooting guide.
Before beginning the replacement, the TMY V08 needs to be on a solid surface, for the motherboard to be safe. Also make sure the TMY V08 is away from carpets and non-hardwood floors. This will reduce the risk of static electric shocks that could damage the circuit or any other components.
Выберете то, что вам нужно
-
-
-
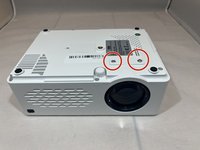
Turn the projector upside-down.
-
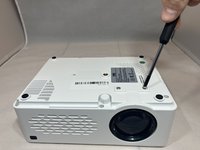
Remove the six 10.8 mm screws from the bottom of the projector using a Phillips #1 screwdriver.
-
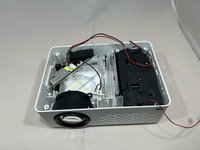
Turn the projector back over and lift the top casing panel off the projector.
 Спросите у FixBot
-
-
-
Pinch and pull the bundled cable connector from the top panel.
-
Remove the top panel from the projector.
-
-
-
-
-
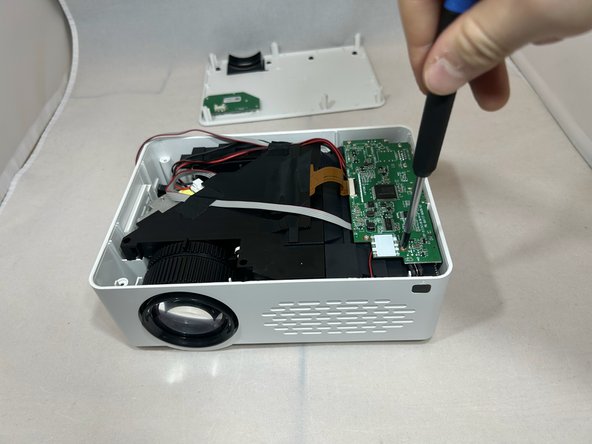
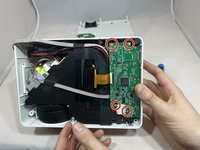
Remove the four 6.4 mm screws from the motherboard using a Phillips #1 screwdriver.
-
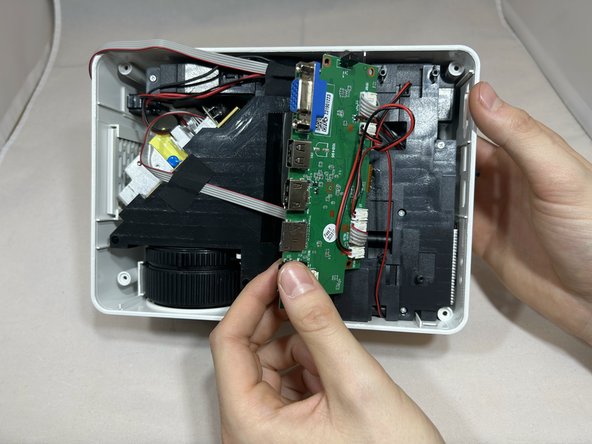
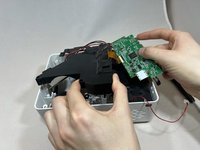
Pull back the motherboard to expose the connectors underneath.
-
-
-
-
Rotate the projector counterclockwise 90 degrees.
-
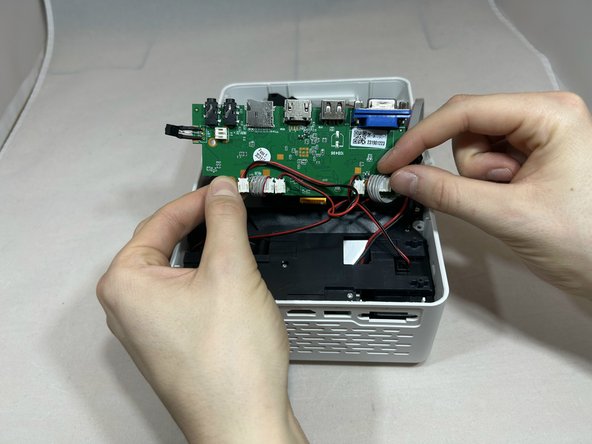
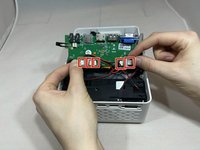
Disconnect the three bundled cable connectors and the two power cable connectors from the motherboard.
-
-
-
Rotate the projector counter clockwise with the front facing you.
-
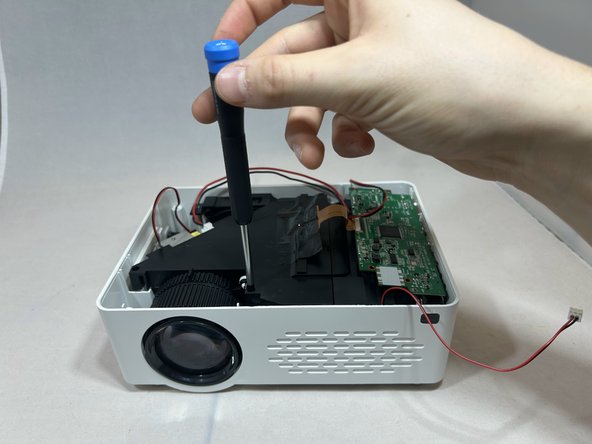
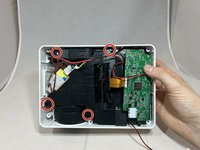
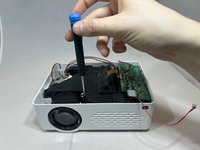
Remove the four 7.3 mm screws from the black cover to the left of the motherboard using a Phillips #1 screwdriver.
-
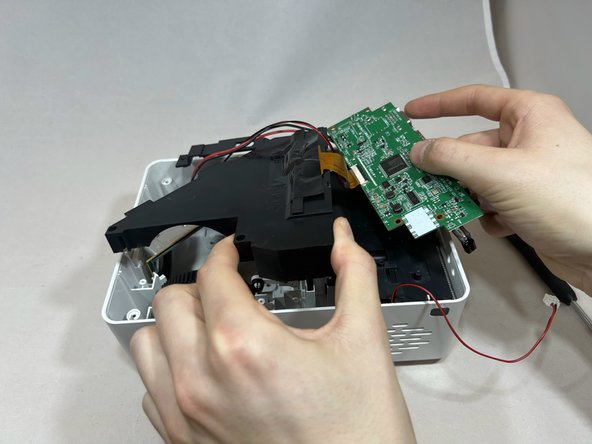
Remove the motherboard and black cover at the same time, being careful not to pull on the gold ribbon.
-
-
-
Flip the projector over so the bottom is facing up.
-
Remove the two 13.9 mm screws using a Phillips #1 screwdriver.
-
-
-
Flip the projector back over.
-
Remove the fine gauge adjustment, by lifting it out.
-
-
-
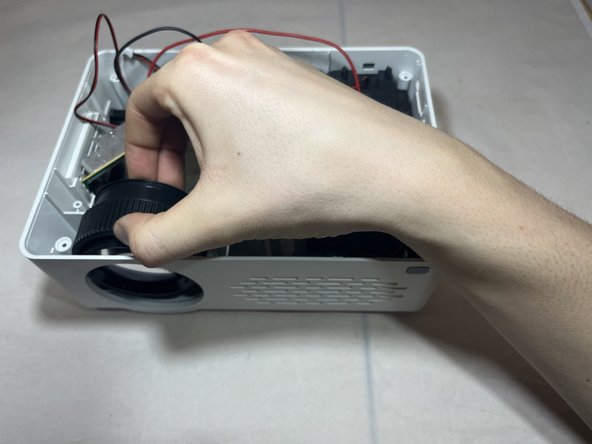
Grasp the side of the lens.
-
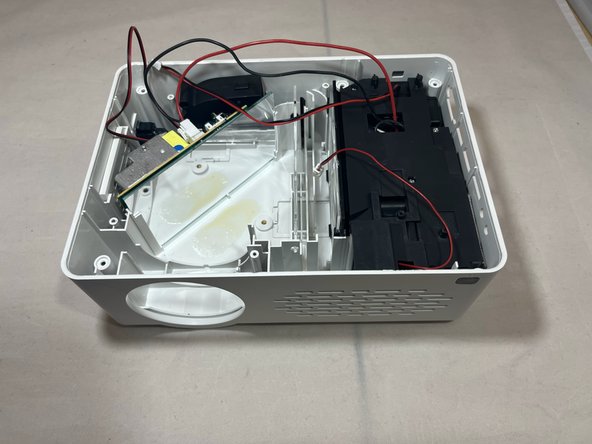
Pull the lens outward away from the hole while pulling upward to remove the lens.
-
-









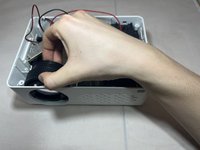
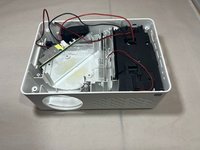
To reassemble your device, follow these instructions in reverse order.

Команда

Eastern Washington University, Team 1-5, Carnegie Fall 2023 Участник Eastern Washington University, Team 1-5, Carnegie Fall 2023
EWU-CARNEGIE-F23S1G5
4 членов
Автор 10 руководств
