Введение
Use this guide to replace a broken or faulty LCD display in your 7th Generation iPod Nano.
Выберете то, что вам нужно
-
-
Heat the iOpener for thirty seconds.
-
Throughout the repair procedure, as the iOpener cools, reheat it in the microwave for an additional thirty seconds at a time.
-
-
-
Remove the iOpener from the microwave, holding it by one of the two flat ends to avoid the hot center.
-
-
-
Fill a pot or pan with enough water to fully submerge an iOpener.
-
Heat the water to a boil. Turn off the heat.
-
Place an iOpener into the hot water for 2-3 minutes. Make sure the iOpener is fully submerged in the water.
-
Use tongs to extract the heated iOpener from the hot water.
-
Thoroughly dry the iOpener with a towel.
-
Your iOpener is ready for use! If you need to reheat the iOpener, heat the water to a boil, turn off the heat, and place the iOpener in the water for 2-3 minutes.
-
-
-
Lay the iOpener over the plastic tab to loosen the adhesive. Let the bag sit on the device for approximately 90 seconds before attempting to open the panel.
-
-
-
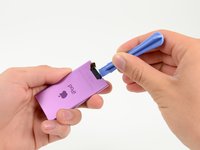
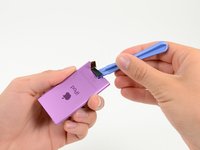
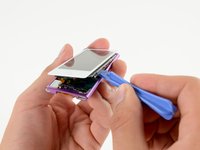
Use a plastic opening tool to pull the rear plastic cover away from the device until there is enough room to insert a spudger.
-
Insert a spudger under the cover, then pry it up and away from the device.
-
Remove the rear plastic cover from the iPod.
-
-
-
-
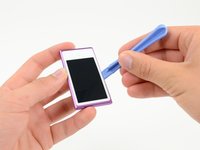
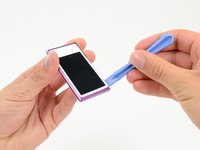
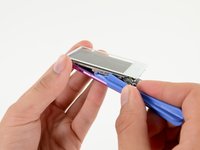
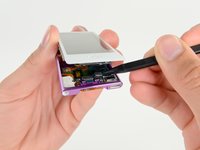
Insert a plastic opening tool into the seam between the white plastic front panel and the rear case.
-
Slide the opening tool along the edge of the front panel to free it from clips and adhesive.
-
-
-
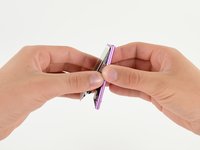
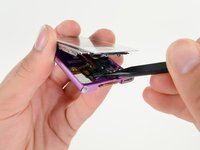
Use a metal spudger to carefully pry near the Lightning connector and under all parts of the front panel assembly: the front glass/digitizer, the LCD display and the metal midframe.
-
-
-
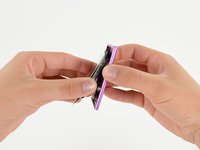
Continue prying along the edges under the front panel assembly, releasing the clips and adhesive along the sides of the device.
-
-
-
Use a spudger to release the digitizer cable and display data cable connectors.
-
-
-
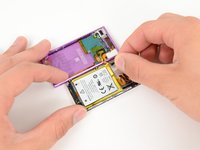
Insert a spudger under the metal midframe and display on the left side of the home button.
-
Rotate the spudger around the home button and across the front panel, releasing the adhesive holding the display in place.
-
-
-
Once all of the adhesive has been released, gently separate the display assembly from the front glass/digitizer.
-
-
-
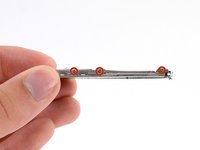
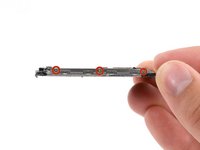
Remove the six (three on each side) 1.5 mm Phillips #000 screws securing the metal midframe to the display.
-
-
-
If there is tape holding the midframe to the display, remove it with a plastic opening tool.
-


To reassemble your device, follow these instructions in reverse order.
Отменить: Я не выполнил это руководство.
43 человек успешно провели ремонт по этому руководству.


3 Комментарии к руководству
My display didn’t come out intact, so I ordered a new one but it has no metal backing. Where could I get it?
Love the guide. In performing this myself very useful, but there are may small details that would have helped me and for the first time novice such as:
- Describing in more detail how to separate the Digitizer and Display cables that intertwine and is connected to the home button.
- Recommend repair novice taking their own pictures as reference points to go back to
- Tools a good magnifying lens or a means to see small part details
- Provide more insight on how the display metal back is to be removed after folding back display cables and removing corner tape.
- Not all repair parts are the same; recommend basic instruction on common steps for parts that require re-applying the metal back, and folding over the cables
All-in-all a good guide…Thanks.
while removing the screen you should slightly pull it toward the bottom of the device because the top of the screen frame sits under the bezle of the device