Введение
Use this guide to replace the camera on your iView-776TPCII if it is not working properly. In the camera assembly, there are both front and back lenses that must be detached from the tablet shell. There is one ZIF connection to dismantle and it is necessary to desolder connections from the camera assembly to the motherboard.
Выберете то, что вам нужно
-
-
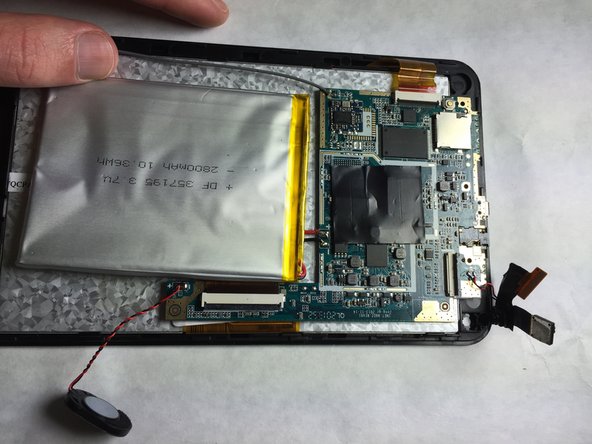
Use the plastic opening tool to release the clips holding the rear panel of the device onto the front section.
-
Continue around the entire device until all of the clips have been released.
 Спросите у FixBot
-
-
-
Use a spudger to carefully free the speaker from it's housing on the back panel.
-
Place the spudger between the speaker and the rear panel. Use a prying motion to remove the component.
-
-
-
Инструмент, используемый на этом этапе:Heavy-Duty Spudger$4.99
-
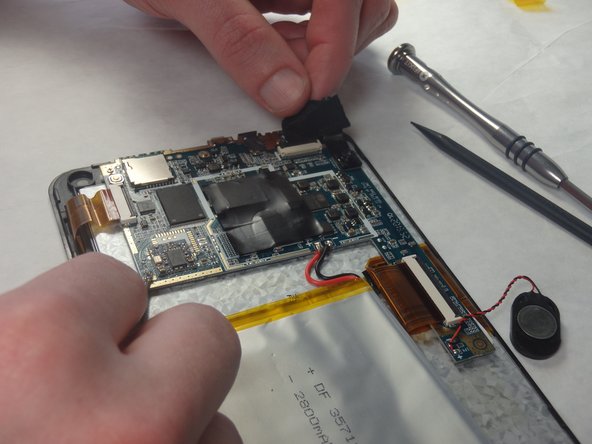
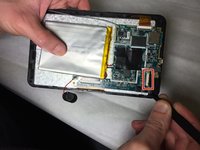
Loosen the edges of the black tape covering the camera using the heavy-duty spudger.
-
Use the freed edges of the tape to gently remove the camera assembly from its plastic housing.
-
-
Инструмент, используемый на этом этапе:Tweezers$4.99
-
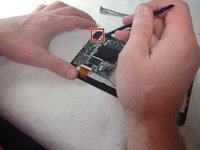
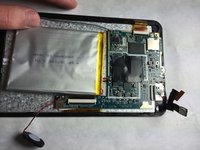
Use tweezers to lift the cover off the top of the camera's ZIF adapter.
-
Pull the assembly away from the motherboard with a set of tweezers to prepare for desoldering.
-
-
-
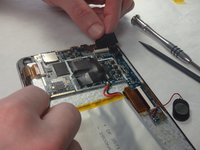
Use the Portable Soldering Iron tool to heat the leads coming from the camera assembly to the motherboard, thereby breaking the connection.
-
Once heated, use tweezers to pull the wires free from their connections.
-


To reassemble your device, follow these instructions in reverse order.
Отменить: Я не выполнил это руководство.
Еще один человек закончил это руководство.
Команда

IUPUI, Team 2-2, Baechle Fall 2015 Участник IUPUI, Team 2-2, Baechle Fall 2015
IUPUI-BAECHLE-F15S2G2
3 членов
Автор 12 руководств