Введение
Not getting the speed and memory out of your tablet that you would like? Is there a bad connection between the motherboard and the digitizer, which may cause a black screen? If so, use this guide to replace the motherboard on the device. Be sure not to lose the screws once you remove the motherboard. There are a total of three screws that fix the motherboard onto the digitizer.
Выберете то, что вам нужно
-
-
Use the plastic opening tool to release the clips holding the rear panel of the device onto the front section.
-
Continue around the entire device until all of the clips have been released.
 Спросите у FixBot
-
-
-
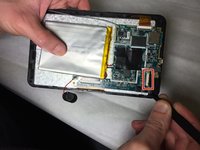
Use a spudger to carefully free the speaker from it's housing on the back panel.
-
Place the spudger between the speaker and the rear panel. Use a prying motion to remove the component.
-
-
-
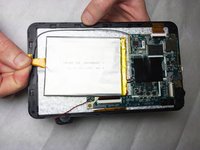
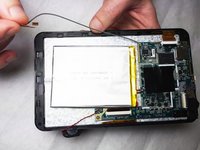
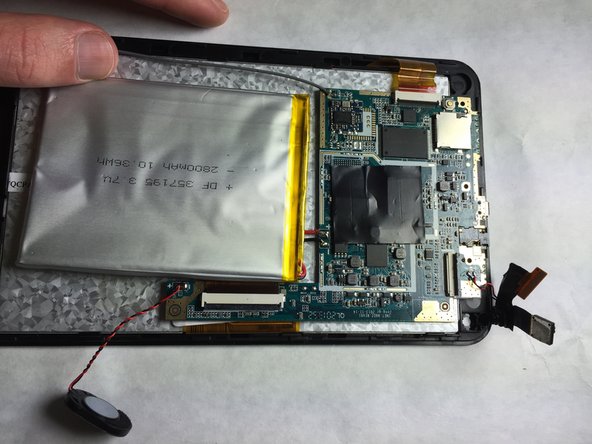
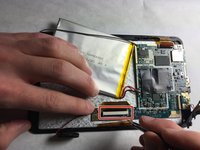
Insert the flat side of the standard spudger underneath the battery and use a prying action to loosen the glue holding it to the digitizer.
-
Do this all around the battery until it comes off.
-
-
Инструмент, используемый на этом этапе:Tweezers$4.99
-
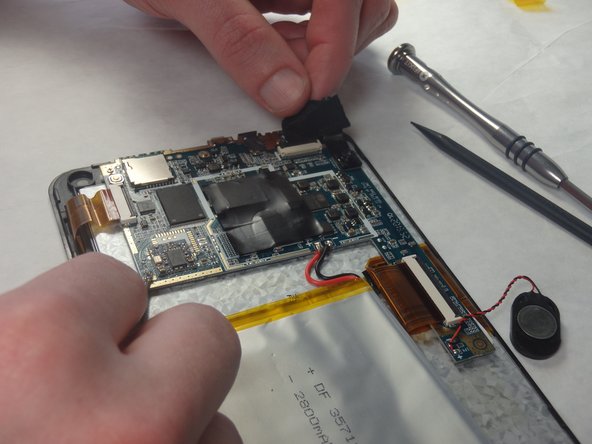
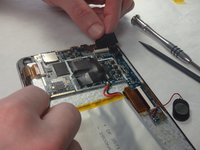
Use the Portable Soldering Iron tool to heat the leads coming from the battery to the motherboard, thereby breaking the connection.
-
Once heated, use tweezers to pull the wires free from their connections.
-
-
-
-
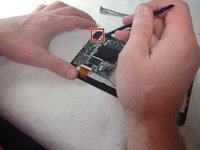
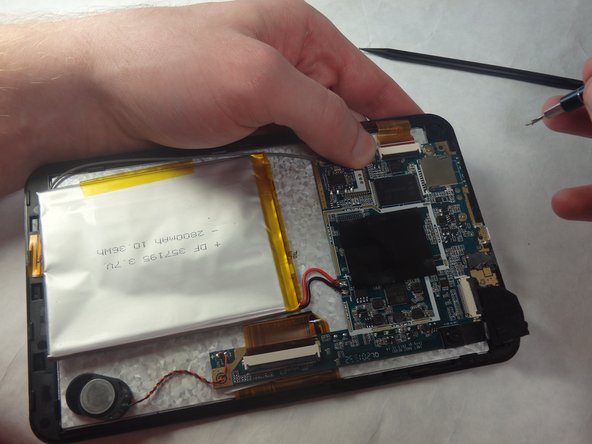
Detach the end of the Wi-Fi antenna from the tape on the edge of the shell.
-
-
Инструмент, используемый на этом этапе:Tweezers$4.99
-
Use the Portable Soldering Iron tool to heat the lead coming from the Wi-Fi antenna to the logic board, thereby breaking the connection.
-
Once heated, use tweezers to pull the wire free from its connection.
-
-
Инструмент, используемый на этом этапе:Heavy-Duty Spudger$4.99
-
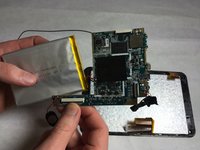
Loosen the edges of the black tape covering the camera using the heavy-duty spudger.
-
Use the freed edges of the tape to gently remove the camera assembly from its plastic housing.
-
-
Инструмент, используемый на этом этапе:Tweezers$4.99
-
Use tweezers to lift the cover off the top of the camera's ZIF adapter.
-
Pull the assembly away from the motherboard with a set of tweezers to prepare for desoldering.
-
-
-
Use the Portable Soldering Iron tool to heat the leads coming from the camera assembly to the motherboard, thereby breaking the connection.
-
Once heated, use tweezers to pull the wires free from their connections.
-
-
-
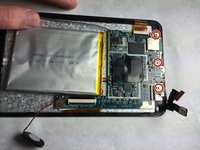
Remove the three 2.2mm Phillips head screws using a screwdriver to loosen the motherboard from the shell.
-
-
Инструмент, используемый на этом этапе:Tweezers$4.99
-
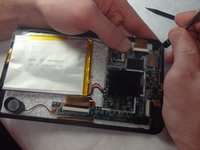
Use the 45 degree tweezers to lift the black section of the digitizer ZIF adapter to release the ribbon. Gently pull the ribbon cable out of its socket.
-
-
-
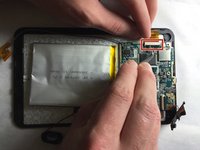
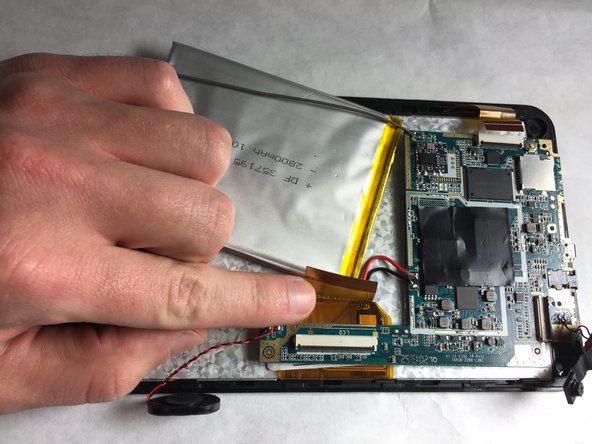
Use the 45 degree tweezers to lift the black section of the LCD ZIF adapter to release the ribbon. Gently pull the ribbon cable out of its socket.
-
The motherboard is now separated from the digitizer and front panel and can be safely removed from the device.
-


To reassemble your device, follow these instructions in reverse order.
Команда

IUPUI, Team 2-2, Baechle Fall 2015 Участник IUPUI, Team 2-2, Baechle Fall 2015
IUPUI-BAECHLE-F15S2G2
3 членов
Автор 12 руководств