Перейти к основному содержанию
Присоединяйся к сообществу ремонтников - Создай аккаунт

Beats Studio 2 Wireless Bluetooth Board Replacement

Выберете то, что вам нужно

    1. Beats Studio 2 Wireless Bluetooth Board Replacement, Ear Cushion: шаг 1, изображение 1 из 2 Beats Studio 2 Wireless Bluetooth Board Replacement, Ear Cushion: шаг 1, изображение 2 из 2
      • Insert a spudger between the plastic part of the left headphone and the ear cushion.

      • Work the spudger around the periphery of the base of the cushion and gently pry it off the head phone.

      Спросите у FixBot

      Добавить комментарий

    2. Beats Studio 2 Wireless Bluetooth Board Replacement: шаг 2, изображение 1 из 3 Beats Studio 2 Wireless Bluetooth Board Replacement: шаг 2, изображение 2 из 3 Beats Studio 2 Wireless Bluetooth Board Replacement: шаг 2, изображение 3 из 3
      • Pull the rest of the cushion away from the adhesive with your hands.

      Спросите у FixBot

      Добавить комментарий

    1. Beats Studio 2 Wireless Bluetooth Board Replacement, Speaker: шаг 3, изображение 1 из 2 Beats Studio 2 Wireless Bluetooth Board Replacement, Speaker: шаг 3, изображение 2 из 2
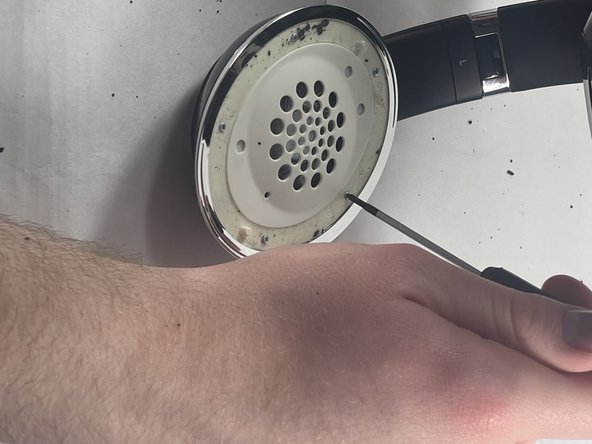
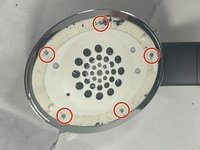
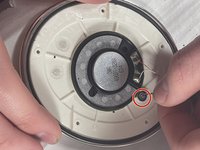
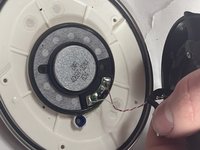
      • Using the Phillips #00 screwdriver, remove the screws holding the speaker in place.

      • If the speaker is on the side with the charging port be sure to keep the two screws holding the charging port separate.

      Спросите у FixBot

      Добавить комментарий

    2. Beats Studio 2 Wireless Bluetooth Board Replacement: шаг 4, изображение 1 из 1
      • Gently separate the speaker from the headphones.

      • Don't pull or yank the speaker from the headphones. They are connected together by wires that might be damaged.

      Спросите у FixBot

      Добавить комментарий

    3. Beats Studio 2 Wireless Bluetooth Board Replacement: шаг 5, изображение 1 из 2 Beats Studio 2 Wireless Bluetooth Board Replacement: шаг 5, изображение 2 из 2
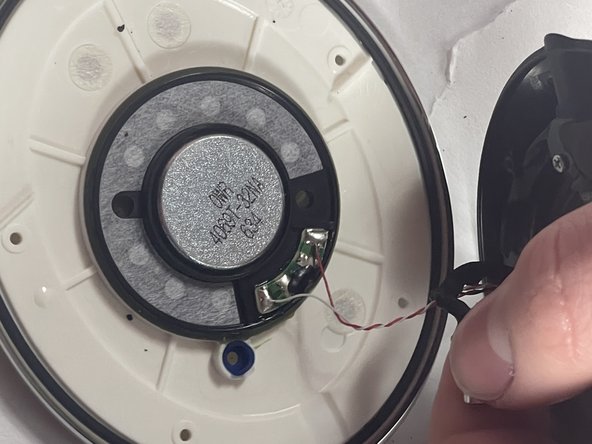
      • Gently pull the wire with rubber connectors off of the speaker.

      Спросите у FixBot

      Добавить комментарий

    4. Beats Studio 2 Wireless Bluetooth Board Replacement: шаг 6, изображение 1 из 1
      • Use a soldering iron to desolder the two connections.

      • For details on how to solder and desolder, refer to the How to Solder and Desolder Connections guide.

      • A soldering iron can produce very high temperatures, and can burn skin. Use with caution.

      • Note the position of the speaker in its housing, then carefully remove the faulty speaker.

      Спросите у FixBot

      Добавить комментарий

    1. Beats Studio 2 Wireless Bluetooth Board Replacement, Bluetooth Board: шаг 7, изображение 1 из 1
      • Peel off the sticker underneath the speaker.

      Спросите у FixBot

      Добавить комментарий

    2. Beats Studio 2 Wireless Bluetooth Board Replacement: шаг 8, изображение 1 из 1
      • Remove the center screw using a Phillips #00 screwdriver.

      Спросите у FixBot

      Добавить комментарий

    3. Beats Studio 2 Wireless Bluetooth Board Replacement: шаг 9, изображение 1 из 1
      • Separate the plastic case from the rubber backing by hand or with a spudger.

      Спросите у FixBot

      Добавить комментарий

    4. Beats Studio 2 Wireless Bluetooth Board Replacement: шаг 10, изображение 1 из 2 Beats Studio 2 Wireless Bluetooth Board Replacement: шаг 10, изображение 2 из 2
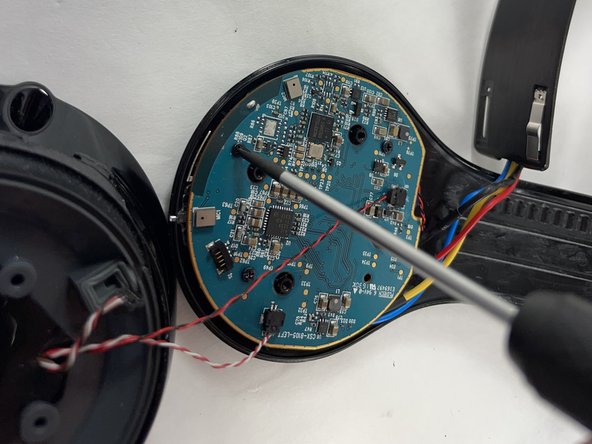
      • Use a Phillips #00 to remove the four screws securing the case on top of the Bluetooth board.

      Спросите у FixBot

      Добавить комментарий

    5. Beats Studio 2 Wireless Bluetooth Board Replacement: шаг 11, изображение 1 из 1
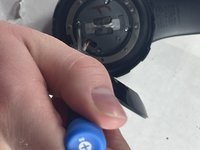
      • Use a spudger to gently pry the left headband clip to free the earphone from the hinge.

      • This picture shows this for the right earphone, but the process should be exactly the same for the left side.

      Спросите у FixBot

      Добавить комментарий

    6. Beats Studio 2 Wireless Bluetooth Board Replacement: шаг 12, изображение 1 из 1
      • Slide the front case down to separate it from the back and reveal the Bluetooth board.

      Спросите у FixBot

      Добавить комментарий

    7. Beats Studio 2 Wireless Bluetooth Board Replacement: шаг 13, изображение 1 из 2 Beats Studio 2 Wireless Bluetooth Board Replacement: шаг 13, изображение 2 из 2
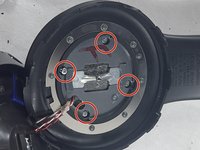
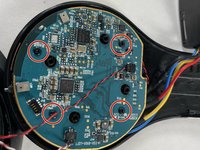
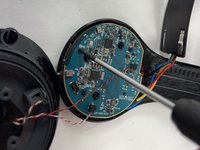
      • Remove the four screws from the Bluetooth board with the Phillips #00 screwdriver.

      • This will free the Bluetooth board from the back case.

      Спросите у FixBot

      Добавить комментарий

    8. Beats Studio 2 Wireless Bluetooth Board Replacement: шаг 14, изображение 1 из 2 Beats Studio 2 Wireless Bluetooth Board Replacement: шаг 14, изображение 2 из 2
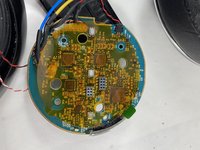
      • Remove the Bluetooth board from the case.

      • Remove the translucent sticker from the back of the Bluetooth board.

      Спросите у FixBot

      Добавить комментарий

    9. Beats Studio 2 Wireless Bluetooth Board Replacement: шаг 15, изображение 1 из 1
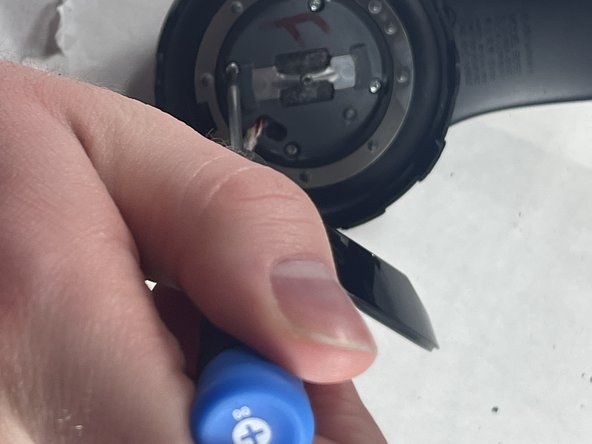
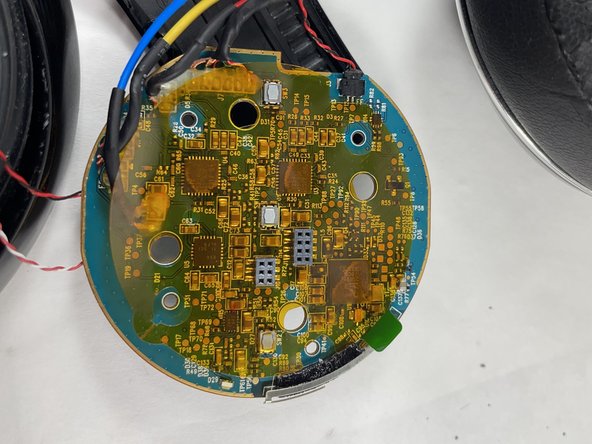
      • Use the pointed tip of a spudger to carefully push on each side of the connector to remove it from the socket.

      Спросите у FixBot

      Добавить комментарий

    10. Beats Studio 2 Wireless Bluetooth Board Replacement: шаг 16, изображение 1 из 1
      • Desolder the RYB connectors, and the connector attached to the black wire using a soldering iron.

      • For information on desoldering connections, see the How to Solder and Desolder Connections Guide.

      • The soldering iron can reach very high temperatures. Use it with caution.

      Спросите у FixBot

      Добавить комментарий

Заключение

To reassemble your device, follow these instructions in reverse order.

Отменить: Я не выполнил это руководство.

3 человек успешно провели ремонт по этому руководству.

Jack Wilson

Участник с: 03/20/23

599 Репутация

Автор 2 руководств

Команда

UMass Dartmouth, Team 5-3, Ramos Spring 2023 Участник UMass Dartmouth, Team 5-3, Ramos Spring 2023

UMASSD-RAMOS-S23S5G3

3 членов

Автор 16 руководств

1 Комментарий к руководству

Hi, can you help me out with a wiring diagram to the bluetooth board, all my wires got torn loose from my old board and i do not know where to solder the new wires to which connections. If you could post a picture with which coloured wires go where , that would be most helpful, thanks.

Roger Bee_44 - Ответить Поделиться

Добавить комментарий

Статистика просмотров:

За последние 24 часов: 2

За последние 7 дней: 13

За последние 30 дней: 56

За всё время: 2,946