Введение
The guide will take you through the steps to remove and replace the complete screen assembly for the Dell XPS 15 9575 laptop.
Issues with the screen should be fairly easy to detect, from flickering or black bars across the screen, to cracks or physical damage. Check out the Dell XPS 15 9575 Troubleshooting Page for more details on when you need to replace your screen.
This guide will replace the entire screen assembly, including the top case, so if your replacement part only includes the LCD you may need to take some additional steps to affix it to the old top case. Should you end up doing these extra steps, you should take some pictures and document the process so that future users can follow along!
Выберете то, что вам нужно
-
-
-
Use your T5 Torx driver to remove all eight 3.2 mm screws holding down the back panel.
-
Wedge an opening pick between the back cover and the base of the board, then slightly lift the tool to pop the clips on the back cover off.
 Спросите у FixBot
-
-
-
Remove the bottom cover from the device when all sides are free.
-
-
-
-
-
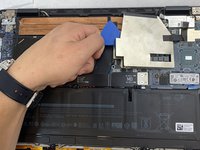
Wedge the plastic opening pick in between the aluminum cover and the motherboard.
-
Gently pull up popping off the cover and revealing the rest of the heat sink.
-
-
-
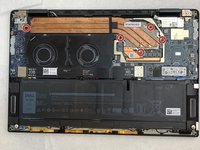
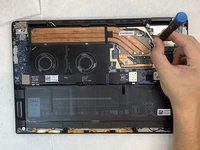
Use the Phillips #0 screwdriver to remove all five black 3.2mm screws.
-
-
-
-
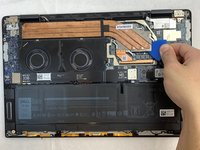
Wedge the plastic opening pick in between the edge of the heat sink and the aluminum perimeter with care not to scratch the CPU beneath.
-
Gently pry up on the heat sink until it is loose enough for you to remove. Then grab and remove the heat sink.
-
-
-
-
Инструмент, используемый на этом этапе:Tweezers$4.99
-
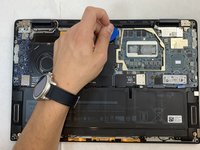
Use a plastic opening pick to pop up the small black tab of the touchscreen ZIF connector.
-
Use the tweezers to remove the orange ribbon cable from the connector and peel the ribbon from the backboard, as it's secured with a light adhesive.
-
-
-
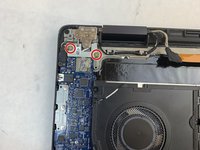
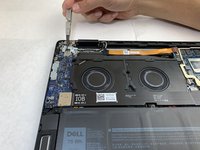
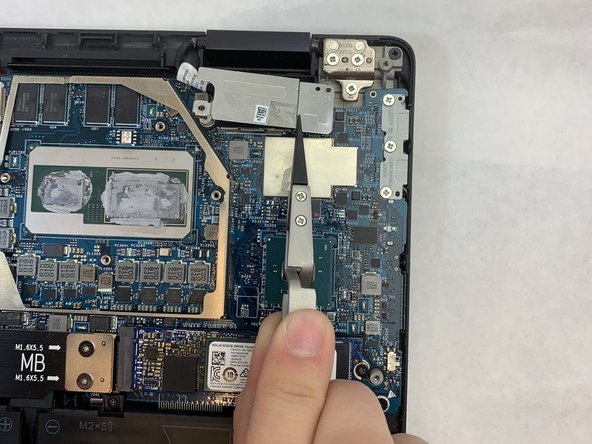
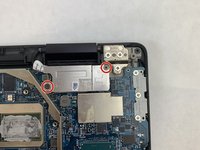
Use the Phillips #0 screwdriver to remove two 3.2 mm silver screws.
-
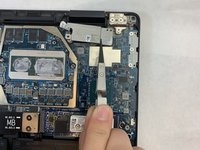
Use the tweezers to remove the grey cover.
-
Use the tweezers and gently pull straight up on each of the coaxial cables to disconnect them from their specialized brackets.
-
Reposition the tweezers farther up on the wire and pull forward to remove the wires from the plastic guides that hold the them in place.
-
-
-
Use the Phillips #0 screwdriver to remove the two 3.2 mm black screws holding down the cover.
-
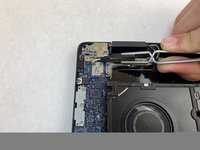
Now use the tweezers to carefully remove the silver cover from the backboard.
-
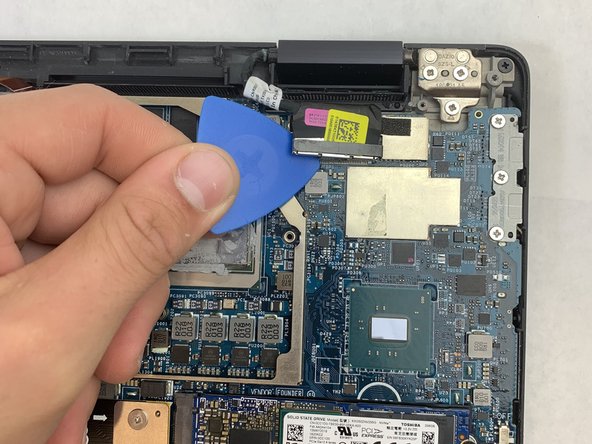
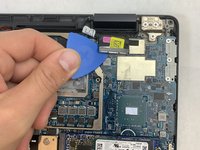
Gently wedge the plastic opening pick in between the display cable and the backboard.
-
Gently pry up disconnecting the adapter with the display cable from its bracket.
-
-
-
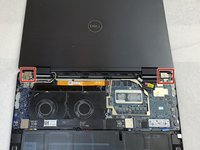
Open the screen until it is 180 degrees from the keyboard and then lay the laptop face down.
-
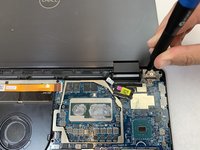
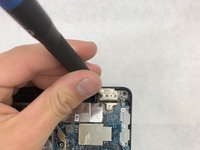
Use the Phillips #0 screwdriver to remove the six, 6.3 mm, silver screws securing the hinges.
-
-
-
Grip the screen assembly and gently pull straight up from the table removing the entire assembly.
-
-














To reassemble your device, follow these instructions in reverse order.
Отменить: Я не выполнил это руководство.
Еще один человек закончил это руководство.

Команда

Embry-Riddle Aeronautical University, Team S1-G1, Watkins Fall 2019 Участник Embry-Riddle Aeronautical University, Team S1-G1, Watkins Fall 2019
ERAU-WATKINS-F19S1G1
4 членов
Автор 44 руководств
