Перейти к основному содержанию
Присоединяйся к сообществу ремонтников - Создай аккаунт

DualSense Controller v2 Button Replacement

Выберете то, что вам нужно

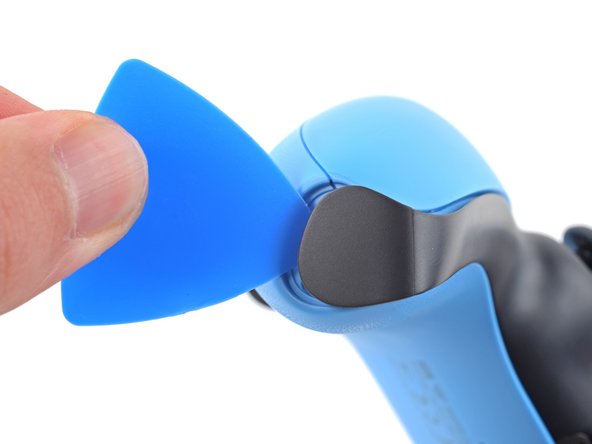
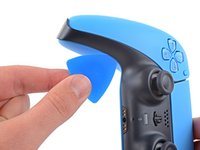
  1. DualSense Controller v2 Button Replacement, Unclip the right end of the middle trim: шаг 1, изображение 1 из 2 DualSense Controller v2 Button Replacement, Unclip the right end of the middle trim: шаг 1, изображение 2 из 2
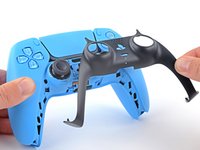
    • Disconnect and power down the controller before you begin.

    • Insert an opening pick underneath the middle trim at the bottom-right corner of the controller to release the clips securing it to the case.

    Спросите у FixBot

    Добавить комментарий

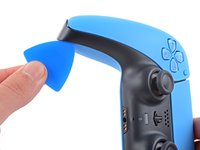
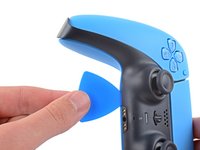
  2. DualSense Controller v2 Button Replacement, Unclip the lower-right edge of the middle trim: шаг 2, изображение 1 из 3 DualSense Controller v2 Button Replacement, Unclip the lower-right edge of the middle trim: шаг 2, изображение 2 из 3 DualSense Controller v2 Button Replacement, Unclip the lower-right edge of the middle trim: шаг 2, изображение 3 из 3
    • Slide the opening pick along the lower-right edge of the middle trim to release the clips securing it to the case.

    Спросите у FixBot

    Добавить комментарий

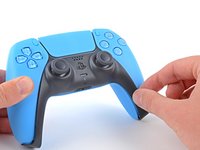
  3. DualSense Controller v2 Button Replacement, Unclip the left end of the middle trim: шаг 3, изображение 1 из 2 DualSense Controller v2 Button Replacement, Unclip the left end of the middle trim: шаг 3, изображение 2 из 2
    • Insert an opening pick underneath the middle trim at the bottom-left corner of the controller to release the clips securing it to the case.

    Спросите у FixBot

    Добавить комментарий

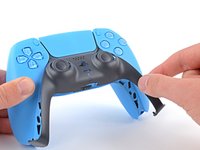
  4. DualSense Controller v2 Button Replacement, Unclip the lower-left edge of the middle trim: шаг 4, изображение 1 из 3 DualSense Controller v2 Button Replacement, Unclip the lower-left edge of the middle trim: шаг 4, изображение 2 из 3 DualSense Controller v2 Button Replacement, Unclip the lower-left edge of the middle trim: шаг 4, изображение 3 из 3
    • Slide the opening pick along the lower-left edge of the middle trim to release the clips securing it to the case.

    Спросите у FixBot

    Добавить комментарий

  5. DualSense Controller v2 Button Replacement, Remove the middle trim: шаг 5, изображение 1 из 3 DualSense Controller v2 Button Replacement, Remove the middle trim: шаг 5, изображение 2 из 3 DualSense Controller v2 Button Replacement, Remove the middle trim: шаг 5, изображение 3 из 3
    • Use your fingers to lift up the bottom edge of the middle trim to release the remaining clips.

    • Lift the middle trim over the joysticks to remove it.

    • During reassembly, position the middle trim into place and press along all edges to engage the clips securing it to the controller.

    Спросите у FixBot

    Добавить комментарий

  6. DualSense Controller v2 Button Replacement, Remove the L1 button: шаг 6, изображение 1 из 3 DualSense Controller v2 Button Replacement, Remove the L1 button: шаг 6, изображение 2 из 3 DualSense Controller v2 Button Replacement, Remove the L1 button: шаг 6, изображение 3 из 3
    • Insert the flat end of a spudger into the gap above the L1 button.

    • Cover the button with your thumb to prevent it from ejecting across the room.

    • Pry the spudger upward to remove the L1 button.

    Спросите у FixBot

    Добавить комментарий

  7. DualSense Controller v2 Button Replacement, Remove the R1 button: шаг 7, изображение 1 из 3 DualSense Controller v2 Button Replacement, Remove the R1 button: шаг 7, изображение 2 из 3 DualSense Controller v2 Button Replacement, Remove the R1 button: шаг 7, изображение 3 из 3
    • Insert the flat end of a spudger into the gap above the R1 button.

    • Cover the button with your thumb to prevent it from ejecting across the room.

    • Pry the spudger upward to remove the R1 button.

    Спросите у FixBot

    Добавить комментарий

  8. DualSense Controller v2 Button Replacement, Remove the case screws: шаг 8, изображение 1 из 1
    • Use a Phillips screwdriver to remove the two 6.5 mm screws securing the bottom corners of the lower case.

    Спросите у FixBot

    Добавить комментарий

  9. DualSense Controller v2 Button Replacement: шаг 9, изображение 1 из 1
    • Use a Phillips screwdriver to remove the two 6.5 mm screws behind the L1 and R1 buttons.

    Спросите у FixBot

    Добавить комментарий

  10. DualSense Controller v2 Button Replacement, Unclip the rear case: шаг 10, изображение 1 из 3 DualSense Controller v2 Button Replacement, Unclip the rear case: шаг 10, изображение 2 из 3 DualSense Controller v2 Button Replacement, Unclip the rear case: шаг 10, изображение 3 из 3
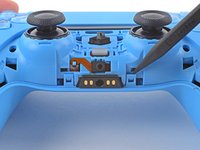
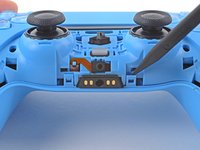
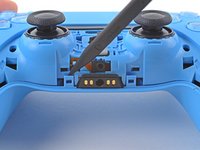
    • Use the pointed edge of a spudger to unclip the two clips on either side of the headset jack.

    Спросите у FixBot

    Добавить комментарий

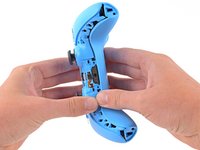
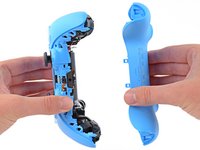
  11. DualSense Controller v2 Button Replacement, Remove the rear case: шаг 11, изображение 1 из 2 DualSense Controller v2 Button Replacement, Remove the rear case: шаг 11, изображение 2 из 2
    • Use your hands to carefully pull the rear case off of the controller.

    • During reassembly, make sure the red and black vibration motor wires are not pinched between the front and rear case.

    Спросите у FixBot

    Добавить комментарий

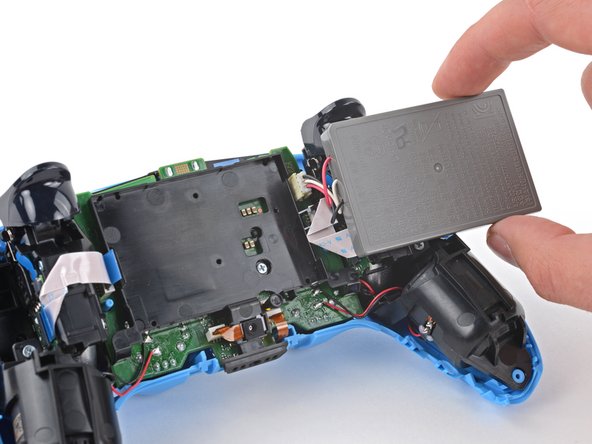
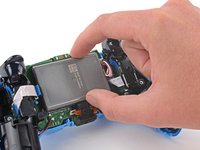
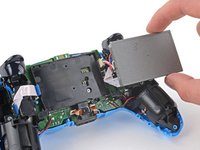
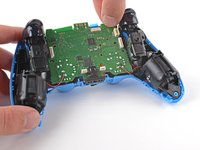
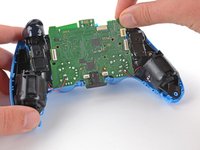
  12. DualSense Controller v2 Button Replacement, Reposition the battery: шаг 12, изображение 1 из 2 DualSense Controller v2 Button Replacement, Reposition the battery: шаг 12, изображение 2 из 2
    • Lift the battery out of its bracket and reposition it to the right for better access to the battery connector.

    • Don't strain the battery cables.

    Спросите у FixBot

    Добавить комментарий

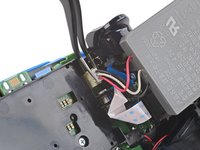
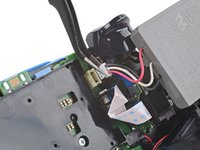
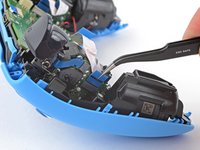
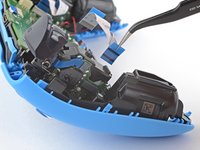
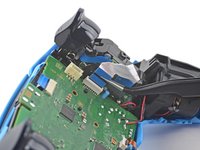
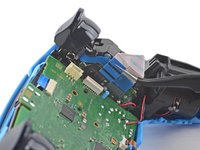
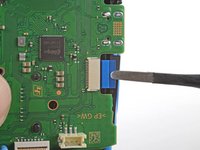
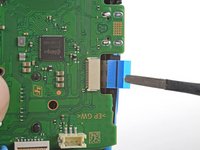
  13. DualSense Controller v2 Button Replacement, Disconnect the battery: шаг 13, изображение 1 из 2 DualSense Controller v2 Button Replacement, Disconnect the battery: шаг 13, изображение 2 из 2
    Инструмент, используемый на этом этапе:
    Tweezers
    $4.99
    • Use a pair of tweezers or your fingers to disconnect the battery from the motherboard.

    • Don't pull on the wires to disconnect the battery.

    Спросите у FixBot

    Добавить комментарий

  14. DualSense Controller v2 Button Replacement, Remove the battery: шаг 14, изображение 1 из 1
    • Remove the battery.

    Спросите у FixBot

    Добавить комментарий

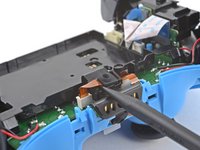
  15. DualSense Controller v2 Button Replacement, Remove the lower microphone: шаг 15, изображение 1 из 2 DualSense Controller v2 Button Replacement, Remove the lower microphone: шаг 15, изображение 2 из 2
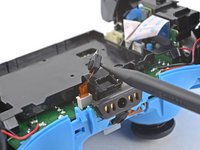
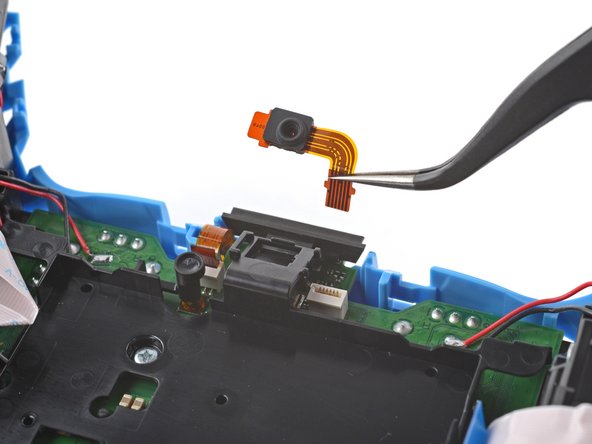
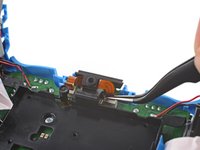
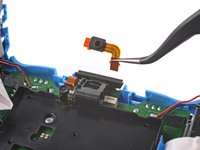
    • Use the pointed end of a spudger to remove the lower microphone from its bracket next to the battery.

    • During reassembly, make sure the end of the microphone's ribbon cable is slotted into the bracket.

    Спросите у FixBot

    Добавить комментарий

  16. DualSense Controller v2 Button Replacement: шаг 16, изображение 1 из 2 DualSense Controller v2 Button Replacement: шаг 16, изображение 2 из 2
    Инструмент, используемый на этом этапе:
    Tweezers
    $4.99
    • Grab the lower microphone ribbon cable pull tab with your fingers or a pair of tweezers and disconnect it from the motherboard.

    Спросите у FixBot

    Добавить комментарий

  17. DualSense Controller v2 Button Replacement, Remove the battery bracket: шаг 17, изображение 1 из 1
    • Use a Phillips screwdriver to remove the 6.5 mm screw securing the battery bracket.

    Спросите у FixBot

    Добавить комментарий

  18. DualSense Controller v2 Button Replacement: шаг 18, изображение 1 из 2 DualSense Controller v2 Button Replacement: шаг 18, изображение 2 из 2
    • Lift the battery bracket off of the motherboard.

    Спросите у FixBot

    Добавить комментарий

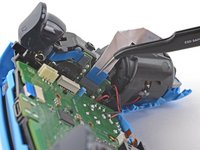
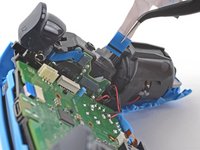
  19. DualSense Controller v2 Button Replacement, Disconnect the right trigger assembly: шаг 19, изображение 1 из 2 DualSense Controller v2 Button Replacement, Disconnect the right trigger assembly: шаг 19, изображение 2 из 2
    • Grip the right trigger assembly cable with a pair of tweezers or your fingers and disconnect it from the motherboard.

    • Use the pull tab to disconnect the cable. Don't pull on the cable itself.

    • Don't completely remove the ribbon cable yet.

    Спросите у FixBot

    Добавить комментарий

  20. DualSense Controller v2 Button Replacement: шаг 20, изображение 1 из 2 DualSense Controller v2 Button Replacement: шаг 20, изображение 2 из 2
    • Grip the right trigger assembly cable with a pair of tweezers or your fingers, and disconnect it from the trigger assembly.

    • Use the pull tab to disconnect the cable. Don't pull on the cable itself.

    • Depending on the controller's model, the ribbon cable may block the motherboard from coming loose. If so, remove the cable from the trigger assembly.

    Спросите у FixBot

    Добавить комментарий

  21. DualSense Controller v2 Button Replacement, Disconnect the left trigger assembly: шаг 21, изображение 1 из 2 DualSense Controller v2 Button Replacement, Disconnect the left trigger assembly: шаг 21, изображение 2 из 2
    • Grip the left trigger assembly cable with a pair of tweezers or your fingers to disconnect it from the motherboard.

    • Use the pull tab to disconnect the cable. Don't pull on the cable itself.

    • Don't completely remove the ribbon cable yet.

    Спросите у FixBot

    Добавить комментарий

  22. DualSense Controller v2 Button Replacement: шаг 22, изображение 1 из 2 DualSense Controller v2 Button Replacement: шаг 22, изображение 2 из 2
    • Grip the left trigger assembly cable with a pair of tweezers or your fingers to disconnect it from the trigger assembly.

    • Use the pull tab to disconnect the cable. Don't pull on the cable itself.

    • Depending on the controller's model, the ribbon cable may block the motherboard from coming loose. If so, remove the cable from the trigger assembly.

    Спросите у FixBot

    Добавить комментарий

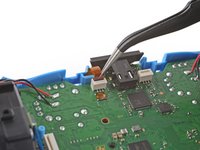
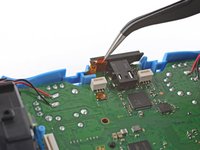
  23. DualSense Controller v2 Button Replacement, Disconnect the upper microphone: шаг 23, изображение 1 из 2 DualSense Controller v2 Button Replacement, Disconnect the upper microphone: шаг 23, изображение 2 из 2
    • Use a pair of tweezers or your fingers to disconnect the upper microphone from the motherboard.

    • Use the pull tab to disconnect the cable. Don't pull on the cable itself.

    • If you're not replacing this microphone, don't remove it from the frame.

    Спросите у FixBot

    Добавить комментарий

  24. DualSense Controller v2 Button Replacement, Disconnect the touchpad: шаг 24, изображение 1 из 2 DualSense Controller v2 Button Replacement, Disconnect the touchpad: шаг 24, изображение 2 из 2
    • Use a pair of tweezers or your fingers to disconnect the touchpad cable from the motherboard.

    • Use the pull tab to disconnect the cable. Don't pull on the cable itself.

    Спросите у FixBot

    Добавить комментарий

  25. DualSense Controller v2 Button Replacement, Lift out the motherboard: шаг 25, изображение 1 из 3 DualSense Controller v2 Button Replacement, Lift out the motherboard: шаг 25, изображение 2 из 3 DualSense Controller v2 Button Replacement, Lift out the motherboard: шаг 25, изображение 3 из 3
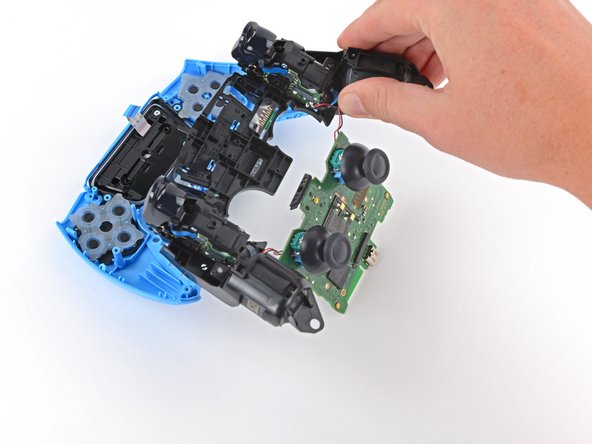
    • Carefully guide the joysticks through the front case and lift the motherboard out.

    • Don't strain the four soldered wires tethering the motherboard to the vibration motors.

    Спросите у FixBot

    Добавить комментарий

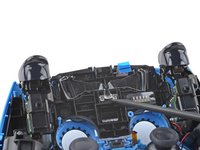
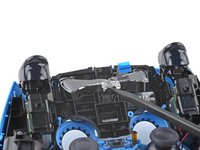
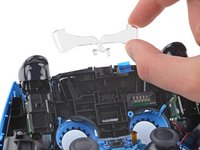
  26. DualSense Controller v2 Button Replacement, Remove the light guide: шаг 26, изображение 1 из 3 DualSense Controller v2 Button Replacement, Remove the light guide: шаг 26, изображение 2 из 3 DualSense Controller v2 Button Replacement, Remove the light guide: шаг 26, изображение 3 из 3
    • Use the pointed end of your spudger to lift the center of the light guide out of the controller.

    • Remove the light guide.

    Спросите у FixBot

    Добавить комментарий

  27. DualSense Controller v2 Button Replacement, Remove the midframe: шаг 27, изображение 1 из 1
    • Use your Phillips driver to remove the two 6.5 mm screws securing the midframe to the front case.

    Спросите у FixBot

    Добавить комментарий

  28. DualSense Controller v2 Button Replacement: шаг 28, изображение 1 из 3 DualSense Controller v2 Button Replacement: шаг 28, изображение 2 из 3 DualSense Controller v2 Button Replacement: шаг 28, изображение 3 из 3
    • Carefully lift the midframe and motherboard up and out of the front case.

    • Be careful not to strain the vibrator motor wires.

    • During reassembly, feed the touchpad's ribbon cable back through its rectangular opening in the midframe.

    Спросите у FixBot

    Добавить комментарий

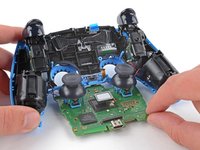
  29. DualSense Controller v2 Button Replacement, Remove the Select/Start buttons: шаг 29, изображение 1 из 3 DualSense Controller v2 Button Replacement, Remove the Select/Start buttons: шаг 29, изображение 2 из 3 DualSense Controller v2 Button Replacement, Remove the Select/Start buttons: шаг 29, изображение 3 из 3
    • Remove the Select and Start buttons from the front case.

    Спросите у FixBot

    Добавить комментарий

  30. DualSense Controller v2 Button Replacement, Remove the Mute button: шаг 30, изображение 1 из 3 DualSense Controller v2 Button Replacement, Remove the Mute button: шаг 30, изображение 2 из 3 DualSense Controller v2 Button Replacement, Remove the Mute button: шаг 30, изображение 3 из 3
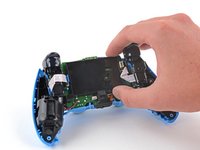
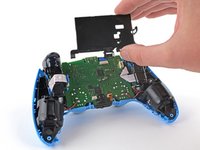
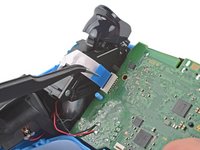
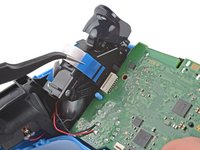
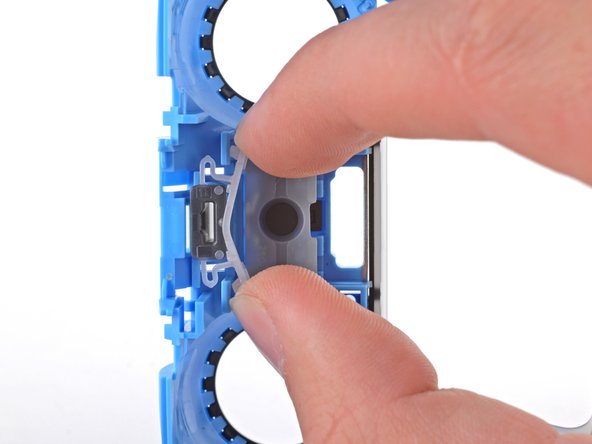
    • Use your fingers to lightly pinch the plastic clip securing the microphone mute button to the front case and remove it.

    Спросите у FixBot

    Добавить комментарий

  31. DualSense Controller v2 Button Replacement, Remove the conductive silicone: шаг 31, изображение 1 из 3 DualSense Controller v2 Button Replacement, Remove the conductive silicone: шаг 31, изображение 2 из 3 DualSense Controller v2 Button Replacement, Remove the conductive silicone: шаг 31, изображение 3 из 3
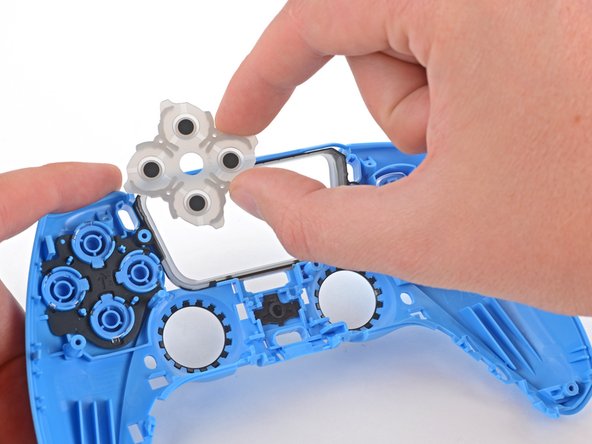
    • Remove the three conductive silicone rubber pads from the inside of the front case.

    • The remaining buttons are now resting loose in the front case.

    Спросите у FixBot

    Добавить комментарий

  32. DualSense Controller v2 Button Replacement, Remove the buttons: шаг 32, изображение 1 из 3 DualSense Controller v2 Button Replacement, Remove the buttons: шаг 32, изображение 2 из 3 DualSense Controller v2 Button Replacement, Remove the buttons: шаг 32, изображение 3 из 3
    • Hold the front case close to the surface of your table and slowly turn the front case over to let the buttons fall out.

    • The buttons are designed to be impossible to install incorrectly. Do not force any buttons into place—they will fall into place when positioned correctly.

    Спросите у FixBot

    Добавить комментарий

Заключение

To reassemble your device, follow these instructions in reverse order.

Take your e-waste to an R2 or e-Stewards certified recycler.

Repair didn’t go as planned? Try some basic troubleshooting, or ask our Answers community for help.

Отменить: Я не выполнил это руководство.

11 человек успешно провели ремонт по этому руководству.

Sam Omiotek

Участник с: 02/25/19

99 125 Репутация

Автор 290 руководств

1 Комментарий к руководству

OK I just did this with my red dualsense and it was actually easier than this. Maybe it is a newer version??? I don't know, but it is different.

If you have the same one as me then do all steps up to, and including, step 18. Then do steps 23 and 24. Remove the two screws in step 27. All the guts will then lift out of the plastic shell, leaving you in a similar situation to step 29.

However, step 11 was difficult for me as the two parts did not simply pull apart. The bottom half came apart easily, but I had to push a thin tool in the top part near the trigger to release an extra clip. Only on one side, then the other side was easy.

Have fun!

token - Ответить Поделиться

Добавить комментарий

Статистика просмотров:

За последние 24 часов: 8

За последние 7 дней: 77

За последние 30 дней: 509

За всё время: 17,129