Перейти к основному содержанию
Присоединяйся к сообществу ремонтников - Создай аккаунт

Framework Laptop 12 Fastener Guide

Выберете то, что вам нужно

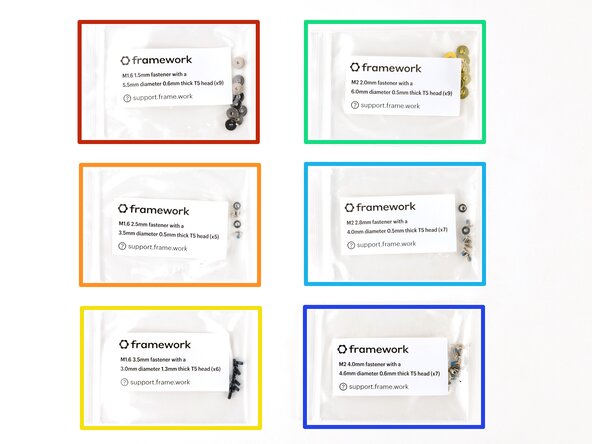
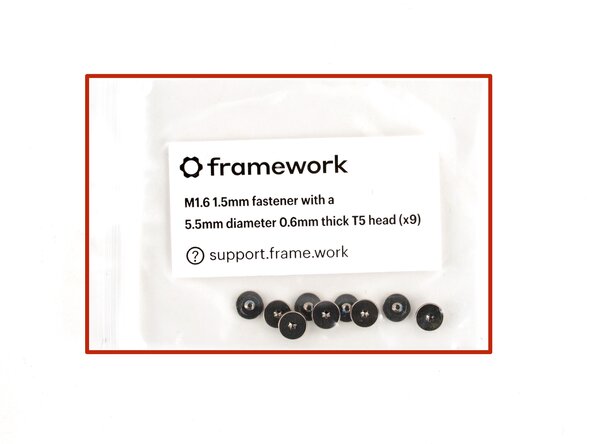
  1. Framework Laptop 12 Fastener Guide, Fasteners information: шаг 1, изображение 1 из 2 Framework Laptop 12 Fastener Guide, Fasteners information: шаг 1, изображение 2 из 2
    • The Fastener Kit contains the following:

    • Grey screws labeled "M1.6 1.5mm fastener with a 5.5mm diameter 0.6mm thick T5 head"

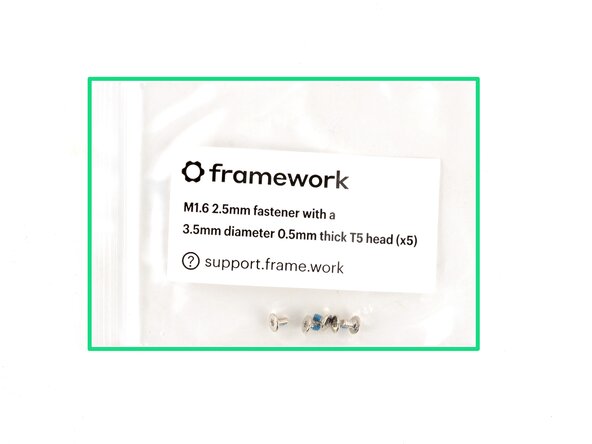
    • Silver screws labeled "M1.6 2.5mm fastener with a 3.5mm diameter 0.5mm thick T5 head"

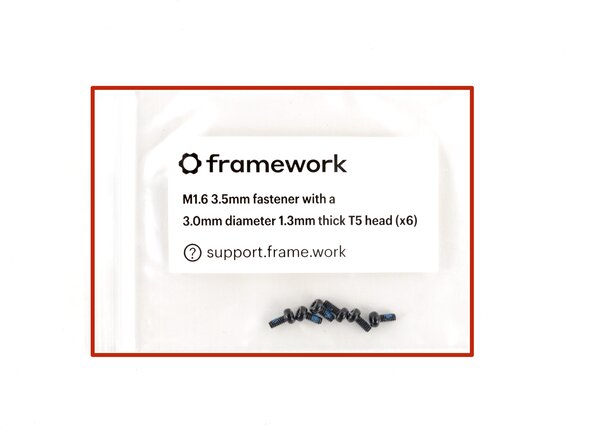
    • Black screws labeled "M1.6 3.5mm fastener with a 3.0mm diameter 1.3mm thick T5 head"

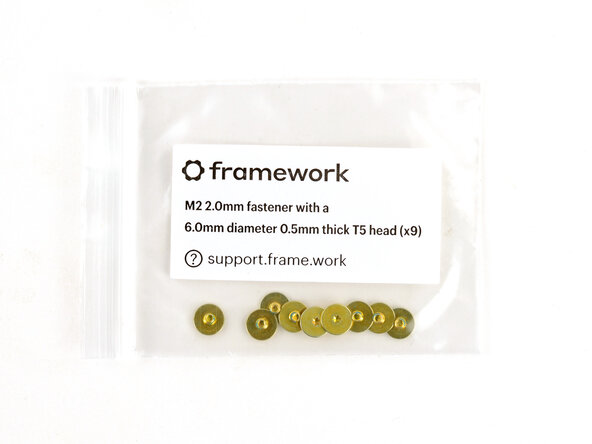
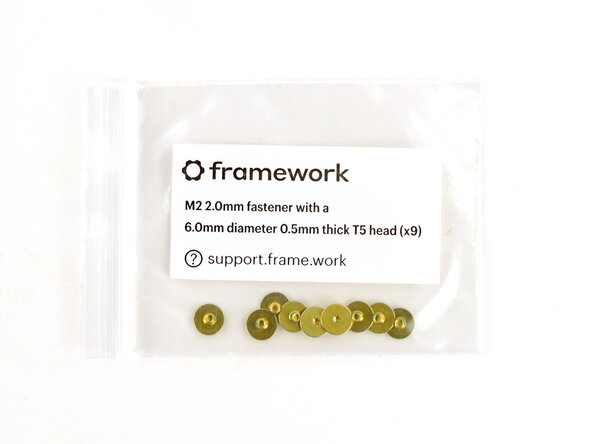
    • Gold screws labeled "M2 2.0mm fastener with a 6.0mm diameter 0.5mm thick T5 head"

    • Silver screws labeled "M2 2.8mm fastener with a 4.0mm diameter 0.5mm thick T5 head"

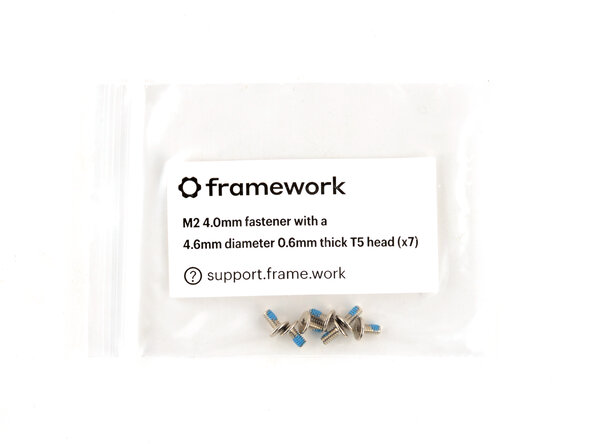
    • Silver screws labeled "M1.6 4.0mm fastener with a 4.6mm diameter 0.6mm thick T5 head"

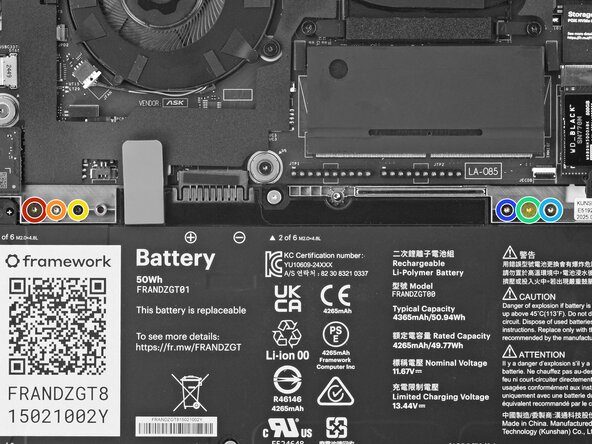
    • Your Framework Laptop comes with a spare screw of each size, attached to the chassis above the battery. You can use the Fastener Kit to replenish any screws you used there.

    Спросите у FixBot
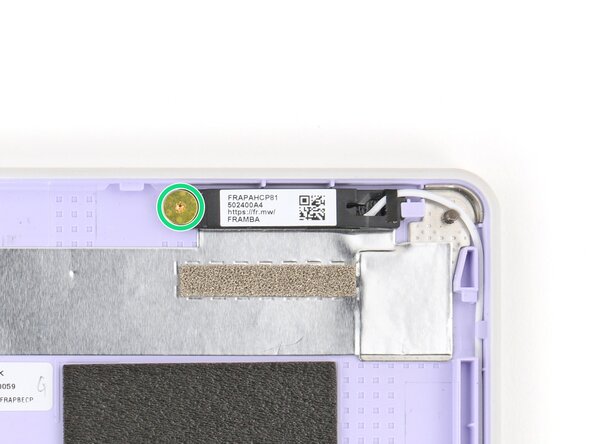
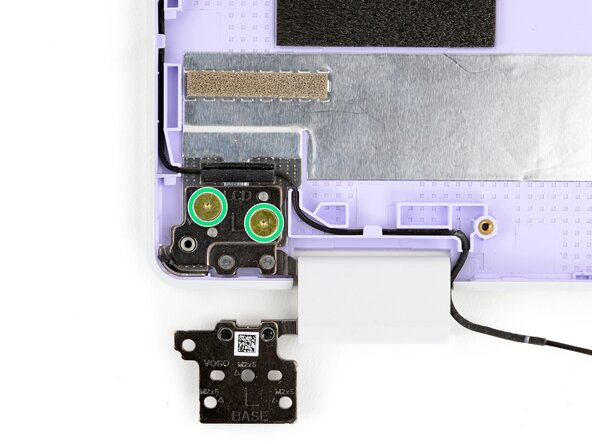
  2. Framework Laptop 12 Fastener Guide, Antenna screws: шаг 2, изображение 1 из 3 Framework Laptop 12 Fastener Guide, Antenna screws: шаг 2, изображение 2 из 3 Framework Laptop 12 Fastener Guide, Antenna screws: шаг 2, изображение 3 из 3
    • Use the gold screws labeled "M2 2.0mm fastener with a 6.0mm diameter 0.5mm thick T5 head" to secure the antennas.

    Спросите у FixBot
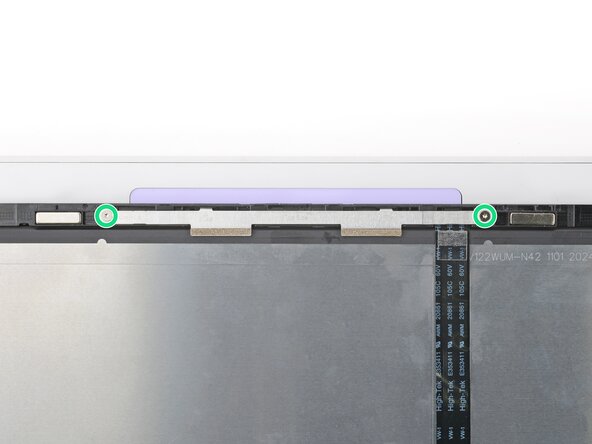
  3. Framework Laptop 12 Fastener Guide, Display screws: шаг 3, изображение 1 из 2 Framework Laptop 12 Fastener Guide, Display screws: шаг 3, изображение 2 из 2
    • Use the silver screws labeled "M2 2.8mm fastener with a 4.0mm diameter 0.5mm thick T5 head" to secure the display.

    • Tighten the screws until they're snug. Don't over-tighten them, or you may break the screw tabs.

    Спросите у FixBot
  4. Framework Laptop 12 Fastener Guide, Expansion Card lock screws: шаг 4, изображение 1 из 3 Framework Laptop 12 Fastener Guide, Expansion Card lock screws: шаг 4, изображение 2 из 3 Framework Laptop 12 Fastener Guide, Expansion Card lock screws: шаг 4, изображение 3 из 3
    • Use the black screws labeled "M1.6 3.5mm fastener with a 3.0mm diameter 1.3mm thick T5 head" to secure the Expansion Card latches.

    • Use the silver screws labeled "M1.6 2.5mm fastener with a 3.5mm diameter 0.5mm thick T5 head" to replace the Expansion Card lock screws.

    Спросите у FixBot
  5. Framework Laptop 12 Fastener Guide, Hinge screws (bottom): шаг 5, изображение 1 из 3 Framework Laptop 12 Fastener Guide, Hinge screws (bottom): шаг 5, изображение 2 из 3 Framework Laptop 12 Fastener Guide, Hinge screws (bottom): шаг 5, изображение 3 из 3
    • Use the silver screws labeled "M2 4.0mm fastener with a 4.6mm diameter 0.6mm thick T5 head" to secure the hinges to the Bottom Cover.

    Спросите у FixBot
  6. Framework Laptop 12 Fastener Guide, Hinge screws (top): шаг 6, изображение 1 из 3 Framework Laptop 12 Fastener Guide, Hinge screws (top): шаг 6, изображение 2 из 3 Framework Laptop 12 Fastener Guide, Hinge screws (top): шаг 6, изображение 3 из 3
    • Use the gold screws labeled "M2 2.0mm fastener with a 6.0mm diameter 0.5mm thick T5 head" to secure the hinges to the Top Cover.

    Спросите у FixBot
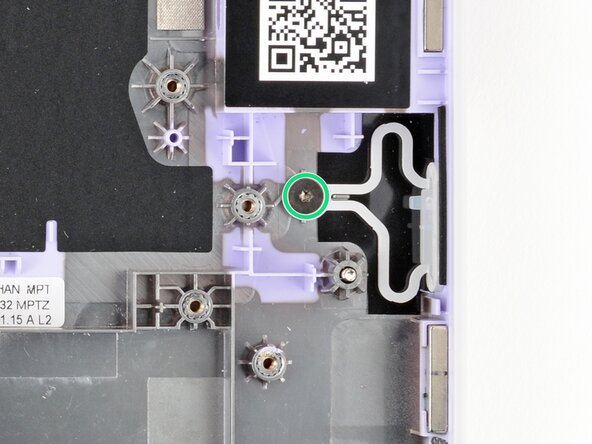
  7. Framework Laptop 12 Fastener Guide, Power Button screw: шаг 7, изображение 1 из 2 Framework Laptop 12 Fastener Guide, Power Button screw: шаг 7, изображение 2 из 2
    • Use the grey screw labeled "M1.6 1.5mm fastener with a 5.5mm diameter 0.6mm thick T5 head" to secure the Power Button.

    Спросите у FixBot
  8. Framework Laptop 12 Fastener Guide, SSD clip screw: шаг 8, изображение 1 из 2 Framework Laptop 12 Fastener Guide, SSD clip screw: шаг 8, изображение 2 из 2
    • Use the black screw labeled "M1.6 3.5mm fastener with a 3.0mm diameter 1.3mm thick T5 head" to secure the SSD clip.

    Спросите у FixBot
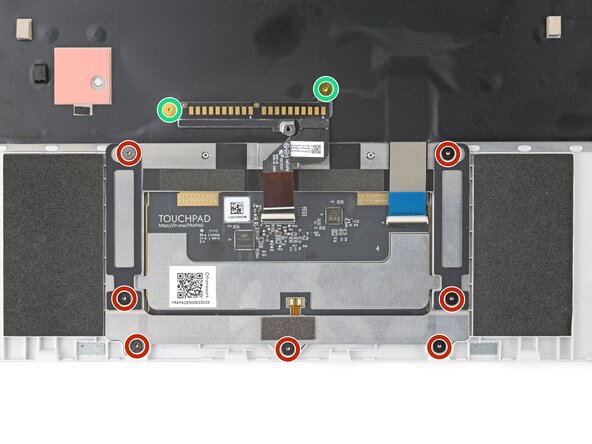
  9. Framework Laptop 12 Fastener Guide, Touchpad screws: шаг 9, изображение 1 из 3 Framework Laptop 12 Fastener Guide, Touchpad screws: шаг 9, изображение 2 из 3 Framework Laptop 12 Fastener Guide, Touchpad screws: шаг 9, изображение 3 из 3
    • Use the grey screws labeled "M1.6 1.5mm fastener with a 5.5mm diameter 0.6mm thick T5 head" to secure the touchpad.

    • Use the gold screws labeled "M2 2.0mm fastener with a 6.0mm diameter 0.5mm thick T5 head" to secure the touchpad pogo connector.

    Спросите у FixBot
  10. Framework Laptop 12 Fastener Guide, Webcam screws: шаг 10, изображение 1 из 2 Framework Laptop 12 Fastener Guide, Webcam screws: шаг 10, изображение 2 из 2
    • Use the silver screws labeled "M2 2.8mm fastener with a 4.0mm diameter 0.5mm thick T5 head" to secure the webcam.

    Спросите у FixBot
Заключение

If you need help, contact Framework support.

Arthur Shi

Участник с: 01/03/18

335 729 Репутация

Автор 848 руководств

0 Комментарии к руководству

Добавить комментарий

Статистика просмотров:

За последние 24 часов: 0

За последние 7 дней: 29

За последние 30 дней: 45

За всё время: 203