Введение
If your Fugoo Style XL Portable Bluetooth Speaker no longer holds a charge or its battery has degraded after many charge cycles, it may be time for a replacement. This guide provides step-by-step instructions to help you safely replace the rechargeable lithium-ion battery and restore your speaker's performance.
This guide might be useful if the speaker won’t turn on, even after charging, the battery life has significantly diminished, and/or the battery appears swollen or damaged. This replacement involves careful disassembly of the speaker’s casing and handling delicate wires and circuit components. A steady hand and attention to detail are required to avoid damaging nearby parts. The compact, waterproof design of the Fugoo Style XL means its internal components are tightly secured. Special care is needed to properly reassemble the speaker without compromising its water resistance. By following this guide, you can safely replace the battery and extend the life of your Fugoo Style XL speaker.
Note: The battery cannot be removed without first removing the motherboard. By completing the motherboard replacement guide, you will also have effectively removed the battery.
Before you begin, power down your speaker completely, review this battery safety guide if you suspect the battery is swollen to ensure safe handling.
Выберете то, что вам нужно
-
-
-
Using your hand, unscrew the large screws underneath the speaker.
 Спросите у FixBot
-
-
-
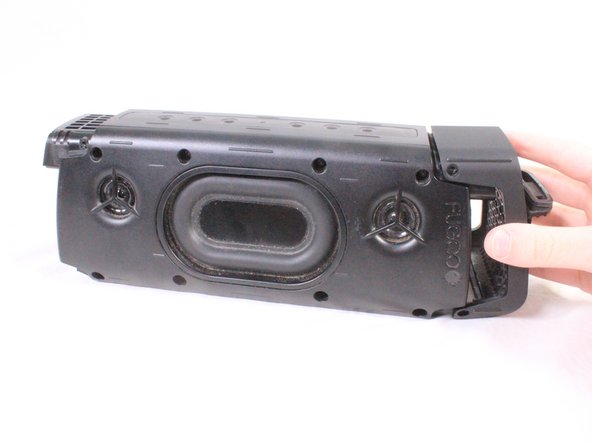
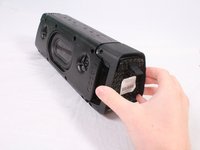
Using your hand, gently lift the large plastic tab secured to the rubber holding.
-
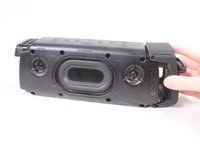
After lifting the tab, slide the speaker out of its case.
-
-
-
-
-
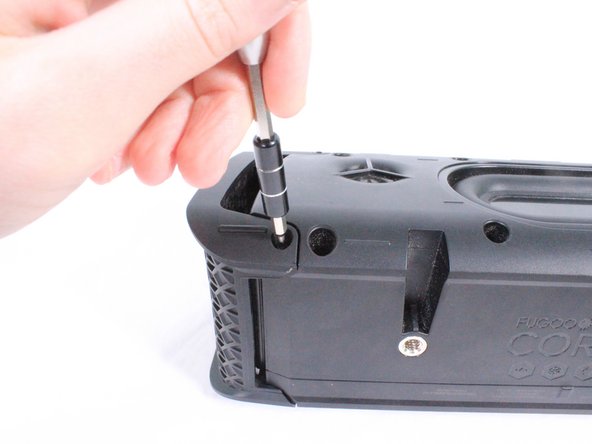
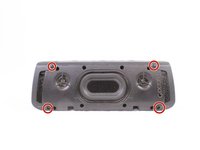
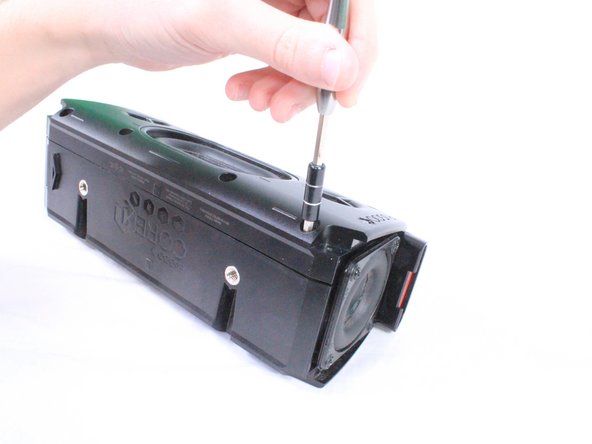
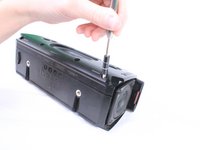
Remove the 8 screws (4 on each side) that hold the covers that conceal the bass speakers. Remove these 3mm screws using a #2.0 Hex screwdriver.
-
-
-
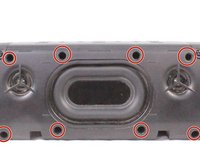
Use a #2.0 Hex screwdriver to unscrew the 8 screws shown in the image.
-
-
-
Инструмент, используемый на этом этапе:Tweezers$4.99
-
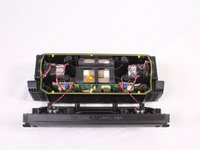
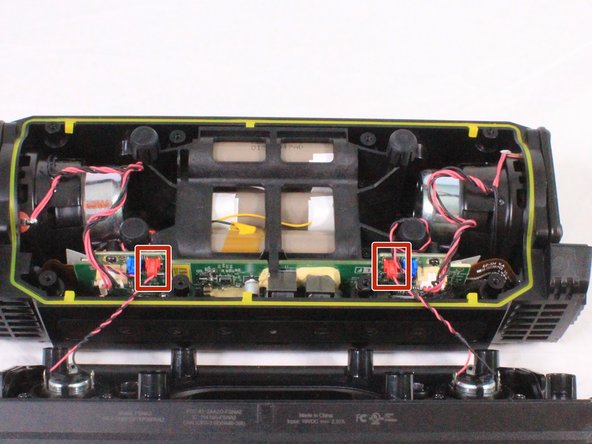
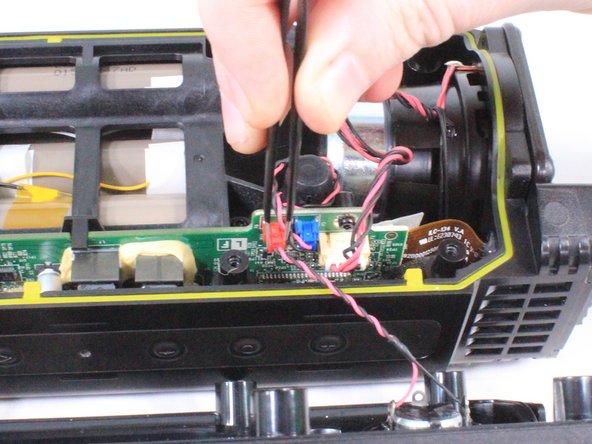
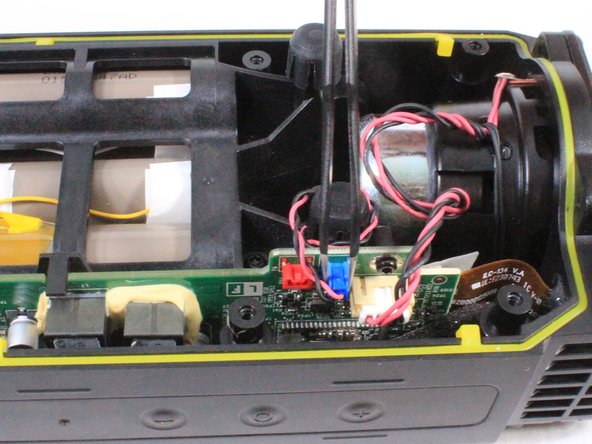
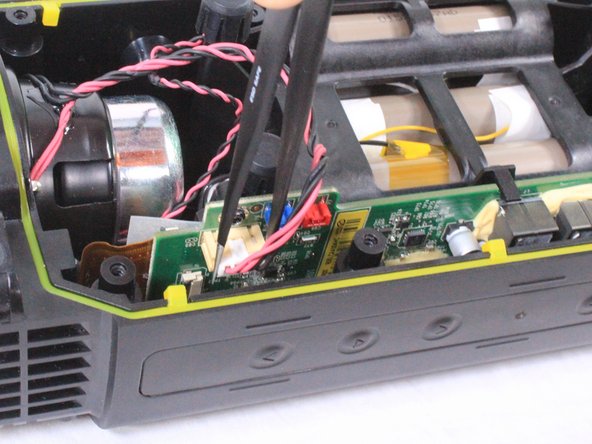
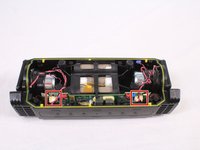
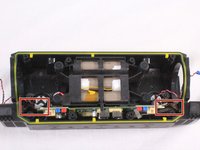
Using a pair of tweezers or your hand, carefully remove the red bundled cable connectors from the motherboard.
-
When the red bundled cable connectors are disconnected, set the outer casing aside.
-
-
-
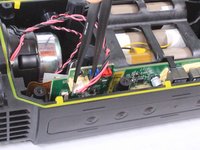
Untangle any blue bundled cable connectors and gently remove them from the motherboard using a pair of tweezers.
-
-
-
Carefully untangle and remove the white bundled cable connectors from the motherboard.
-
-
-
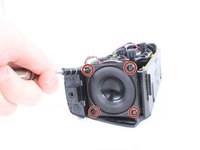
Using a T9 screwdriver, remove the 8 screws (4 on each speaker) surrounding the midwoofers.
-
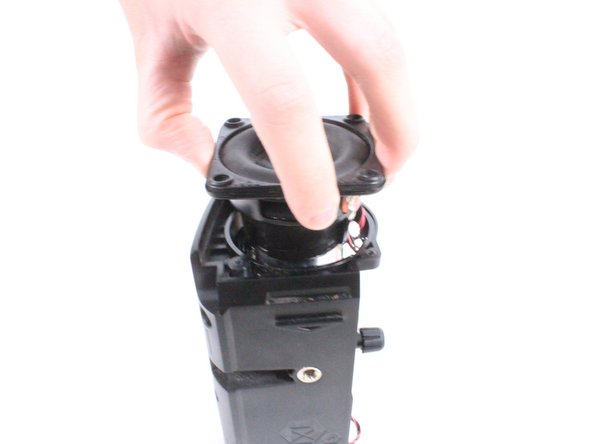
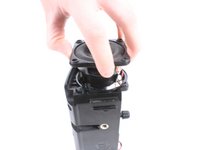
Using your hand, carefully remove the midwoofers.
-
-
-
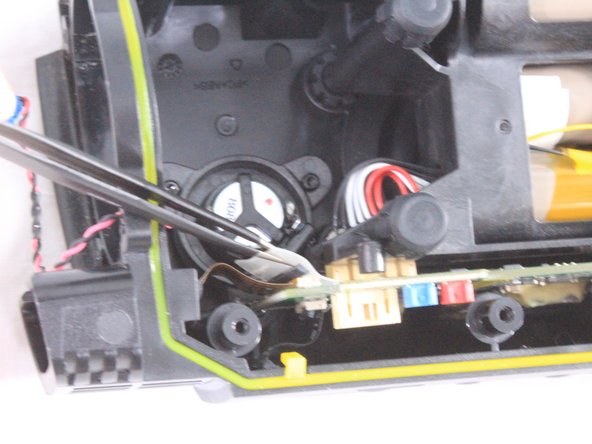
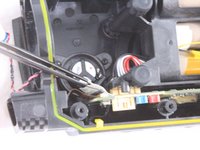
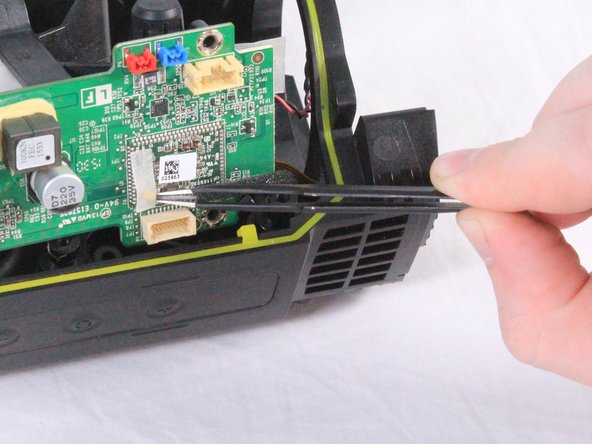
Using a pair of tweezers, lift the padded holding that secures the ZIF connector to the motherboard. The connector will release from the motherboard once the padding is lifted.
-
-
-
Carefully lift the battery and motherboard unit halfway out of the casing. The motherboard is connected to the battery directly.
-
When the cable is disconnected, fully remove the motherboard and battery unit.
-
-
-
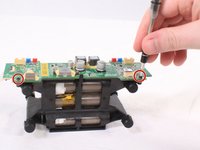
Remove the 3mm screws using a #2.0 Hex screwdriver. There are 4 of these screws (2 on each side) that connect the motherboard to the battery unit.
-
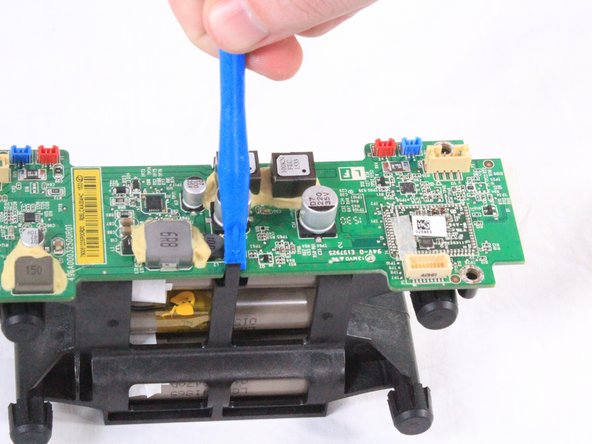
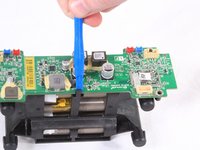
When the screws are removed, use an iFixit opening tool to remove the motherboard from the two clamps securing it to the battery pack.
-
-
-
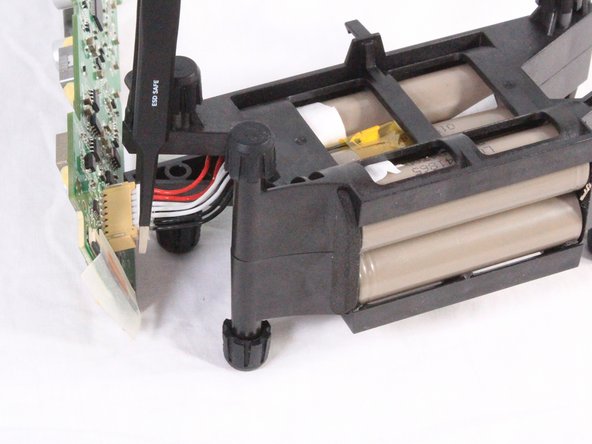
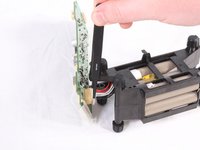
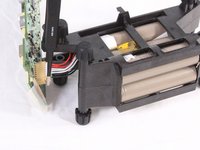
Using tweezers or your hand, carefully disconnect the bundled cables connecting the battery to the motherboard.
-
-
-
-
-
Separate the motherboard from the battery to access and replace the battery.
-
-




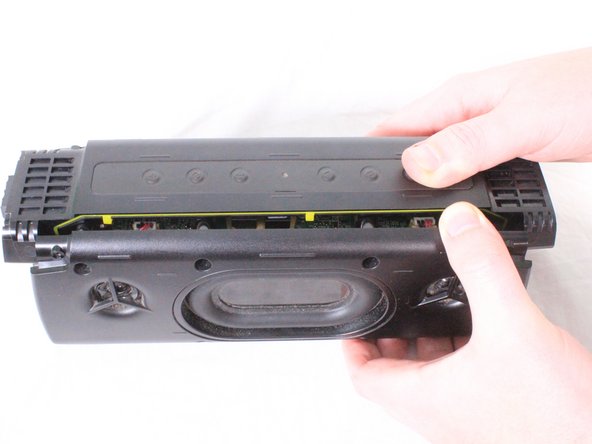
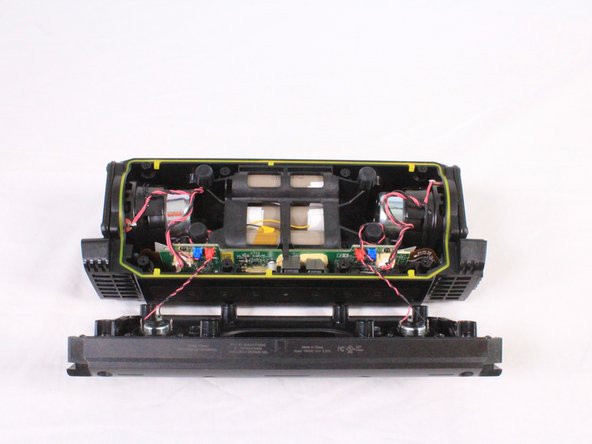









To reassemble your device, follow these instructions in reverse order. Take your e-waste to an R2 or e-Stewards certified recycler.
Отменить: Я не выполнил это руководство.
Еще один человек закончил это руководство.

Команда

USF Tampa, Team S3-G4, Cannon Fall 2017 Участник USF Tampa, Team S3-G4, Cannon Fall 2017
USFT-CANNON-F17S3G4
4 членов
Автор 10 руководств
6 Комментарии к руководству
Where can I purchase a replacement battery?
Thanks, it was clear and very help full, fortunately for me it was a solder defect on battery PCB, I just refresh the solder joint with new solder and the speaker works perfectly.
Also I found in Ebay some batteries replacement of 3.7V and 3000mah, but you will need to assembly the battery pack , that will need some electronic knowledge, but I think is not really hard to do.
This guide is very helpful, but does not state which type of batteries are required. Please state which type of battery (or batteries) would suit as a replacement. Thank you!
Extremely useful repair steps. Really appreciate your meticulous nature. Thanks!
