Введение
If your HMD Barbie Phone (model number TA-1420) is not powering on or the screen is not turning on, you may need to replace the motherboard. This part is the central brain of the phone and contains the video ribbon, which could be the cause of the screen not turning on. It also contains the link between the keypad buttons and phone input, so it could be the cause of the buttons not working.
Make sure to check out these troubleshooting guides before removing the backplate to ensure that replacing this part is the proper next step:
HMD Barbie Phone Keyboard Not Typing
HMD Barbie Phone Screen Not Turning On
Before starting this guide, make sure your Barbie Phone is fully powered off. Follow the steps in this guide to replace the motherboard.
Выберете то, что вам нужно
-
-
Fully power off the phone.
-
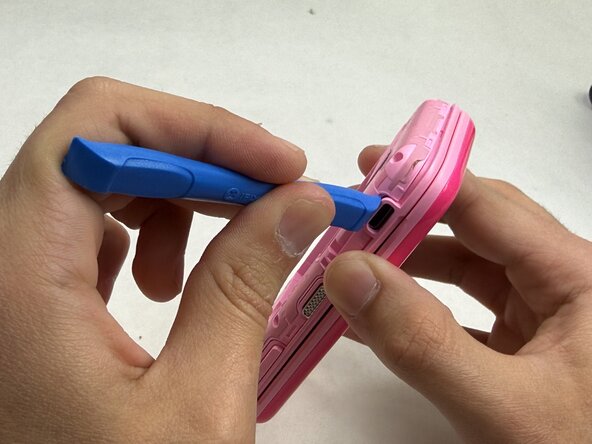
Remove the backplate by gripping it around the edges and pulling away from the phone.
 Спросите у FixBot
-
-
-
Remove the six 5mm screws using the T5 Torx screwdriver.
-
-
-
-
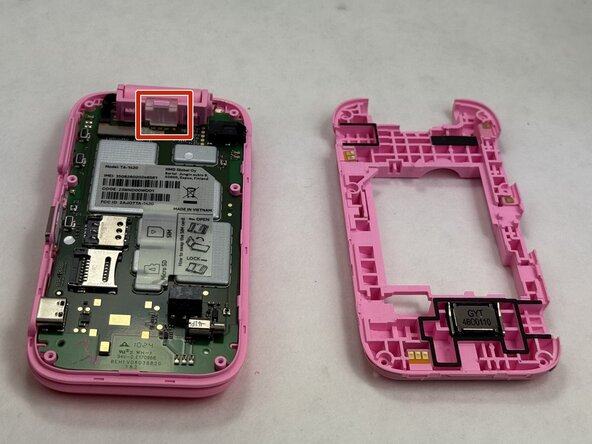
Use the opening tool to remove the clear plastic clip near the hinge of the phone securing the motherboard.
-
-
-
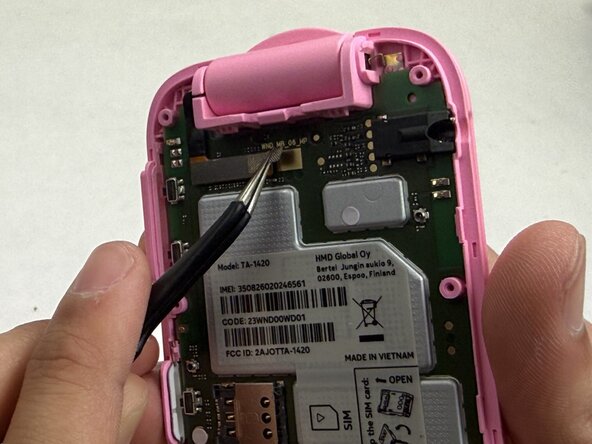
Use the tweezers to gently unstick the tape from the motherboard, leaving it stuck to the connector.
-
Use the tweezers to gently pull up on the connector until it disconnects from the motherboard.
-
-
-
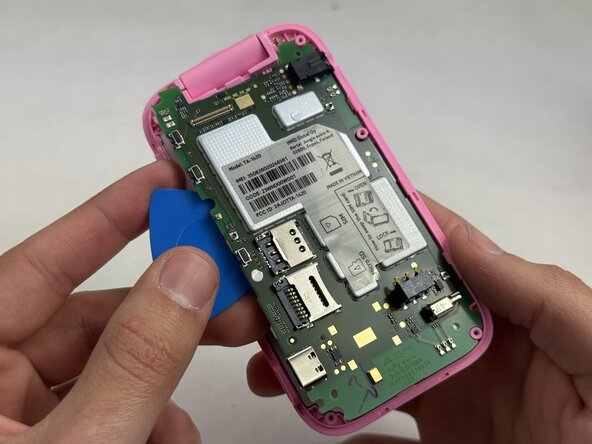
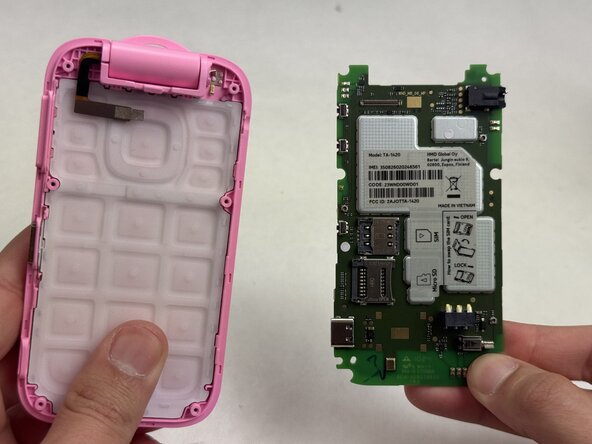
Beginning at the corner near where the video ribbon is located, insert an opening pick between the green motherboard and the pink housing.
-
Slowly work your way around the motherboard until it loosens enough that you can use your fingers to remove it.
-


To reassemble your device, follow these instructions in reverse order.

Команда

UMass Dartmouth, Team 6-2, Botvin Spring 2026 Участник UMass Dartmouth, Team 6-2, Botvin Spring 2026
UMASSD-BOTVIN-S26S6G2
3 членов
Автор 10 руководств