Введение
Is your HP 14-dq5043cl struggling to connect to the internet via WIFI connection. If that's the case, you may have a faulty or damaged WIFI card in need of replacement. This component in your device is responsible for establishing an internet connection between your device and the network. If its unresponsive you won't be able to establish a connection.
Before you begin this guide ensure your device cannot maintain or acquire an internet connection, if this is the case power your device off and follow the following steps.
Выберете то, что вам нужно
-
-
-
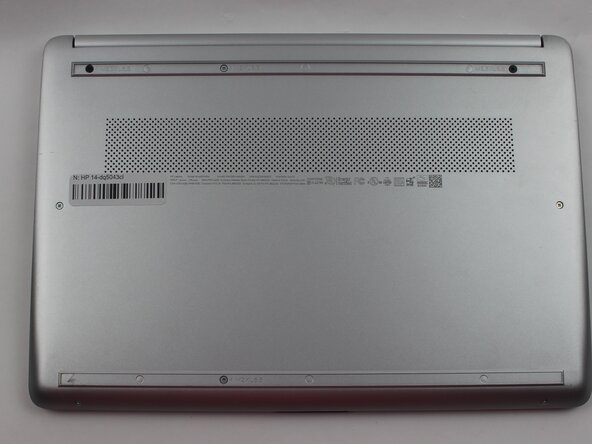
Remove the six M2XL6 Phillips screws that secure the lower case.
-
-
-
-
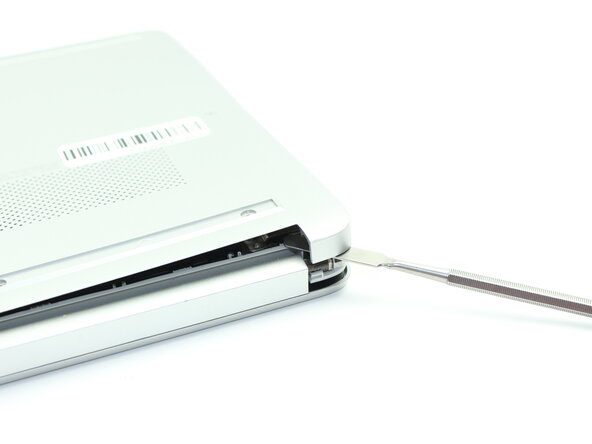
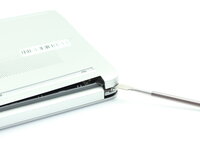
Insert a nylon spudger into the seam between the lower case and chassis.
-
Pry around the entire perimeter until the lower case fully releases.
-
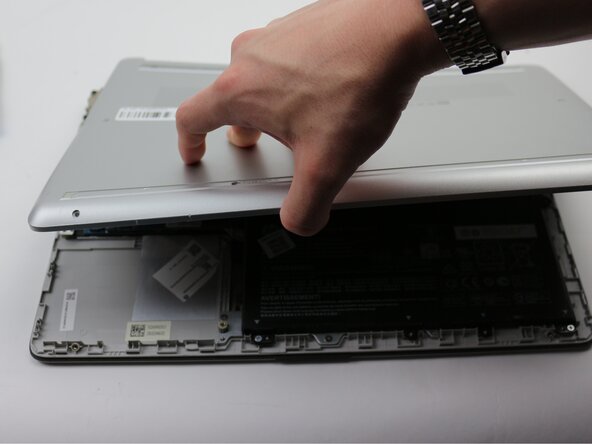
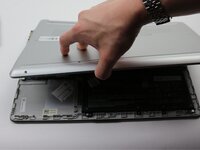
Remove the lower case.
-
-
-
-
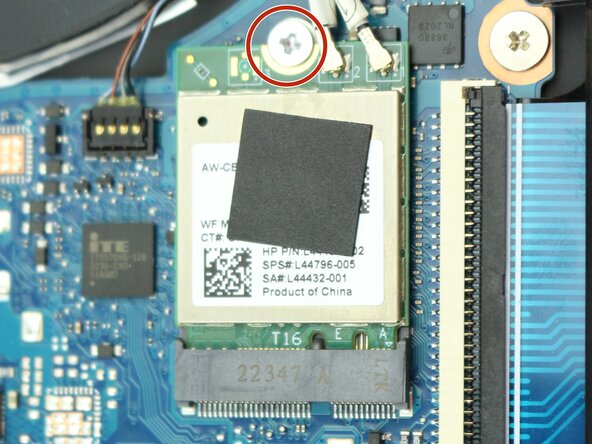
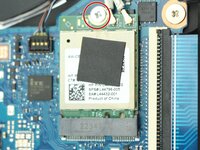
Remove the single M2x6.5 screw that secures the Wi-Fi module.
-
-
-
Use the pointed end of a spudger to lift and disconnect the two Wi-Fi module coaxial connectors.
-
-
-
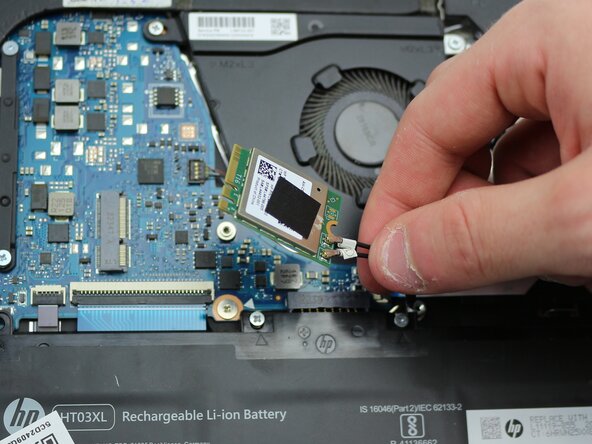
Pull the Wi-Fi module directly out of its socket to remove it.
-
-



 Спросите у FixBot



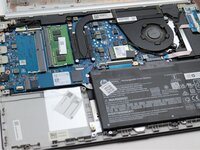


To reassemble your device, follow the above steps in reverse order.
Take your e-waste to an R2 or e-Stewards certified recycler.
Repair didn’t go as planned? Try some basic troubleshooting or ask our Answers community for help.

Команда

Sam Houston State, Team 17-2, Thornton Spring 2025 Участник Sam Houston State, Team 17-2, Thornton Spring 2025
SHSU-THORNTON-S25S17G2
3 членов
Автор 31 руководств
