Перейти к основному содержанию
Присоединяйся к сообществу ремонтников - Создай аккаунт

HP Pavilion 14-v062us Screen Replacement

Выберете то, что вам нужно

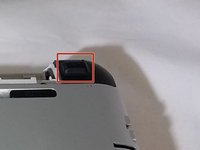
    1. HP Pavilion 14-v062us Screen Replacement, Battery: шаг 1, изображение 1 из 2 HP Pavilion 14-v062us Screen Replacement, Battery: шаг 1, изображение 2 из 2
      • Power laptop off and make sure it is not plugged into charger

      • Push inward towards the center of laptop (it may take a lot of pressure). Battery should release once buttons are completely pushed in

      Спросите у FixBot

      Добавить комментарий

    2. HP Pavilion 14-v062us Screen Replacement: шаг 2, изображение 1 из 2 HP Pavilion 14-v062us Screen Replacement: шаг 2, изображение 2 из 2
      • Lift the battery upwards and out from the laptop

      Спросите у FixBot

      Добавить комментарий

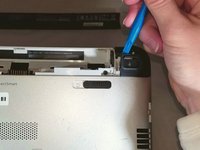
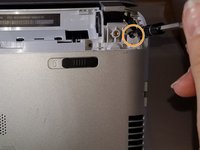
    1. HP Pavilion 14-v062us Screen Replacement, Keyboard: шаг 3, изображение 1 из 3 HP Pavilion 14-v062us Screen Replacement, Keyboard: шаг 3, изображение 2 из 3 HP Pavilion 14-v062us Screen Replacement, Keyboard: шаг 3, изображение 3 из 3
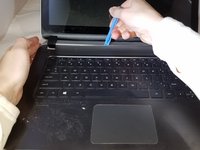
      • Remove rectangular rubber tops with a spudger

      • Remove the two 4.60 mm PH#1 screws located under rectangular rubber tops.

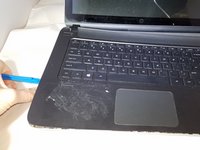
      • Remove plastic edge covering with the blue plastic opening tool.

      • Remove two 4.63 mm PH#1 screws located under plastic edge covering.

      Спросите у FixBot

      Добавить комментарий

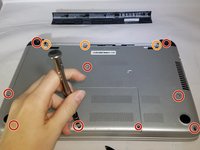
    2. HP Pavilion 14-v062us Screen Replacement: шаг 4, изображение 1 из 2 HP Pavilion 14-v062us Screen Replacement: шаг 4, изображение 2 из 2
      • Use Phillips screwdriver #1

      • Remove all nine 7.09 mm PH#1 screw black screws including small rectangular cover.

      • Remove the three 7.14 mm PH#1 screws.

      • Remove the one 7.09 mm PH#1 screw that will be underneath the small rectangular cover

      Спросите у FixBot

      Добавить комментарий

    3. HP Pavilion 14-v062us Screen Replacement: шаг 5, изображение 1 из 2 HP Pavilion 14-v062us Screen Replacement: шаг 5, изображение 2 из 2
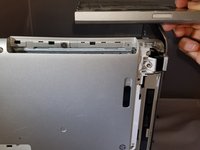
      • Remove disc tray

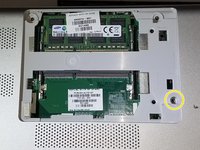
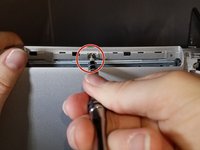
      • Locate screw within computer that is inside of where the disc tray was

      • Using a Phillips #1 screwdriver, unscrew the screw

      • Set laptop down and open laptop so the keyboard is facing you

      Спросите у FixBot

      Добавить комментарий

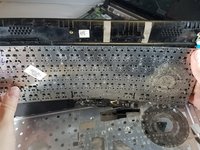
    4. HP Pavilion 14-v062us Screen Replacement: шаг 6, изображение 1 из 3 HP Pavilion 14-v062us Screen Replacement: шаг 6, изображение 2 из 3 HP Pavilion 14-v062us Screen Replacement: шаг 6, изображение 3 из 3
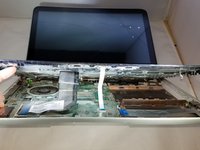
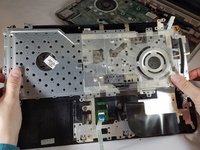
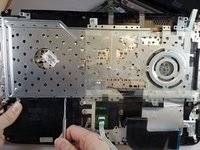
      • Using a spudger or plastic opening tool, pry along siding of keyboard, where it connects to the rest of the laptop

      • Pry until you are able to lift entire face and keyboard

      • Only cables should be connecting it underneath

      Спросите у FixBot

      Добавить комментарий

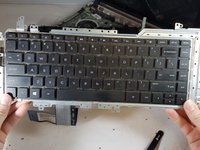
    5. HP Pavilion 14-v062us Screen Replacement: шаг 7, изображение 1 из 3 HP Pavilion 14-v062us Screen Replacement: шаг 7, изображение 2 из 3 HP Pavilion 14-v062us Screen Replacement: шаг 7, изображение 3 из 3
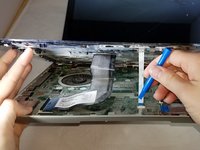
      • Disconnect/ unplug cables using plastic opening tool.

      • Separate the keyboard panel from the laptop with your hands.

      • Turn around the laptop and lay it flat.

      Спросите у FixBot

      Добавить комментарий

    6. HP Pavilion 14-v062us Screen Replacement: шаг 8, изображение 1 из 2 HP Pavilion 14-v062us Screen Replacement: шаг 8, изображение 2 из 2
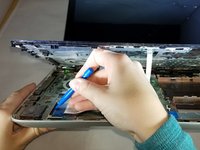
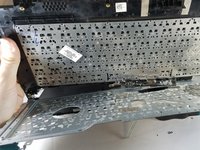
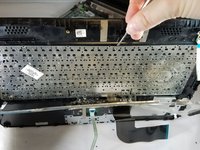
      • Use a spudger to pry around the first layer of the silver panel until you are able to remove it

      • Only use a metal spudger as a last resort

      Спросите у FixBot

      Добавить комментарий

    7. HP Pavilion 14-v062us Screen Replacement: шаг 9, изображение 1 из 3 HP Pavilion 14-v062us Screen Replacement: шаг 9, изображение 2 из 3 HP Pavilion 14-v062us Screen Replacement: шаг 9, изображение 3 из 3
      • Using a spudger tool, start prying around the second layer of the silver panel until you are able to remove it

      • Only use a metal spudger as a last resort

      Спросите у FixBot

      Добавить комментарий

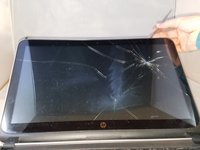
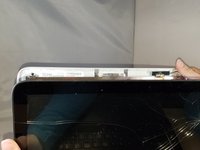
    1. HP Pavilion 14-v062us Screen Replacement, Screen: шаг 10, изображение 1 из 3 HP Pavilion 14-v062us Screen Replacement, Screen: шаг 10, изображение 2 из 3 HP Pavilion 14-v062us Screen Replacement, Screen: шаг 10, изображение 3 из 3
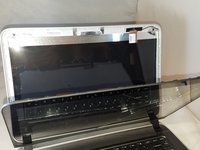
      • Using the spudger, wedge tool in between screen and laptop

      • Only use a metal spudger as a last resort. A regular black nylon spudger or a plastic opening tool should be used whenever possible

      • Pry open screen with spudger and your hands

      Спросите у FixBot

      Добавить комментарий

    2. HP Pavilion 14-v062us Screen Replacement: шаг 11, изображение 1 из 3 HP Pavilion 14-v062us Screen Replacement: шаг 11, изображение 2 из 3 HP Pavilion 14-v062us Screen Replacement: шаг 11, изображение 3 из 3
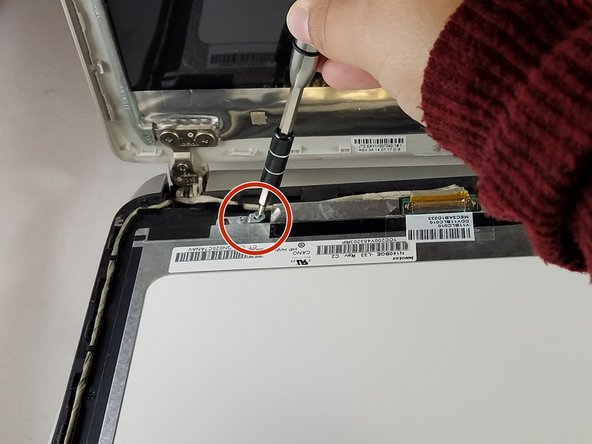
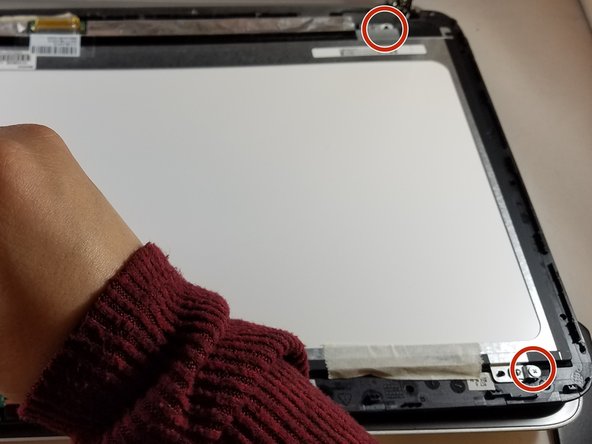
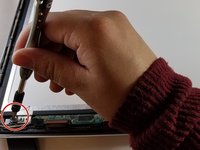
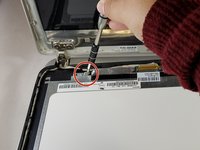
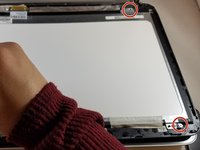
      • Remove the four 2.86 mm JIS#0 screws from each corner of the silver frame that is holding the digitizer.

      Спросите у FixBot

      Добавить комментарий

    3. HP Pavilion 14-v062us Screen Replacement: шаг 12, изображение 1 из 2 HP Pavilion 14-v062us Screen Replacement: шаг 12, изображение 2 из 2
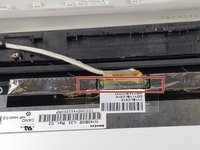
      • Locate the white and brown wiring that connects to the digitizer and the screen.

      • Cut through the clear part of tape attached to the brown latch and white wiring.

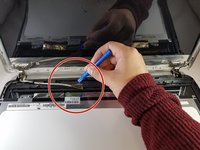
      • Disconnect the wiring, by lifting the brown latch with the blue plastic opening tool and pulling the white wire at the same time.

      • Lift off the digitizer. If you need to replace the digitizer stop here and replace this part.

      • If you need to replace the screen, then continue

      Спросите у FixBot

      Добавить комментарий

    4. HP Pavilion 14-v062us Screen Replacement: шаг 13, изображение 1 из 1
      • Remove the four 5.66 mm PH#0 from under the keyboard near the hinges.

      Спросите у FixBot

      Добавить комментарий

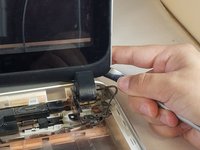
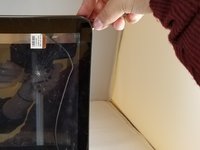
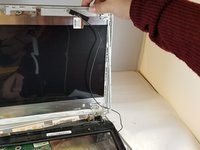
    5. HP Pavilion 14-v062us Screen Replacement: шаг 14, изображение 1 из 3 HP Pavilion 14-v062us Screen Replacement: шаг 14, изображение 2 из 3 HP Pavilion 14-v062us Screen Replacement: шаг 14, изображение 3 из 3
      • Wedge spudger in between screen and back of computer

      • Only use a metal spudger as a last resort. A regular black nylon spudger or a plastic opening tool should be used whenever possible

      • Detach screen

      Спросите у FixBot

      Добавить комментарий

Заключение

To reassemble your device, follow these instructions in reverse order. Take your e-waste to an R2 or e-Stewards certified recycler.

Отменить: Я не выполнил это руководство.

Еще один человек закончил это руководство.

Lorena Esquivel

Участник с: 09/27/17

247 Репутация

Автор 2 руководств

Команда

Eastern Washington University, Team S1-G4, Carnegie Fall 2017 Участник Eastern Washington University, Team S1-G4, Carnegie Fall 2017

EWU-CARNEGIE-F17S1G4

3 членов

Автор 36 руководств

0 Комментарии к руководству

Добавить комментарий

Статистика просмотров:

За последние 24 часов: 2

За последние 7 дней: 4

За последние 30 дней: 33

За всё время: 1,886