Введение
Does the touchpad of your HP ProBook 440 G6 need inspection or replacing? This guide will demonstrate how to safely replace your laptop's touchpad step-by-step.
The touchpad is an essential part of your device as it provides you the ability to control the cursor. It also provides with clicking, scrolling, and gesture capabilities. It removes any need for an external mouse.
Common Symptoms that may arise due to a faulty touchpad may include:
- Touchpad does not register any gestures
- The cursor does not move, moves on its own, or is very sensitive
- Touchpad does not register left or right clicks
- Ghost touching
This guide will walk you through each step to ensure a smooth and safe replacement of your touchpad. Before beginning this replacement, be sure to completely power off your laptop, unplug it from the charger, and put it in Battery safe Mode.
Выберете то, что вам нужно
-
-
Using a Phillips #0 Screwdriver, remove the two 5 mm screws on the front-facing side of the lower case.
-
Using a Phillips #0 Screwdriver, remove the remaining five 5 mm Phillips screws securing the lower case.
 Спросите у FixBot
-
-
-
Starting under the display, carefully use a plastic prying tool (iFixit opening tool) to disengage the retaining clips.
-
Once a corner or edge starts to lift, slowly slide the tool along the edge to loosen more of the bottom panel.
-
Keep working around the edges until all the clips are loose.
-
-
-
Gently lift the rear of the cover to disengage it from the computer.
-
Carefully remove the bottom cover from the computer.
-
-
-
Using a Phillips #0 Screwdriver, remove the two 4mm Phillips screws that secure the battery to the computer.
-
-
-
-
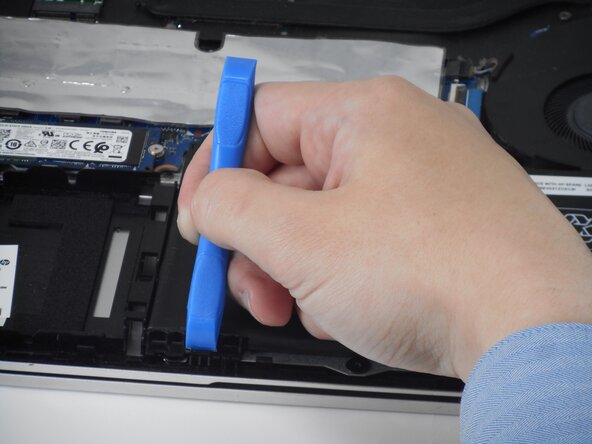
Use a tool to push the tab back on the bottom left of the battery.
-
-
-
Lift the top of the battery.
-
Lift the battery out of the computer.
-
-
-
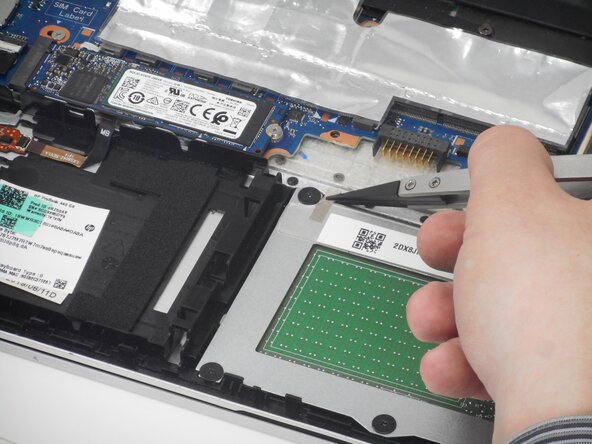
Use tweezers to carefully lift and disconnect the silver tape from the touchpad.
-
-
-
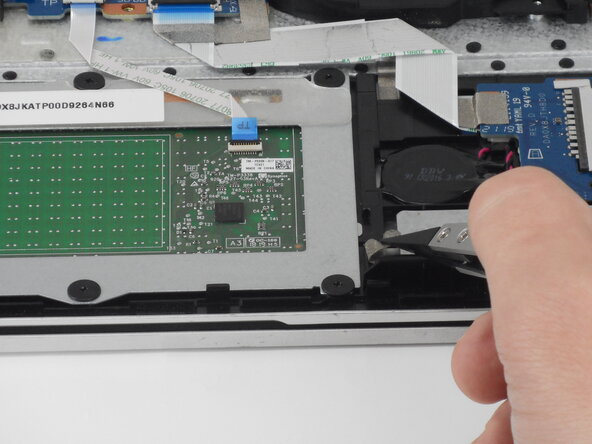
Carefully lift the small black locking flap on the ZIF connector.
-
Disconnect the cable from the ZIF connector on the touchpad.
-
-
-
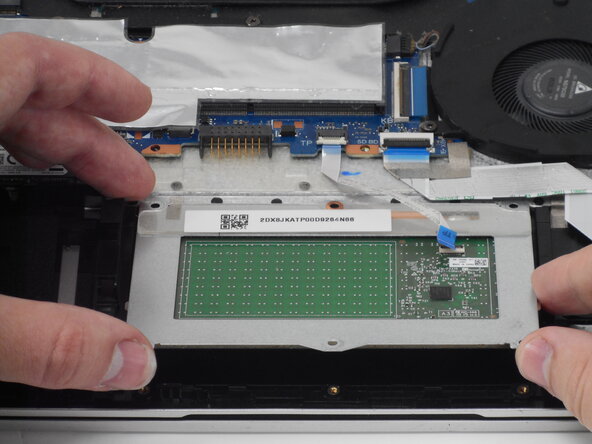
Using a Phillips #0 screwdriver, remove the six Phillips 2 mm screws that secure the touchpad.
-








To reassemble your device, follow the above steps in reverse order.
Take your e-waste to an R2 or e-Stewards certified recycler.
Repair didn’t go as planned? Try some basic troubleshooting or ask our Answers community for help.

Команда

University of Memphis, Team 1-4, Sneed Spring 2026 Участник University of Memphis, Team 1-4, Sneed Spring 2026
UM-SNEED-S26S1G4
3 членов
Автор 6 руководств
