Перейти к основному содержанию
Присоединяйся к сообществу ремонтников - Создай аккаунт
LG Refrigerator Water Dispensing Switch Testing and Replacement

Выберете то, что вам нужно

  1. LG Refrigerator Water Dispensing Switch Testing and Replacement, Unplug your refrigerator: шаг 1, изображение 1 из 1
    • Unplug your refrigerator before you begin your repair.

    • If you are testing or repairing the following items, you may also need to shut off and disconnect the water supply:

    • Condenser fan motor

    • Compressor motor and thermal overload device

    • Water supply valve assembly

    Спросите у FixBot

    Добавить комментарий

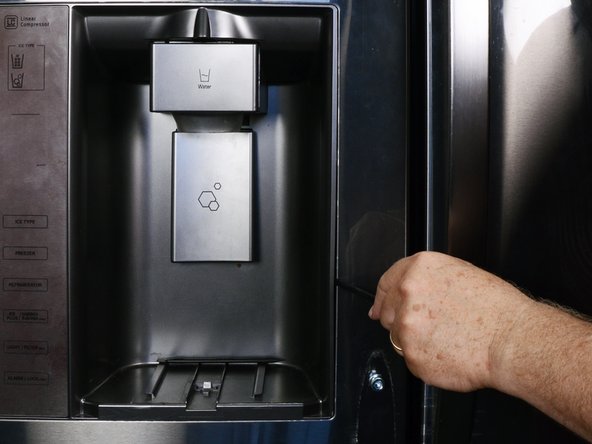
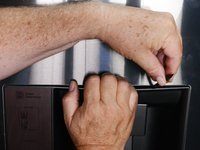
  2. LG Refrigerator Water Dispensing Switch Testing and Replacement, Loosen the left door handle set screws: шаг 2, изображение 1 из 2 LG Refrigerator Water Dispensing Switch Testing and Replacement, Loosen the left door handle set screws: шаг 2, изображение 2 из 2
    • To remove the left door handle, first open the right door.

    • Use a 2 1/2 mm hex wrench to loosen the set screws in the top and bottom of the left door handle.

    Спросите у FixBot

    Добавить комментарий

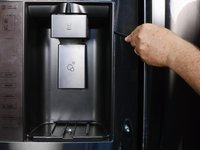
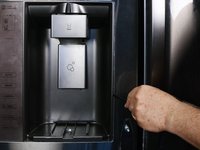
  3. LG Refrigerator Water Dispensing Switch Testing and Replacement, Remove the left door handle: шаг 3, изображение 1 из 2 LG Refrigerator Water Dispensing Switch Testing and Replacement, Remove the left door handle: шаг 3, изображение 2 из 2
    • Pull the left door handle straight off to remove it.

    Спросите у FixBot

    Добавить комментарий

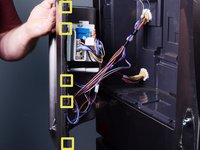
  4. LG Refrigerator Water Dispensing Switch Testing and Replacement, Retaining clip locations: шаг 4, изображение 1 из 3 LG Refrigerator Water Dispensing Switch Testing and Replacement, Retaining clip locations: шаг 4, изображение 2 из 3 LG Refrigerator Water Dispensing Switch Testing and Replacement, Retaining clip locations: шаг 4, изображение 3 из 3
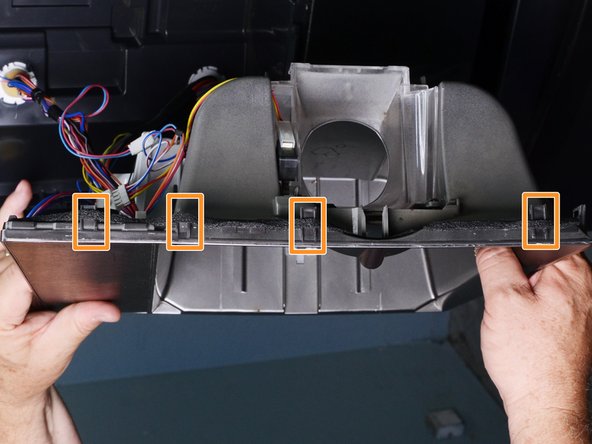
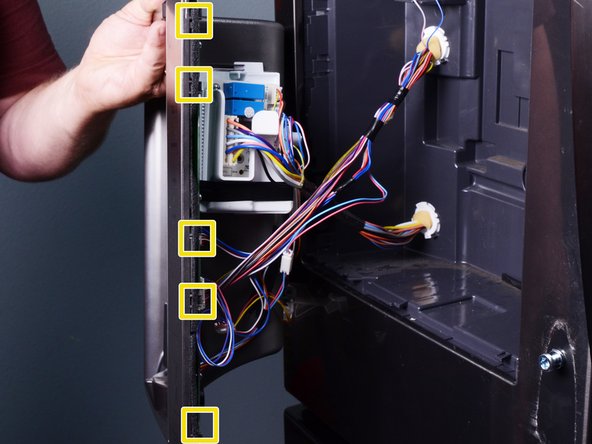
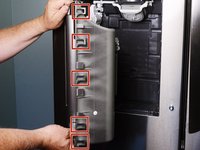
    • The dispenser assembly is secured by very strong clips, making it very difficult to remove. Take note of the clip location examples shown in the photos:

    • Right side clips

    • Top clips

    • Left side clips (Note, the dispenser is being held upside down for the photo, so the upper left side clips are at the bottom of the photo.)

    • During disassembly, you may break some of these clips. If you do, don't worry; the assembly does not need all the clips to be properly secured.

    Спросите у FixBot

    Добавить комментарий

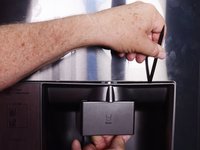
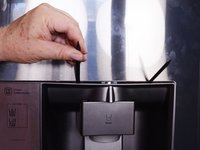
  5. LG Refrigerator Water Dispensing Switch Testing and Replacement, Release the dispenser: шаг 5, изображение 1 из 3 LG Refrigerator Water Dispensing Switch Testing and Replacement, Release the dispenser: шаг 5, изображение 2 из 3 LG Refrigerator Water Dispensing Switch Testing and Replacement, Release the dispenser: шаг 5, изображение 3 из 3
    • Use a spudger to pry out the top edge of the dispenser assembly.

    • Once you've created a gap, use your fingertips to pull the edge downward.

    • Use additional spudgers to unfasten the clips securing the dispenser assembly to the refrigerator door.

    • Optionally, you may use a flat-blade screwdriver to assist in this process. Be careful not to damage the door; you may scratch the door surface or dent the rim of the dispenser opening.

    Спросите у FixBot

    Добавить комментарий

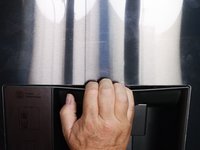
  6. LG Refrigerator Water Dispensing Switch Testing and Replacement, Reposition the dispenser: шаг 6, изображение 1 из 3 LG Refrigerator Water Dispensing Switch Testing and Replacement, Reposition the dispenser: шаг 6, изображение 2 из 3 LG Refrigerator Water Dispensing Switch Testing and Replacement, Reposition the dispenser: шаг 6, изображение 3 из 3
    • Grasp the top edge of the dispenser assembly in the middle and pull outwards.

    • Continue prying and pulling around the perimeter of the assembly to release it.

    Спросите у FixBot

    Добавить комментарий

  7. LG Refrigerator Water Dispensing Switch Testing and Replacement: шаг 7, изображение 1 из 3 LG Refrigerator Water Dispensing Switch Testing and Replacement: шаг 7, изображение 2 из 3 LG Refrigerator Water Dispensing Switch Testing and Replacement: шаг 7, изображение 3 из 3
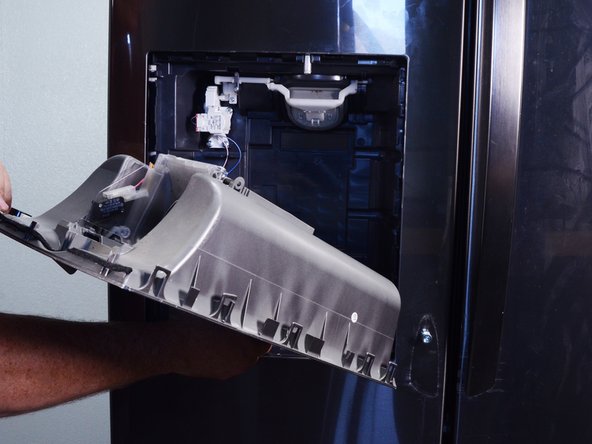
    • Grasp the assembly firmly and pull it out of the refrigerator door.

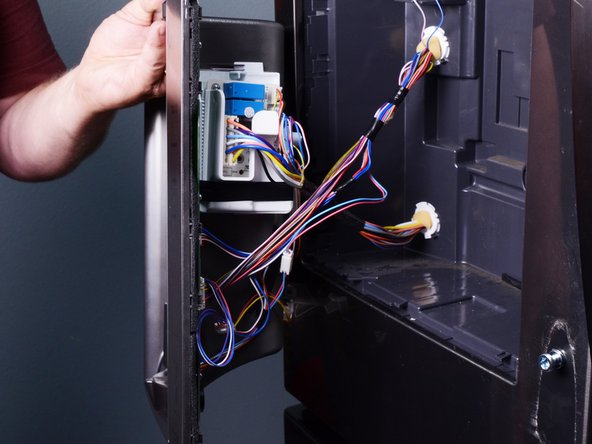
    • Don't try to pull the assembly completely off the refrigerator door. The assembly is still connected with numerous wires. These are mainly connected to the left side of the dispenser.

    Спросите у FixBot

    Добавить комментарий

  8. LG Refrigerator Water Dispensing Switch Testing and Replacement, Disconnect the dispenser: шаг 8, изображение 1 из 1
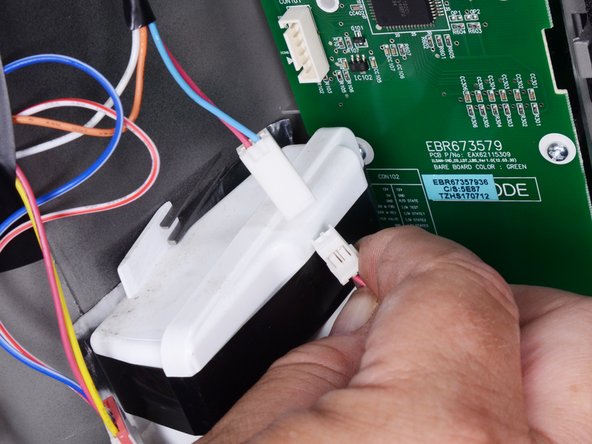
    • Squeeze the multiple wire connectors and pull them straight off to disconnect them from the various PC boards.

    • Some of the connectors may be permanently attached to the PC board and can't be removed.

    Спросите у FixBot

    Добавить комментарий

  9. LG Refrigerator Water Dispensing Switch Testing and Replacement: шаг 9, изображение 1 из 2 LG Refrigerator Water Dispensing Switch Testing and Replacement: шаг 9, изображение 2 из 2
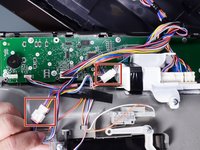
    • Squeeze and separate the various connectors in the wiring harness. The photo shows two examples.

    Спросите у FixBot

    Добавить комментарий

  10. LG Refrigerator Water Dispensing Switch Testing and Replacement, Unfasten the circuit board holder: шаг 10, изображение 1 из 3 LG Refrigerator Water Dispensing Switch Testing and Replacement, Unfasten the circuit board holder: шаг 10, изображение 2 из 3 LG Refrigerator Water Dispensing Switch Testing and Replacement, Unfasten the circuit board holder: шаг 10, изображение 3 из 3
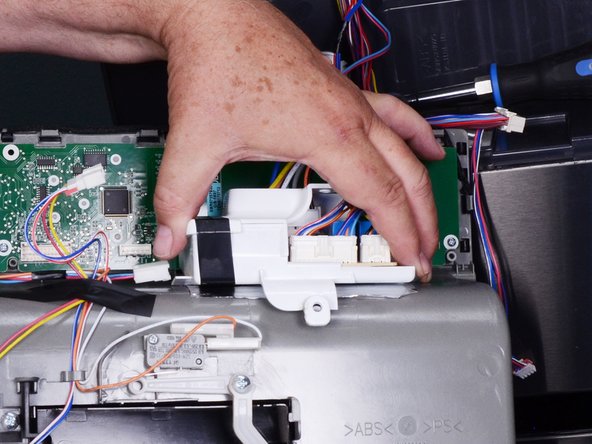
    • Use a Phillips screwdriver to remove the screw securing the circuit board holder to the dispenser assembly. Many, but not all, units will have this PC board and holder.

    • Lift and remove the circuit board holder from the dispenser assembly.

    Спросите у FixBot

    Добавить комментарий

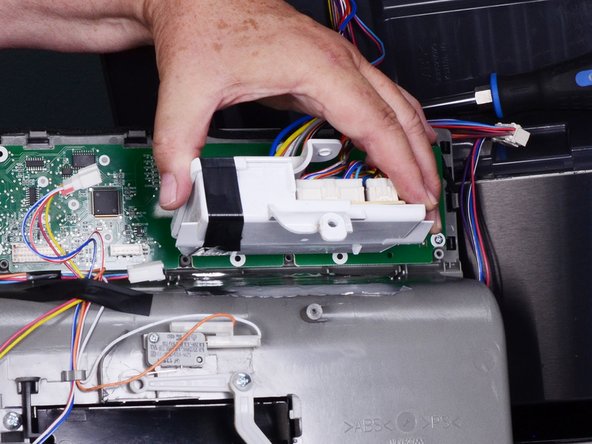
  11. LG Refrigerator Water Dispensing Switch Testing and Replacement, Remove the dispenser: шаг 11, изображение 1 из 1
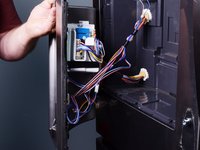
    • You can now remove the dispenser from the refrigerator.

    • The circuit board holder, if present, can be suspended from the harness wires, as its weight is minimal.

    Спросите у FixBot

    Добавить комментарий

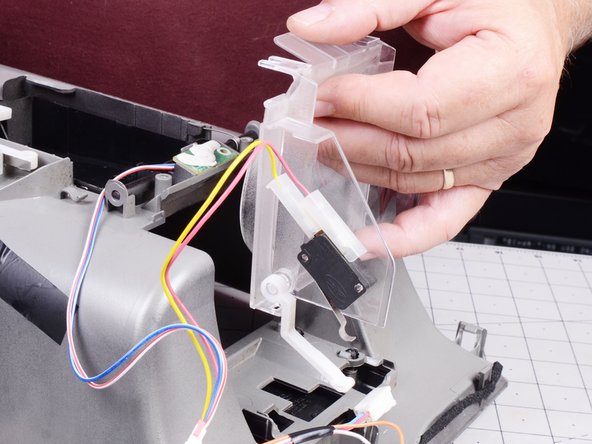
  12. LG Refrigerator Water Dispensing Switch Testing and Replacement, Remove the water dispensing switch bracket: шаг 12, изображение 1 из 1
    • Use a Phillips screwdriver to remove screws securing the water switch bracket to the dispenser assembly.

    Спросите у FixBot

    Добавить комментарий

  13. LG Refrigerator Water Dispensing Switch Testing and Replacement, Remove the switch bracket: шаг 13, изображение 1 из 2 LG Refrigerator Water Dispensing Switch Testing and Replacement, Remove the switch bracket: шаг 13, изображение 2 из 2
    • Lift the switch bracket off the dispenser assembly.

    Спросите у FixBot

    Добавить комментарий

  14. LG Refrigerator Water Dispensing Switch Testing and Replacement, Remove the water dispensing switch from the bracket: шаг 14, изображение 1 из 2 LG Refrigerator Water Dispensing Switch Testing and Replacement, Remove the water dispensing switch from the bracket: шаг 14, изображение 2 из 2
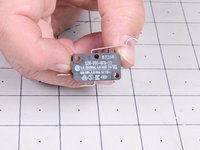
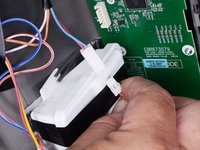
    • Slide the water dispensing switch off of its pegs on the bracket.

    Спросите у FixBot

    Добавить комментарий

  15. LG Refrigerator Water Dispensing Switch Testing and Replacement, Disconnect the water dispensing switch: шаг 15, изображение 1 из 2 LG Refrigerator Water Dispensing Switch Testing and Replacement, Disconnect the water dispensing switch: шаг 15, изображение 2 из 2
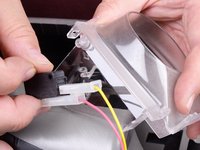
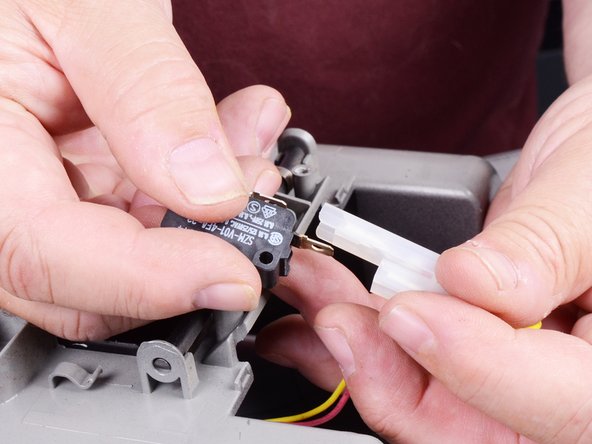
    • Pull the connector straight off the water dispensing switch to disconnect it.

    Спросите у FixBot

    Добавить комментарий

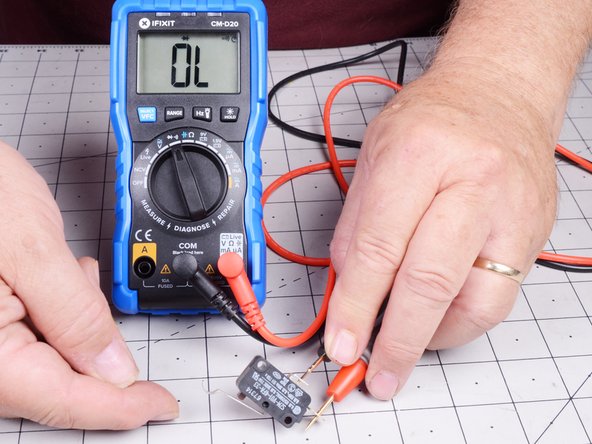
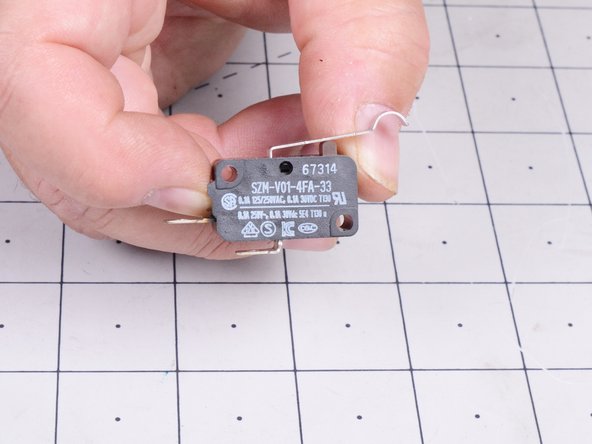
  16. LG Refrigerator Water Dispensing Switch Testing and Replacement, Test the water dispensing switch: шаг 16, изображение 1 из 3 LG Refrigerator Water Dispensing Switch Testing and Replacement, Test the water dispensing switch: шаг 16, изображение 2 из 3 LG Refrigerator Water Dispensing Switch Testing and Replacement, Test the water dispensing switch: шаг 16, изображение 3 из 3
    • If you have a multimeter, you can test to see if your water dispensing switch is good or not. Set your multimeter to the continuity function, with beeper.

    • Touch one probe to each of the switch terminals at the same time.

    • When you operate the small lever on the switch the meter should sound.

    • When you release the small lever on the switch the meter should not sound.

    • If the switch does not operate as described above, replace it.

    Спросите у FixBot

    Добавить комментарий

Заключение

To reassemble your device, follow these instructions in reverse order.

Take your e-waste to an R2 or e-Stewards certified recycler.

Repair didn’t go as planned? Try some basic troubleshooting, or ask our Answers community for help.

Отменить: Я не выполнил это руководство.

Bill Gilbert

Участник с: 06/30/22

39 969 Репутация

Автор 261 руководств

Команда

iFixit Участник iFixit

Staff

122 членов

Автор 27 491 руководств

0 Комментарии к руководству

Добавить комментарий

Статистика просмотров:

За последние 24 часов: 0

За последние 7 дней: 14

За последние 30 дней: 107

За всё время: 2,078