Перейти к основному содержанию
Присоединяйся к сообществу ремонтников - Создай аккаунт

Logitech MX Keys Feet Replacement

Выберете то, что вам нужно

  1. Logitech MX Keys Feet Replacement, Prepare your keyboard for disassembly: шаг 1, изображение 1 из 3 Logitech MX Keys Feet Replacement, Prepare your keyboard for disassembly: шаг 1, изображение 2 из 3 Logitech MX Keys Feet Replacement, Prepare your keyboard for disassembly: шаг 1, изображение 3 из 3
    • Slide the keyboard's power switch into the OFF position.

    • A red indicator should be visible beneath the switch.

    • Unplug all cables from your keyboard.

    • Lay your keyboard down with the feet facing up on a clean work surface.

    • If your work surface may scratch the keyboard, place a soft towel under it.

    Спросите у FixBot
  2. Logitech MX Keys Feet Replacement, Remove the feet: шаг 2, изображение 1 из 2 Logitech MX Keys Feet Replacement, Remove the feet: шаг 2, изображение 2 из 2
    • Heat an iOpener and lay it on the top left foot for one minute.

    • Alternatively, you can use a hair dryer on the Low heat setting to soften the adhesive.

    • If you're using a hair dryer, only heat the feet a few seconds at a time or you may warp the plastic.

    Спросите у FixBot
  3. Logitech MX Keys Feet Replacement: шаг 3, изображение 1 из 3 Logitech MX Keys Feet Replacement: шаг 3, изображение 2 из 3 Logitech MX Keys Feet Replacement: шаг 3, изображение 3 из 3
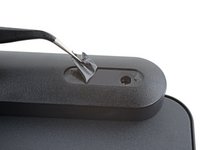
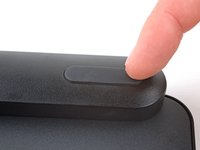
    • The foot should come up without much force. If it feels stuck, apply more heat and try again.

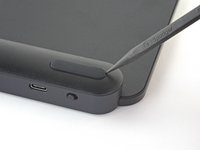
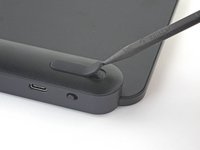
    • Insert the point of a spudger under an end of the foot.

    • Push the spudger underneath the foot and lift until you can grip it with your fingers.

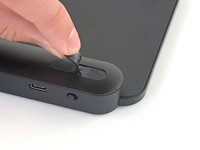
    • Peel the foot up and remove it.

    • Repeat the process to remove the remaining feet.

    • If you're replacing the battery, you only need to remove the feet along the top edge.

    Спросите у FixBot
  4. Logitech MX Keys Feet Replacement, Reassembly information: шаг 4, изображение 1 из 2 Logitech MX Keys Feet Replacement, Reassembly information: шаг 4, изображение 2 из 2
    Инструмент, используемый на этом этапе:
    Tesa 61395 Tape
    $2.95
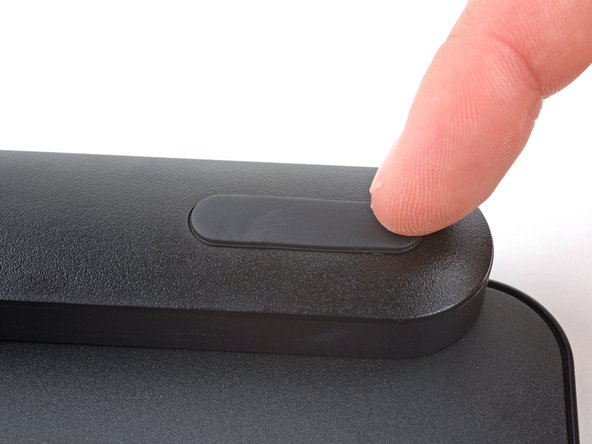
    • To install the feet during reassembly:

    • Use a pair of angled tweezers to peel up and remove all the plastic film from the foot recesses.

    • If you're installing new feet, remove them from their backing and firmly press them into place.

    • If you're reusing the feet, use a strip of double-sided tape to secure them in their recesses.

    Спросите у FixBot
Заключение

Repair didn’t go as planned? Try some basic troubleshooting, or ask our Answers community for help.

2 человек успешно провели ремонт по этому руководству.

Spencer Day

Участник с: 09/14/22

187 948 Репутация

Автор 1 187 руководств

Команда

iFixit Участник iFixit

Staff

123 членов

Автор 25 710 руководств

2 Комментарии к руководству

Where do you buy replacement 'feet' for the MX Keys?

maxtraxpro - Ответить Поделиться

Hi, mooie uitleg.

Vraagje: Heeft iemand een idee waar ik de voetjes van een mx toetsenbord kan kopen? Bij mij bord zijn er twee uitgevallen.

En een geweldig initiatief is ifixit!

Groet Henk Volkers

Henk Volkers - Ответить Поделиться

Добавить комментарий

Статистика просмотров:

За последние 24 часов: 14

За последние 7 дней: 63

За последние 30 дней: 289

За всё время: 5,650