Введение
This guide will cover the replacement of the cooling assembly in the MSI MS-1782 laptop. This part of the laptop is responsible for cooling the internal components such as the CPU and GPU. If your laptop's fans aren't spinning or components are not staying cool, a fan replacement and new thermal paste will be required. Check out the troubleshooting page if your laptop is overheating.
When working on the laptop make sure to disconnect the battery first. Also be sure to keep track of thermal pads when taking off the cooler. Lastly make sure to replace the thermal paste anyways when removing the cooler because when you do remove the cooler the seal is broken that the paste makes with the components. Use this guide here to replace the thermal paste.
Выберете то, что вам нужно
-
-
-
Remove five 6.6 mm screws from the edges of the bottom cover using a JIS #1 screwdriver.
-
Remove one 5.6 mm screw from the center of the bottom cover using a JIS #1 screwdriver.
 Спросите у FixBot
-
-
-
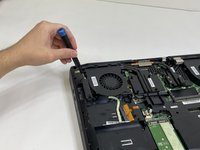
Use an iFixit opening pick to unclip the bottom cover.
-
After unclipping the bottom case, pull from the back of the laptop upwards using the lip of the bottom case as a handle.
-
-
-
-
-
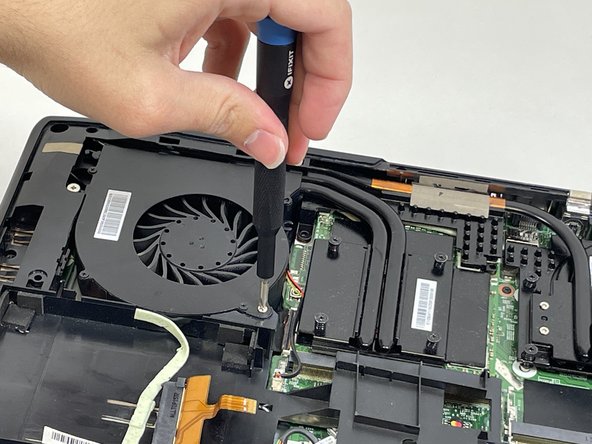
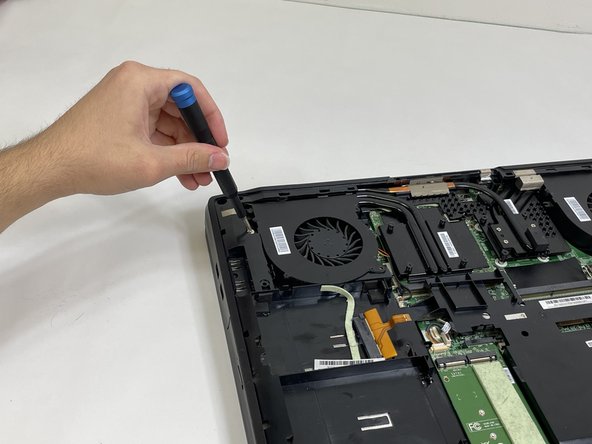
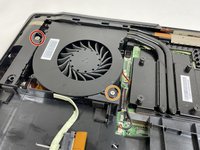
Loosen the captive screw on the left side of the left fan using a JIS #2 screwdriver.
-
Remove the 5.1 mm screw on the right side of the left fan using a JIS #2 screwdriver.
-
-
-
-
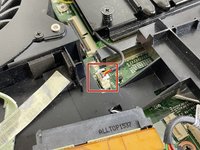
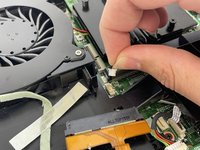
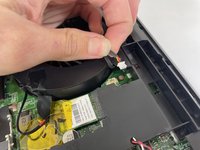
Gently detach the fan connector.
-
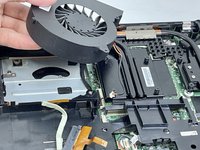
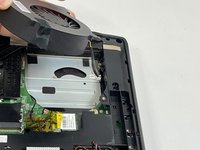
Remove the fan by lifting it out of its housing.
-
-
-
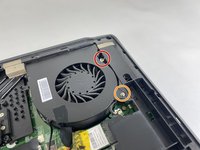
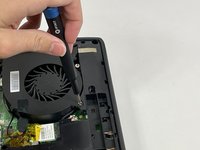
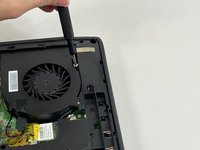
Loosen the captive screw on the top of the right fan using a JIS #2 screwdriver.
-
Remove the 3.6 mm screw on the bottom of the right fan using a JIS #2 screwdriver.
-
-
-
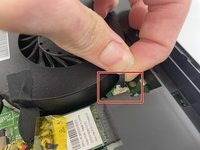
Gently detach the fan connector.
-
Remove the fan by lifting it out of its housing.
-
-
-
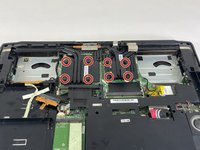
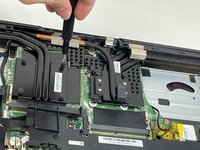
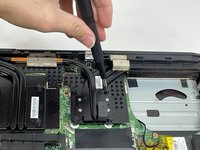
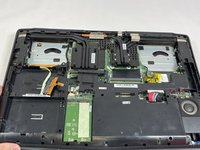
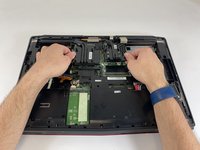
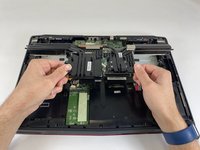
Loosen the eight captive screws holding the heat sink in place using a JIS #2 screwdriver.
-
-












To reassemble your device, follow these instructions in reverse order.

Команда

University of New Orleans, Team 4-4, McDonald Spring 2023 Участник University of New Orleans, Team 4-4, McDonald Spring 2023
UNO-MCDONALD-S23S4G4
3 членов
Автор 63 руководств
