Введение
This guide is to be used for the replacement of one or both tweeter assemblies in the Marshall Stanmore II Bluetooth Speaker.
The tweeters produce high-frequency sounds in a speaker. These high-frequency sounds allow listeners to hear the treble in music. If a speaker has a malfunctioning tweeter, anything played would sound muddy and incomprehensible.
Before using this guide, make any adjustments for the treble and bass using the dials on top of the speaker or through the Marshall Bluetooth app. After adjustment, verify if the sound quality has improved. If there is no improvement, follow the troubleshooting steps on the Marshall Stanmore II Bluetooth Speaker Troubleshooting page before attempting to disassemble.
Выберете то, что вам нужно
-
-
-
Lay the speaker with the back panel facing up on a flat, stable work surface.
 Спросите у FixBot
-
-
-
Use a Phillips #2 screwdriver to remove the ten 20.5 mm screws that secure the rear panel to the chassis.
-
-
-
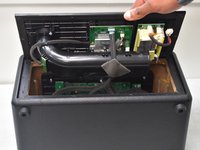
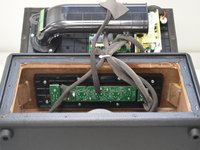
Carefully lift the rear panel and let it rest on an object, like a stack of books, to avoid straining the cables.
-
-
-
-
-
-
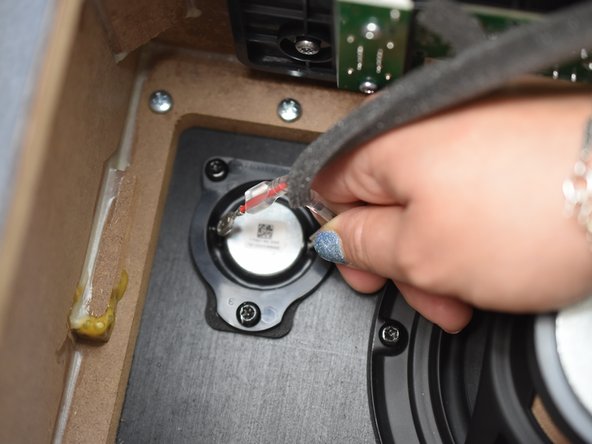
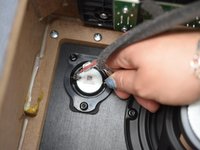
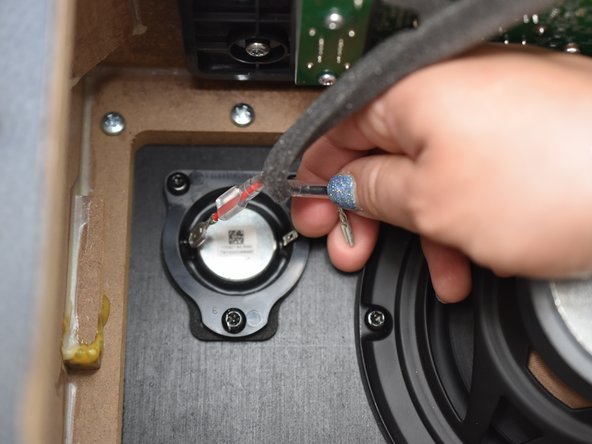
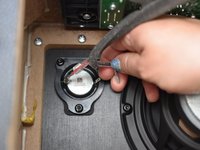
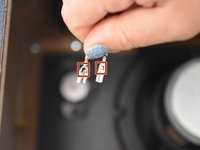
Carefully pull back the translucent plastic sheathing on the two silver tweeter connectors.
-
-
-
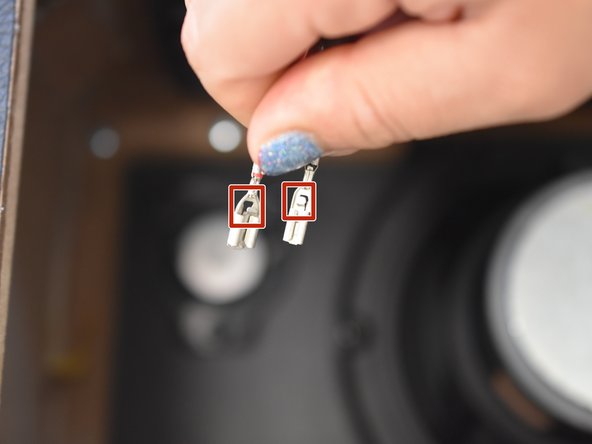
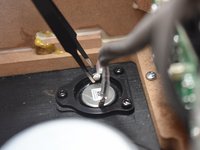
Using your fingernail or tweezers, apply precise pressure to the small latch in the middle of the connector and gently pull upwards to disconnect the connector.
-
Repeat for the second connector.
-
-
-
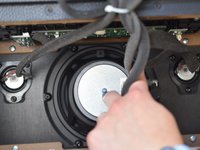
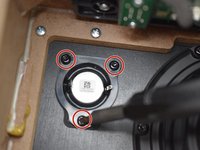
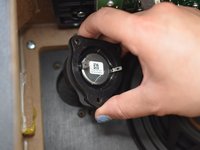
Use a Torx T20 screwdriver to remove the three 20.5 mm screws that secure the tweeter.
-
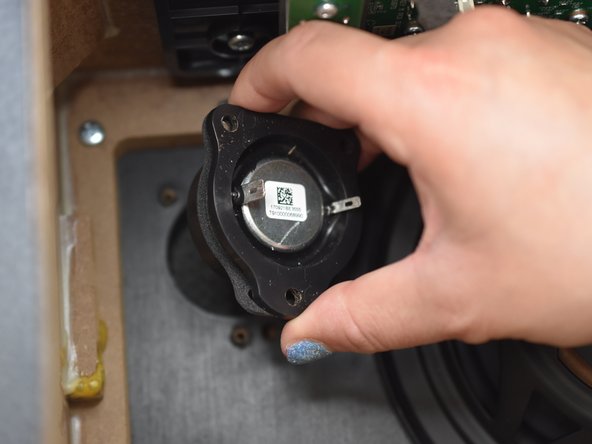
Lift the tweeter assembly from its housing.
-
-






To reassemble your device, follow these instructions in reverse order.

Команда

University of North Texas, Team 2-1, Kilpatrick Spring 2024 Участник University of North Texas, Team 2-1, Kilpatrick Spring 2024
UNT-KILPATRICK-S24S2G1
5 членов
Автор 12 руководств
1 Комментарий к руководству
Do you know the tweeter spec? Or similar brand to install?
