Этот перевод был сделан машиной и пока не проверен человеком. Знаешь этот язык? Оцени его.
Введение
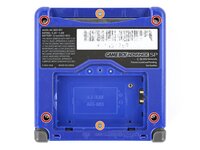
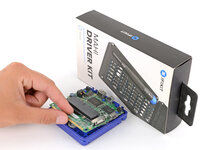
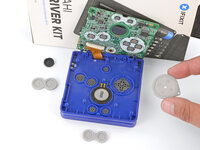
Следуйте этому руководству, чтобы заменить, обновить или кастомизировать кнопки вашей Nintendo Game Boy Advance SP.
В этом руководстве описывается замена кнопок действий (A и B), плечевых кнопок (L и R), крестовины, кнопки яркости, кнопок Start/Select, а также крышки переключателя ON/OFF.
Если вы полностью меняете корпус вашего Game Boy, следуйте этому руководству.
В Nintendo Game Boy Advance SP используются винты стандарта JIS. Если вы используете обычную крестовую отвертку (Phillips) не от iFixit, вы рискуете сорвать шлицы винтов. Крестовые биты iFixit разработаны с учетом совместимости с винтами JIS.
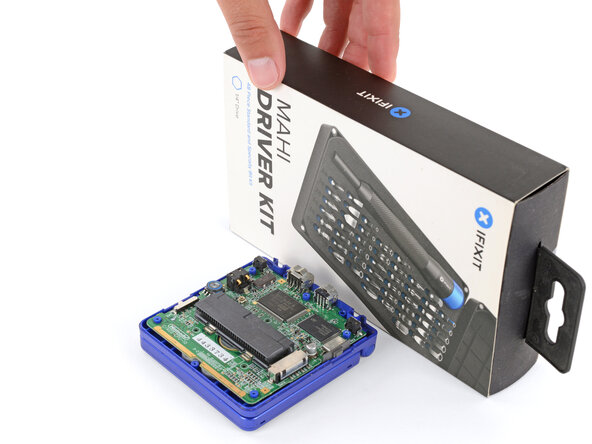
Выберете то, что вам нужно
-
-
-
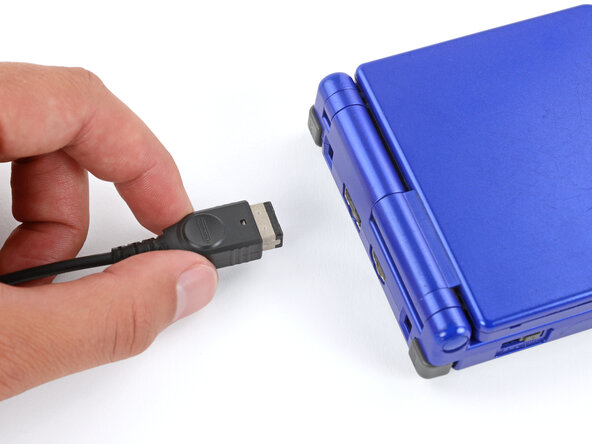
Переведите выключатель питания в положение ВЫКЛ (OFF) и отсоедините все кабели.
-
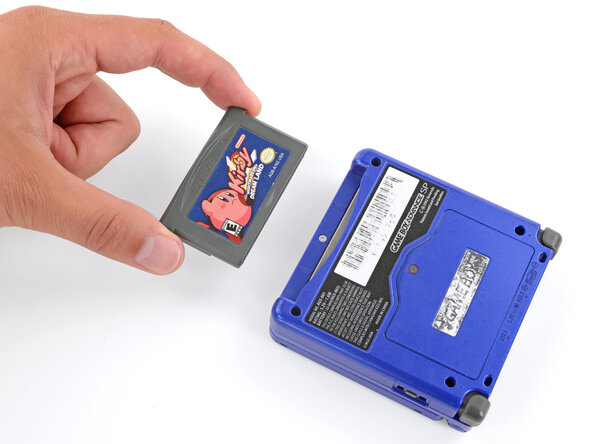
Если вставлен игровой картридж, извлеките его.
 Спросите у FixBot
-
-
-
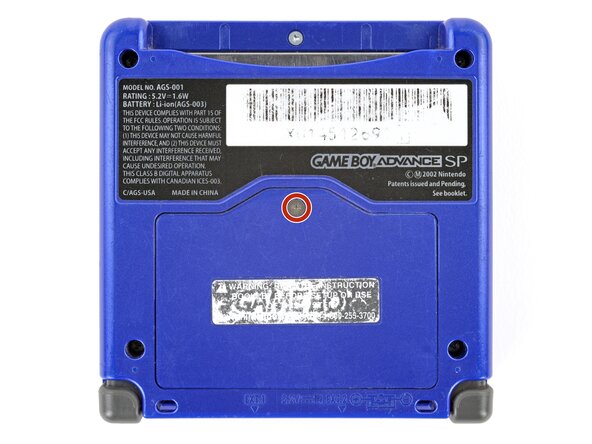
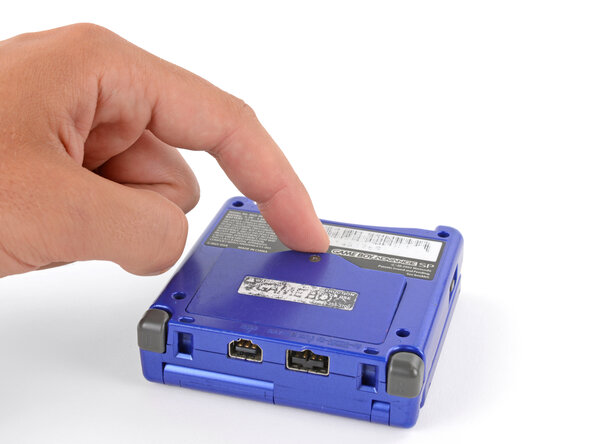
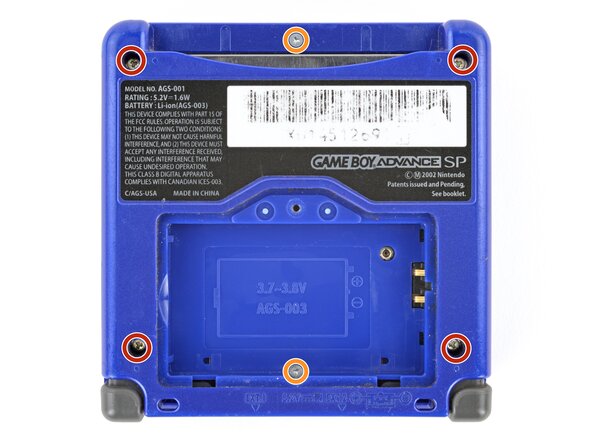
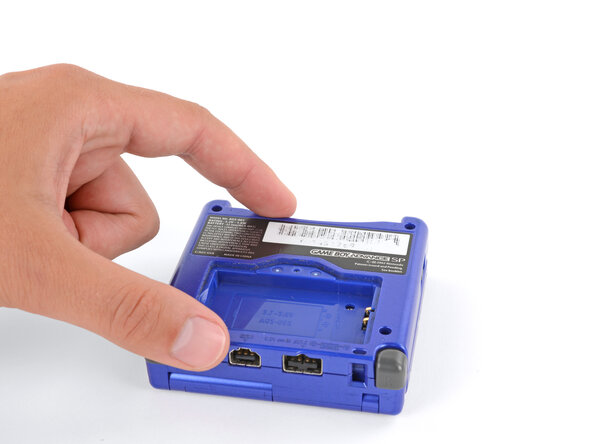
Используйте отвертку JIS 00, чтобы ослабить невыпадающий винт, фиксирующий крышку аккумулятора.
-
-
-
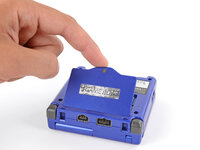
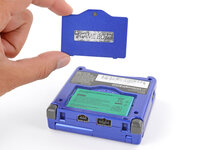
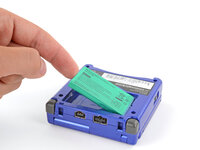
Подденьте аккумулятор пальцем за язычок на левой стороне и извлеките его.
-
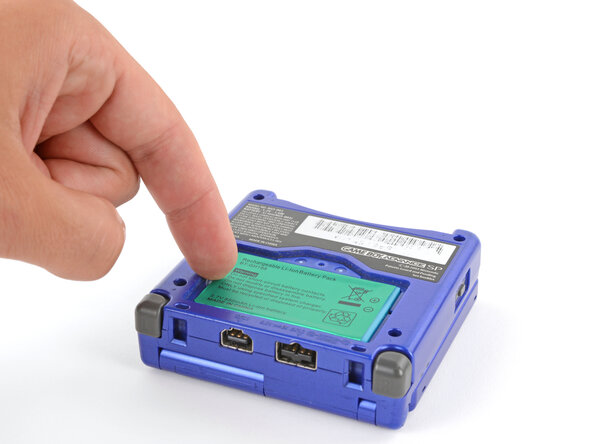
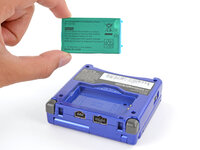
Вставьте край аккумулятора с контактами под небольшим углом вниз, совместив контакты с штырьками в углублении, а затем прижмите аккумулятор до щелчка.
-
-
-
-
-
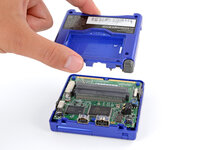
С помощью трехлопастной отвертки Y0 открутите шесть винтов, удерживающих нижнюю часть корпуса:
-
Четыре утопленных винта длиной 6,3 мм
-
Два винта длиной 4,6 мм
-
-
-
-
-
-
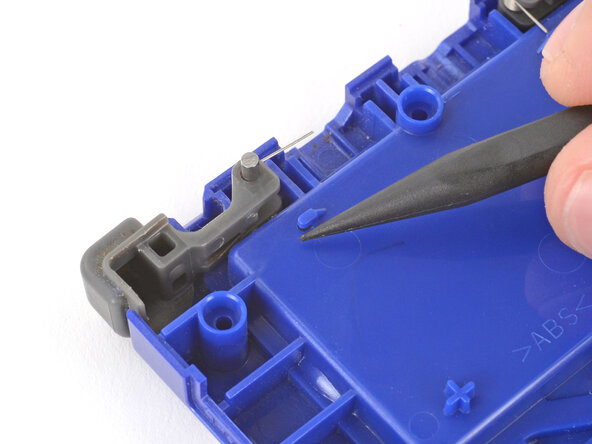
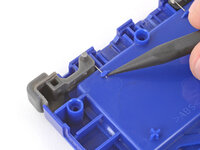
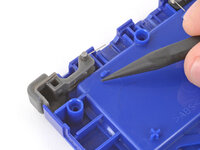
Используйте кончик лопатки (spudger), чтобы вытолкнуть рычаг пружины из-под зажима.
-
-
-
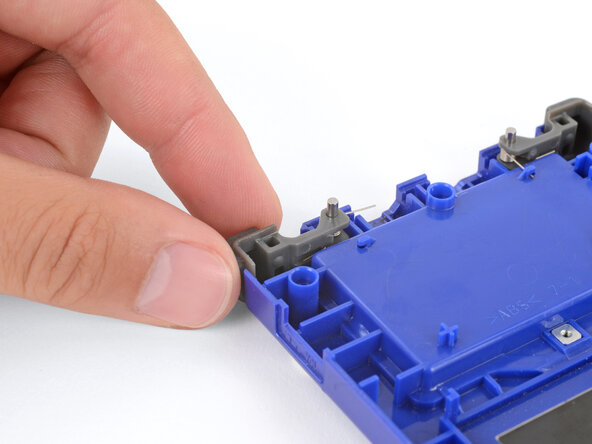
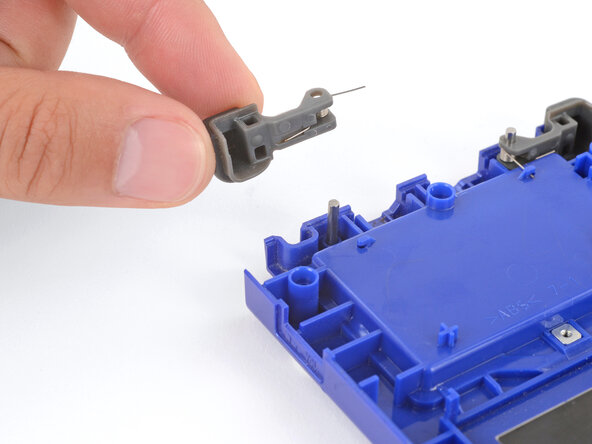
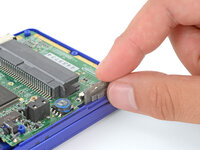
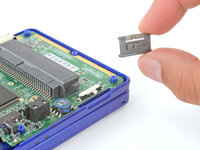
Поднимите торцевую кнопку вертикально вверх и снимите ее с оси шарнира.
-
Повторите эту процедуру, чтобы снять вторую торцевую кнопку.
-
-
-
-
-
Подденьте и снимите крышку кнопки питания пальцами.
-
Установите крышку кнопки питания пальцами (выемкой вверх) на место так, чтобы вырез располагался вокруг самой кнопки.
-
Аккуратно подвигайте крышку вперед-назад, чтобы убедиться, что она правильно установлена и нажимает на переключатель.
-
-
-
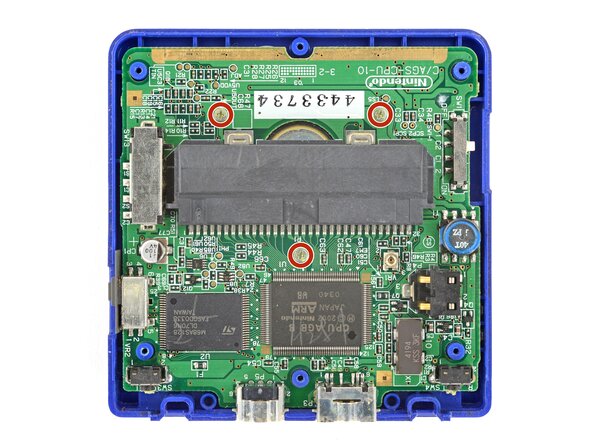
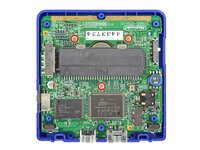
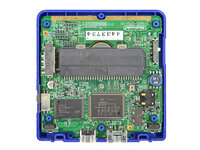
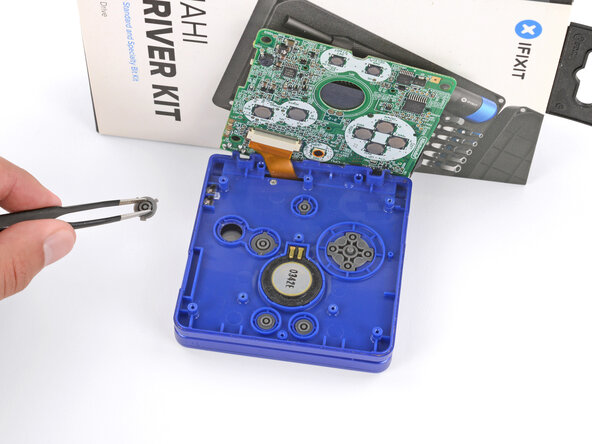
С помощью отвертки JIS 00 открутите три винта длиной 4,1 мм, фиксирующие материнскую плату.
-
-
-
Поместите устойчивый предмет, например стопку книг или футляр для инструментов, вдоль края Game Boy со стороны петель.
-
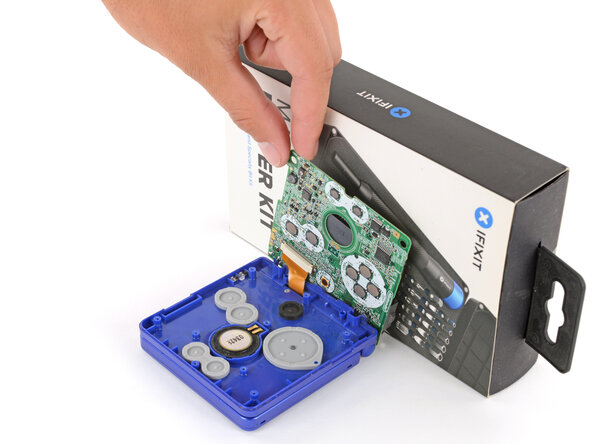
Аккуратно переверните материнскую плату через петли пальцами и прислоните её к опоре.
-
-
-
-
-
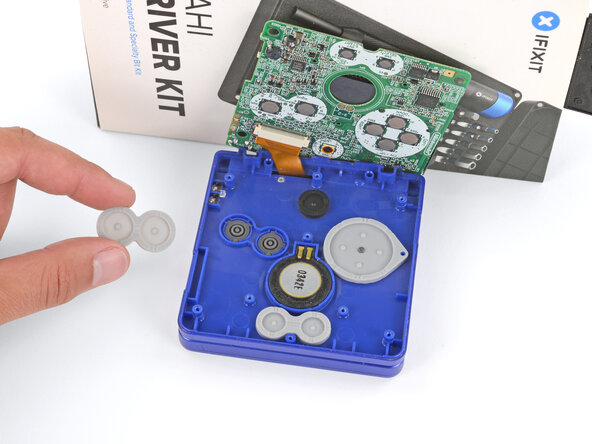
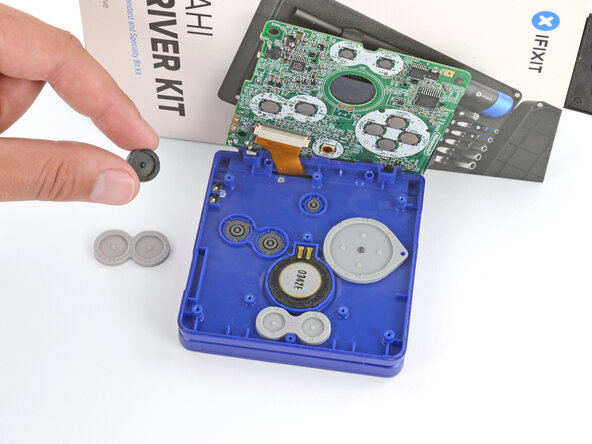
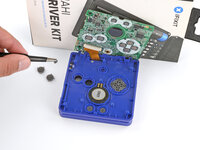
С помощью пинцета или пальцев снимите четыре силиконовые прокладки, закрывающие кнопки (A и B, крестовину, регулировку яркости, а также Start/Select).
-
-
-
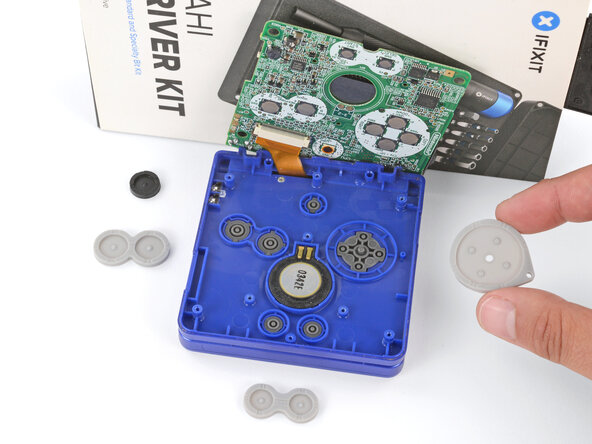
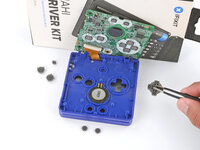
Используйте пинцет или пальцы, чтобы извлечь кнопки (A и B, крестовину (D-pad), кнопку яркости, а также Start и Select).
-
-


Для сборки устройства выполните эти действия в обратном порядке.
Сдавайте электронные отходы в центры переработки, сертифицированные по стандарту R2 или e-Stewards.
Ремонт пошел не по плану? Попробуйте базовую диагностику или обратитесь за помощью к нашему сообществу Answers.
Отменить: Я не выполнил это руководство.
15 человек успешно провели ремонт по этому руководству.
Особая благодарность этим переводчикам:
100%

Translation Bot помогает нам починить мир! Хотите внести свой вклад?
Начните переводить ›

5 Комментарии к руководству
Hi,
How do I fix my SP Brighter when A and B buttons are simultaneously pressed, the system turns off? Please Help! Thank you in advance!
there is most likely a crack in the mother board or the battery has too much pressure placed onto it
you can fix this by changing the position of the battery and putting something to stop it from moving around so it fits tightly
@
HI there! My problem is that I have to press the button A harder for the action to be registered, how can I fix that?
The L and R buttons done work, they go in perfectly fine but would it be the 2 buttons under them that aren't working? If so then how would I remove and replace them safely
The buttons L and R don't work, they go in fine so I'm thinking that it's the buttons on the inside that are damaged. If that is the case then how would I remove and replace them safely?