Введение
Use this guide to open your Apple Watch Series 5 for repairs.
During the display opening procedure of the Apple Watch it is likely to damage the force touch gasket. If you separate the gasket layers or cut the cable, you'll also need to replace the Force Touch gasket itself.
You’ll need replacement adhesive to reattach components when reassembling the device.
Выберете то, что вам нужно
-
-
-
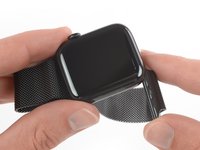
Before starting repairs, take your watch off the charger and power it down.
-
If your touchscreen is broken and you can't power off the watch, use this alternate method to power it down.
 Спросите у FixBot
-
-
-
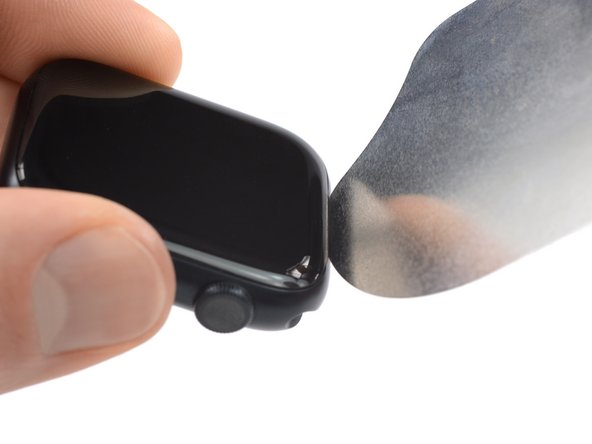
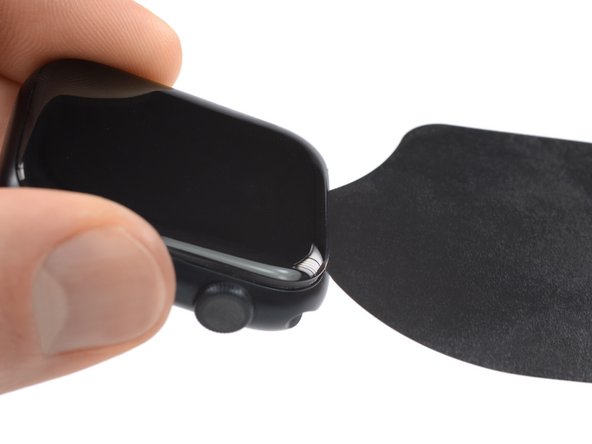
Because the gap between the screen and watch body is so thin, a sharp blade is needed to separate the two. Read the following warnings carefully before proceeding.
-
-
-
Prepare an iOpener (or use a hair dryer or heat gun) and heat the face of the watch to loosen the display adhesive.
-
Leave the iOpener on the watch for at least two minutes to fully heat the screen and soften the adhesive holding it to the case.
-
-
-
-
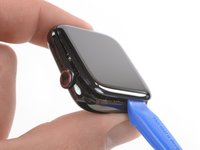
Insert the iFlex into the thin gap between the display and frame at the edge adjacent to the digital crown.
-
Tilt the iFlex down to pry the display open slightly and create a gap between the screen and the watch body.
-
-
-
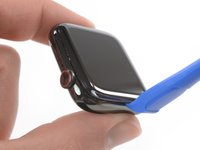
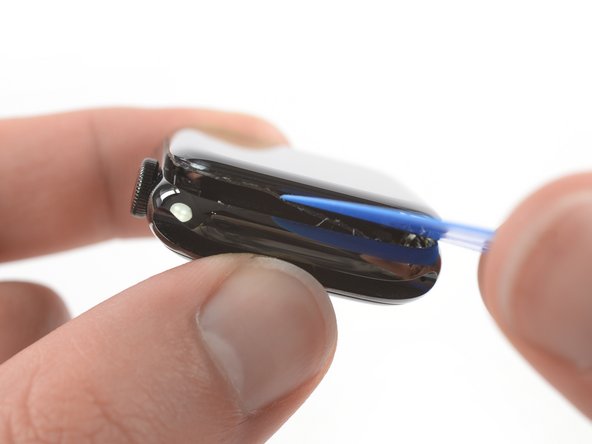
Once you've opened a small gap with the curved blade, remove the blade and insert the thinner edge of an opening tool into the gap.
-
Push the opening tool into the gap, using your thumb as a pivot to lift the display open a bit farther.
-
-
-
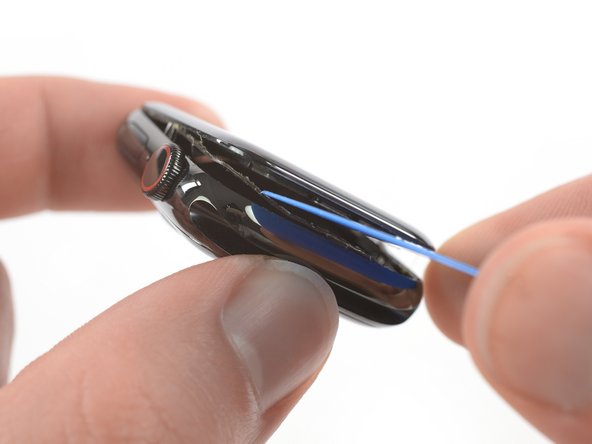
It's likely that the force touch sensor will stick to the display frame instead to the watch's body. In this case, insert an opening pick under the display and carefully separate the Force Touch gasket from the display.
-
Slide the pick around the display to separate the adhesive between the Force Touch gasket and the display.
-
-









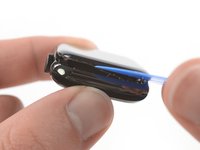
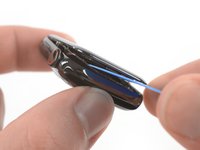


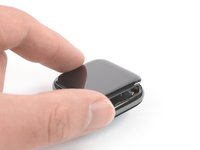
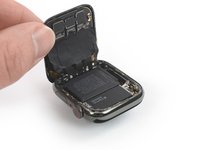
To reassemble your device, follow these instructions in reverse order. Apply a little bit of high isopropyl alcohol (>90%) to a Q-tip or use a cleaning pad to gently remove the leftover adhesive on top of the Force Touch gasket before installing new adhesive.
Opening didn’t go as planned? Check out our Answers community for troubleshooting help.
Отменить: Я не выполнил это руководство.
10 человек успешно провели ремонт по этому руководству.


