Введение
Follow this guide to replace the right trigger (R2) in your Steam Controller (2nd Gen, 2026).
If your Steam Controller's right trigger (R2) feels loose, sticks during use, or registers inputs incorrectly, it might need to be replaced.
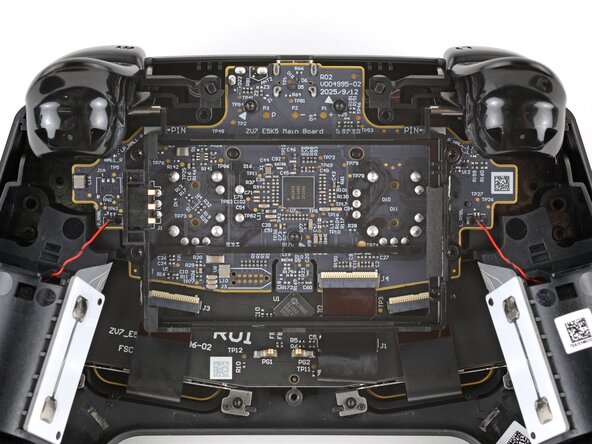
Problems with incorrect trigger inputs may indicate an issue with the main board—specifically, the trigger's hall effect sensor. If you suspect that's the case, follow this guide to replace the main board.
Выберете то, что вам нужно
-
-
Unplug all cables and accessories from the controller, including the Steam Controller Puck.
 Спросите у FixBot
-
-
Инструмент, используемый на этом этапе:TR6 Torx Security Screwdriver$5.99
-
Use a T6 Torx screwdriver to remove the seven screws securing the back cover.
-
Throughout this repair, keep track of each screw and make sure it goes back exactly where it came from.
-
-
-
-
Lift the right edge of the battery to remove it.
-
-
-
Use a T6 Torx screwdriver to remove the four 7.4 mm‑long screws securing the battery mounting bracket.
-
-
-
Remove the battery mounting bracket.
-
-
-
With one hand, fully depress the right trigger.
-
With your free hand, use tweezers to pull the hinge pin straight out and remove it.
-
-
-
Remove the right trigger.
-
If the spring stayed on its post, leave it in place.
-


To reassemble your device, follow these instructions in reverse order.
Repair didn’t go as planned? Try some basic troubleshooting, or ask our Answers community for help.

1 Комментарий к руководству
What are the lengths and diameters of the springs? Making them stiffer is what I want to do as they do feel a bit too soft.