Введение
The W-King X10 battery is responsible for providing power to every component of the X10. Malfunctions in the battery may come in the form of diminished battery life, extended battery charging times, and at the extreme, a complete inability to power on your X10.
If you are experiencing any of these symptoms, this guide will show you how to open the casing of your X10, and how to disconnect and replace the battery.
Before you begin this repair, power off your speaker and disconnect it from the charging cable. The prerequisite guide to remove the speakers requires soldering. For detailed instructions, refer to the How to Solder and Desolder Connections guide.
Выберете то, что вам нужно
-
-
-
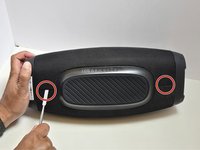
Orient your W-King X10 so that the front is facing you.
 Спросите у FixBot
-
-
-
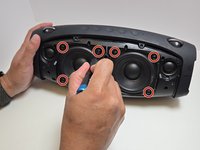
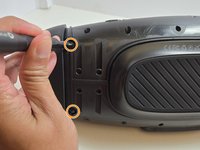
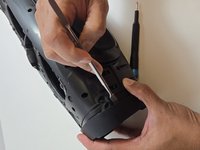
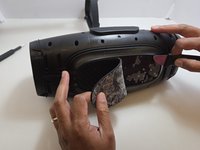
Using a metal spudger, pry open the top points of the front-facing mesh guard.
-
-
-
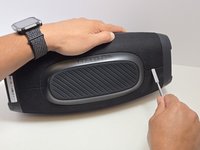
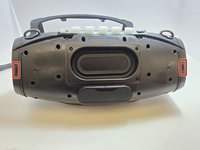
Lay the X10 on its back so that the bottom is facing you.
-
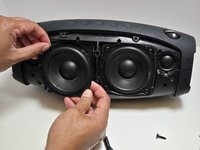
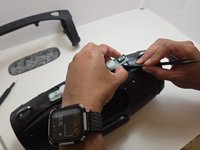
Using the metal spudger, separate the two connection points located on the left and right sides of the mesh panel as shown.
-
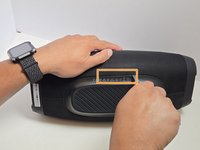
Separate the connection point in the center of the bottom section of the device.
-
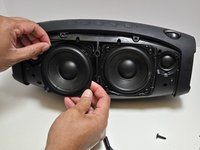
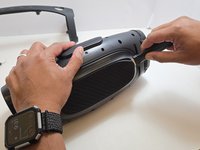
As before, all connection points should audibly 'pop' when disconnected, and the mesh panel will visibly separate from the body of the X10.
-
-
-
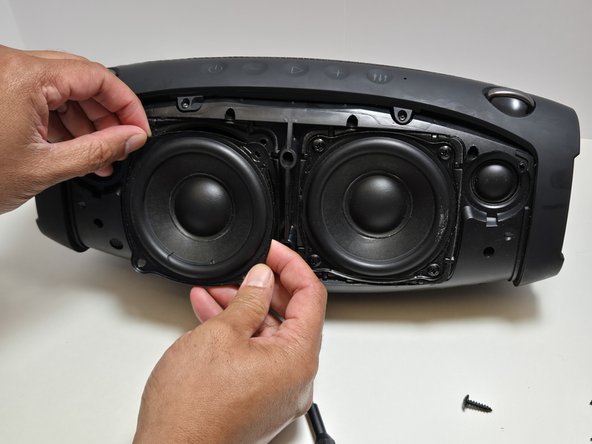
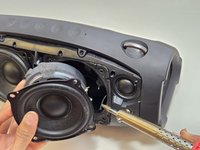
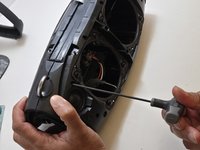
Use a Phillips #2 screwdriver to remove four 15.5 mm screws from the corners of each speaker.
-
-
-
-
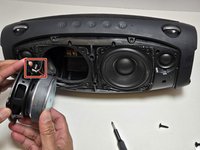
Gently pull the speaker straight out of the frame of the device.
-
-
-
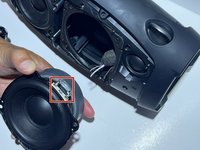
Use a soldering iron to disconnect the three wires connecting the speaker to the motherboard.
-
-
-
-
-
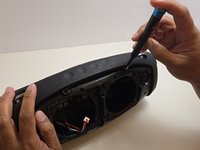
Unscrew the top arm of the X10.
-
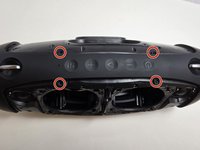
There are four 7.5mm Phillips #0 screws at the center of the top arm.
-
There are two 7.5mm Phillips #0 screws at the base of each side of the arm.
-
-
-
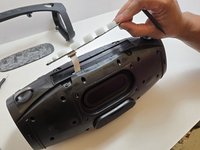
Use the metal spudger to dislodge the two clips on each side of the arm.
-
The two clips are at the front and back sides of the arm.
-
Remove the arm but pulling apart the two sides of the arm away from the casing and lifting the arm free from the casing.
-
-
-
Remove the rubber foot at the bottom of the X10.
-
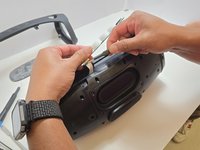
Use the Jimmy to separate the glue that holds the foot on to the casing.
-
Peel away the rubber foot to expose the bottom panel of the casing.
-
-
-
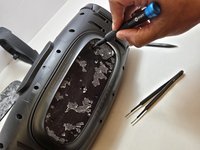
Remove the Control Panel from the top of the X10 by using the plastic spudger to separate the glue that attaches it to the casing.
-
Using a pair of tweezers, gently pry the ribbon cable that connects the control panel to the motherboard.
-
-
-
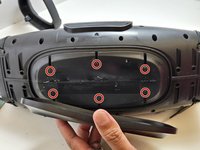
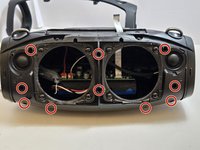
Use a Phillips #0 screwdriver to remove the six 7.5 mm screws connecting the bottom panel.
-
-
-
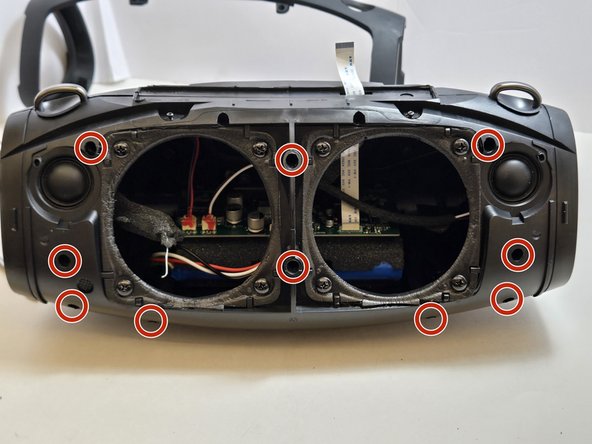
Use a 2.5 millimeter hex key to remove the ten 17.5 mm screws that connect the two halves of the X10 casing.
-
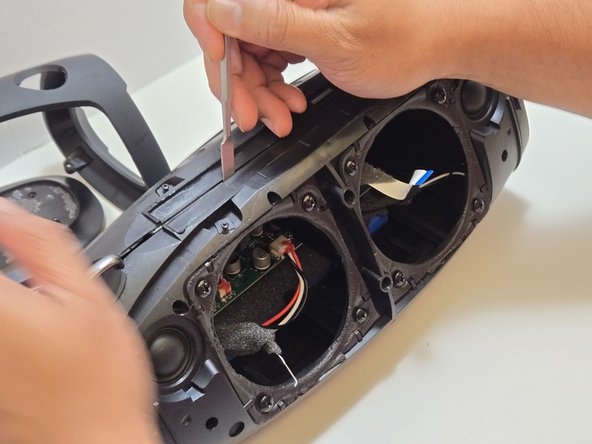
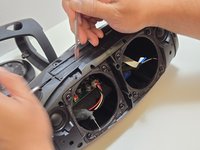
Separate the two halves of the casing using the metal spudger to pry apart the ten connection arms that form the structure of the casing.
-
-
-
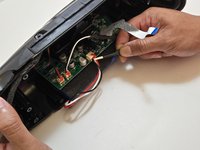
Use tweezers to disconnect the push-in wire connection between the battery and the motherboard.
-
Remove the battery.
-
-





















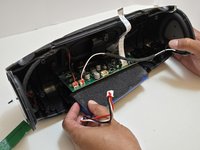
To reassemble your device, follow these instructions in reverse order. Take your e-waste to an R2 or e-Stewards certified recycler.
Отменить: Я не выполнил это руководство.
2 человек успешно провели ремонт по этому руководству.

Команда

Austin Community College, Team 7-2, Watkins Fall 2024 Участник Austin Community College, Team 7-2, Watkins Fall 2024
AUSTINCC-WATKINS-F24S7G2
4 членов
Автор 19 руководств
4 Комментарии к руководству
Any chance you can give the manufacturer and part number for that battery pack and if you know where to buy the direct replacement please state this site we can purchase that new pack?
Where can I purchase the battery for the w-king x10?
Dónde compro la batería
No encuentro la batería. Alguien sabe dónde comprarla. (que no sea Alibaba)
