Перейти к основному содержанию
/
Мой рабочий стол для верстки руководств

Получите быстрый доступ к руководствам, запчастям и ответам касательно ваших устройств

ASUS Eee Pad Transformer Back Panel Replacement

ASUS Eee Pad Transformer Back Panel Replacement

Sandy Babich

Sandy Babich и 6 другие участники

Последнее обновление January 3, 2020

5 - 15 минут
Средне

Repairing a damaged back panel is very important, the back panel protects all the inner workings in the tablet and needs to be in good condition to prevent permanent damage in the device. Removing the back panel also allows access to everything inside of the device and is an essential first step to all other repairs involved with the TF101 Tablet.

Выберете то, что вам нужно

Инструменты

Показать больше…

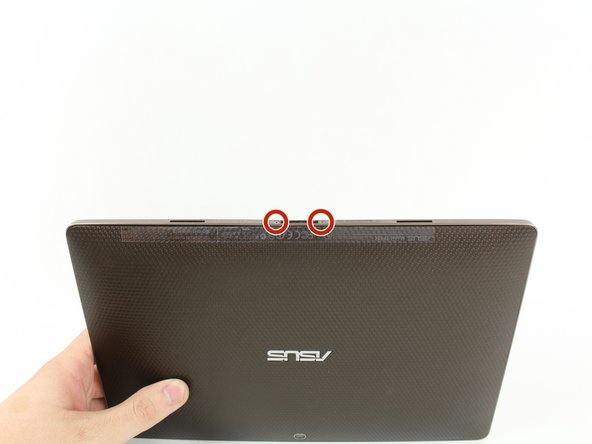
  1. ASUS Eee Pad Transformer Back Panel Replacement, Back Panel: шаг 1, изображение 1 из 2 ASUS Eee Pad Transformer Back Panel Replacement, Back Panel: шаг 1, изображение 2 из 2
    • Use T5 Torx Screwdriver to remove two 4.5 millimeter T5 screws on either side of the port on the bottom of the tablet.

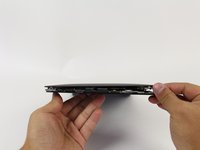
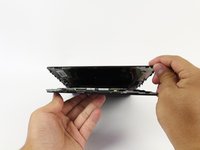
  2. ASUS Eee Pad Transformer Back Panel Replacement: шаг 2, изображение 1 из 3 ASUS Eee Pad Transformer Back Panel Replacement: шаг 2, изображение 2 из 3 ASUS Eee Pad Transformer Back Panel Replacement: шаг 2, изображение 3 из 3
    • Use the Plastic Opening Tool to pry between the main tablet body and the outer rim casing. Remove the outer rim casing by prying all the way around the device and pulling the rim upward.

    • The physical buttons are located on the outside of the rim on the right side, proceed with the guide to locate internal buttons.

  3. ASUS Eee Pad Transformer Back Panel Replacement: шаг 3, изображение 1 из 1
    • Remove the four 2 millimeter Phillips #00 screws at the corners of the tablet.

  4. ASUS Eee Pad Transformer Back Panel Replacement: шаг 4, изображение 1 из 1
    • Use a Phillips #00 Screwdriver to remove the three 3 millimeter screws securing the front panel to the back panel found above the camera area, on the top portion of the tablet.

  5. ASUS Eee Pad Transformer Back Panel Replacement: шаг 5, изображение 1 из 1
    • Use a Phillips #00 Screwdriver to remove the three 3 millimeter screws securing the front panel to the back panel found on the bottom portion of the tablet near the port.

  6. ASUS Eee Pad Transformer Back Panel Replacement: шаг 6, изображение 1 из 2 ASUS Eee Pad Transformer Back Panel Replacement: шаг 6, изображение 2 из 2
    • Remove back panel by pulling away from the remaining device.

Заключение

To reassemble your device, follow these instructions in reverse order.

4 человек успешно провели ремонт по этому руководству.

Sandy Babich

Участник с: 09/23/14

1 909 Репутация

Автор 5 руководств

Команду

Cal Poly, Team 13-9, Forte Fall 2014 Участник Cal Poly, Team 13-9, Forte Fall 2014

CPSU-FORTE-F14S13G9

5 членов

Автор 12 руководств

Один комментарий

what can I use to stick back the metalic edge?

Cathy Madzimure - Ответить

Добавить комментарий

Статистика просмотров:

За последние 24 час(ов): 0

За последние 7 дней: 0

За последние 30 дней: 9

За всё время: 3,949