
ASUS Transformer TF101 Battery Replacement
Введение
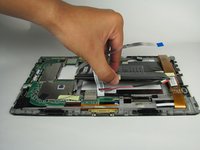
Перейти к шагу 1If your battery no longer holds a charge or you suspect it might be faulty, use this guide to replace it.
Выберете то, что вам нужно


-
-
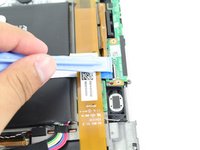
Use T5 Torx Screwdriver to remove two 4.5 millimeter T5 screws on either side of the port on the bottom of the tablet.
-
-
-
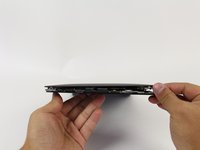
Use the Plastic Opening Tool to pry between the main tablet body and the outer rim casing. Remove the outer rim casing by prying all the way around the device and pulling the rim upward.
-
-
-
Use a Phillips #00 Screwdriver to remove the three 3 millimeter screws securing the front panel to the back panel found above the camera area, on the top portion of the tablet.
-
-
-
Use a Phillips #00 Screwdriver to remove the three 3 millimeter screws securing the front panel to the back panel found on the bottom portion of the tablet near the port.
-
-
-
Use a Phillips #00 Screwdriver to remove the three 3 millimeter screws securing the buttons to the back panel.
-
-
-
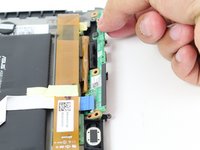
Use Plastic Opening Tool to pry off the clip located towards the bottom of the button component near the metallic strip with a blue end, capped by the black button clip.
-
Remove button component by pulling straight outward from the device.
-
-
-
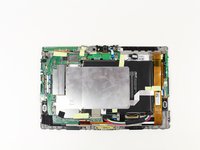
Use Phillips #00 Screwdriver to remove four 3 millimeter screws found on the metal panel.
-
-
-
Use Plastic Opening Tool to pry off the metal panel from the battery starting on the right side corners and working around the rest of the panel.
-
-
-
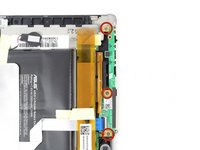
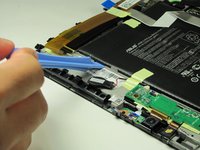
Peel off tape from around the edges of the battery.
-
Insert Plastic Opening Tool into slot on side of battery found near the wire bundle.
-
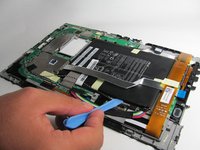
Lift up the battery off of the device.
-


To reassemble your device, follow these instructions in reverse order.
To reassemble your device, follow these instructions in reverse order.
Отменить: Я не выполнил это руководство.
21 человек успешно провели ремонт по этому руководству.
Команду

Cal Poly, Team 13-9, Forte Fall 2014 Участник Cal Poly, Team 13-9, Forte Fall 2014
CPSU-FORTE-F14S13G9
5 членов
Автор 12 руководств
6 Комментариев
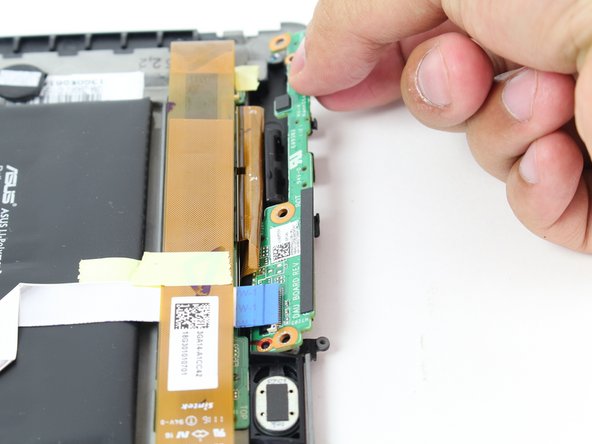
Ahhhh, the battery connector sides out right?!? Lifting it up would remove its socket from the board as you can see in the last 3 pics.
Also under the middle of the battery is another strip of tape attached to a thin bar the width (long dimension) of the battery which i could see snapping if you attempted to remove the battery without sliding a tool down between the battery and bar.
Where can I purchase the battery? It wasn't on the parts list on this page.
Is it worth the effort replacing the battery for this old tablet when new ones a re more powerful and less expensive?
Any help is appreciated.
Bob
I followed step 11 and pried the battery connector upward. Ended up severing the socket, ruining my entire tablet. Thanks.
Do not pry up battery connector as described in step 11, connector slides off easily. This I now know from following the instructions and will have to purchase a replacement board if I wish to use this tablet again.