
Asus MeMO Pad 7 ME176C Battery Replacement
Введение
Перейти к шагу 1Follow this guide step-by-step in case you need to change the battery for your Asus MeMO Pad 7 ME176C.
Выберете то, что вам нужно


-
-
Use a plastic opening tool to remove the back panel by carefully moving the tool around the back cover of the device until it comes off.
-
-
-
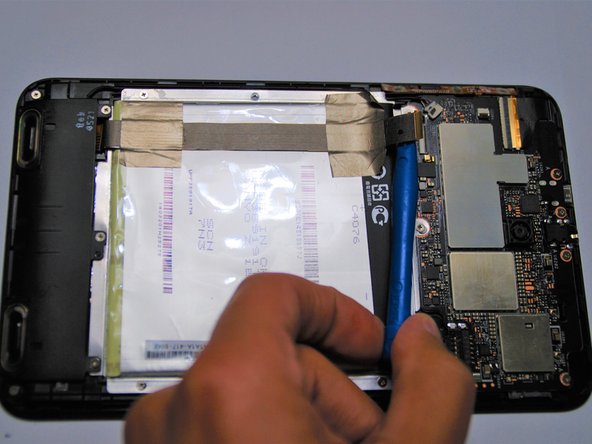
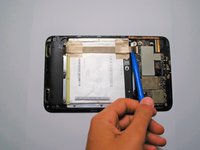
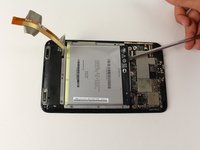
Locate the black bundle connector on the back of the device. Gently slide the plastic tool underneath the black bundle cable connector towards the battery until it comes off.
-
-
-
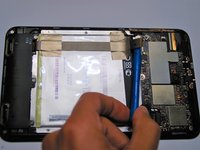
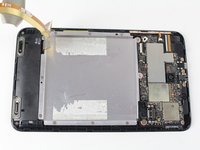
Using the plastic opener tool, carefully remove the ZIF connectors that is covering the battery.
-
-
-
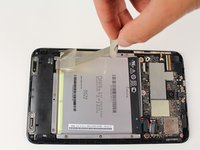
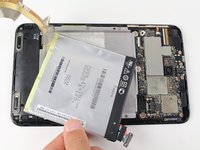
Wedge the flat end of a spudger or plastic opening tool under the battery to free the battery form any adhesives.
-


To reassemble your device, follow these instructions in reverse order.
To reassemble your device, follow these instructions in reverse order.
Отменить: Я не выполнил это руководство.
3 человек успешно провели ремонт по этому руководству.
Команду

Cal Poly, Team S6-G3, Banghart Fall 2017 Участник Cal Poly, Team S6-G3, Banghart Fall 2017
CPSU-BANGHART-F17S6G3
5 членов
Автор 9 руководств