Перейти к основному содержанию
/
Мой рабочий стол для верстки руководств

Получите быстрый доступ к руководствам, запчастям и ответам касательно ваших устройств

Casio CZ-1000 Piano Key Replacement

Casio CZ-1000 Piano Key Replacement

CJ Fagundo

CJ Fagundo и еще один участник

Последнее обновление January 2, 2025

15 мин.
Легко

This guide is to replace a damaged or broken piano key on your Casio CZ-1000 synthesizer. A broken piano key can cause the key to feel loose or be unresponsive.

Выберете то, что вам нужно

Инструменты

Показать больше…

  1. Casio CZ-1000 Piano Key Replacement, Backplate: шаг 1, изображение 1 из 2 Casio CZ-1000 Piano Key Replacement, Backplate: шаг 1, изображение 2 из 2
    • Use a Phillips #1 screwdriver to remove the eleven 7.5 mm screws securing the back plate.

  2. Casio CZ-1000 Piano Key Replacement: шаг 2, изображение 1 из 3 Casio CZ-1000 Piano Key Replacement: шаг 2, изображение 2 из 3 Casio CZ-1000 Piano Key Replacement: шаг 2, изображение 3 из 3
    • Using a Phillips #1 screwdriver, remove all 14 5.5 mm screws from the two motherboards.

    • These screws secure the motherboards to the keyboard assembly and the dial on the right side.

  3. Casio CZ-1000 Piano Key Replacement: шаг 3, изображение 1 из 3 Casio CZ-1000 Piano Key Replacement: шаг 3, изображение 2 из 3 Casio CZ-1000 Piano Key Replacement: шаг 3, изображение 3 из 3
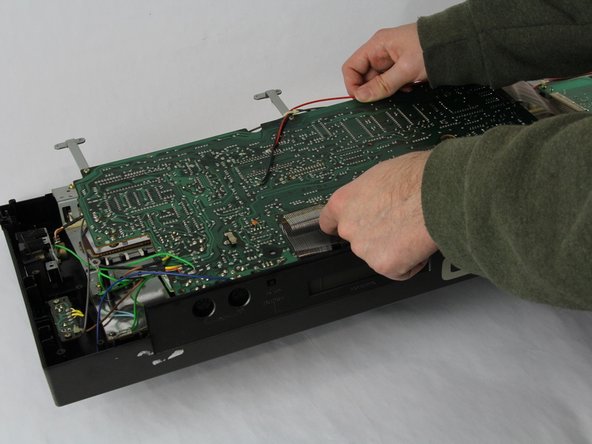
    • Carefully cut the zip tie located in the right-hand corner using a pair of scissors or wire cutters.

    • Be sure to avoid cutting any nearby wires or components.

    • Gently slide all the plugs out of their sockets.

    • This will prevent them from catching on anything or damaging the connectors as you lift.

  4. Casio CZ-1000 Piano Key Replacement, Piano Key: шаг 4, изображение 1 из 2 Casio CZ-1000 Piano Key Replacement, Piano Key: шаг 4, изображение 2 из 2
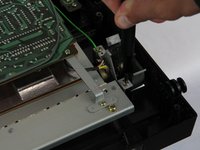
    • Remove the four 7.5 mm screws using a Phillips #1 screwdriver.

    • Lift the rectangular circuit board away to expose the underside of the key bed.

  5. Casio CZ-1000 Piano Key Replacement: шаг 5, изображение 1 из 2 Casio CZ-1000 Piano Key Replacement: шаг 5, изображение 2 из 2
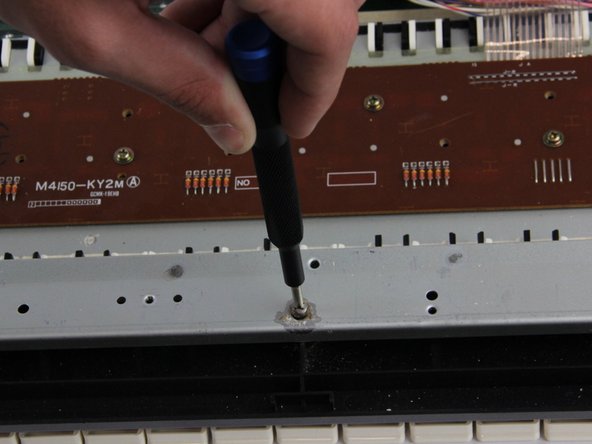
    • Remove the six 7.5 mm screws using a Phillips #1 screwdriver.

  6. Casio CZ-1000 Piano Key Replacement: шаг 6, изображение 1 из 2 Casio CZ-1000 Piano Key Replacement: шаг 6, изображение 2 из 2
    • Grab the key bed by the side shown.

    • Lift the key bed up and slide it out from the black case.

  7. Casio CZ-1000 Piano Key Replacement: шаг 7, изображение 1 из 2 Casio CZ-1000 Piano Key Replacement: шаг 7, изображение 2 из 2
    • Flip the key bed over so that the keys are facing up.

    • Using a pair of tweezers, detach the spring from both the metal bar and the key itself.

    • Lift the key out of the slot in the metal bar and replace!

Заключение

To reassemble your device, follow these instructions in reverse order.

CJ Fagundo

Участник с: 10/31/24

159 Репутация

1 руководство автора

Команду

Cuesta, Team 60-3, Krynen Fall 2024 Участник Cuesta, Team 60-3, Krynen Fall 2024

CUESTA-KRYNEN-F24S60G3

4 членов

Автор 5 руководств

Один комментарий

Disassembly went fine, but my cz1000 keys don't look the same

Brian Marshall - Ответить

Добавить комментарий

Статистика просмотров:

За последние 24 час(ов): 0

За последние 7 дней: 4

За последние 30 дней: 25

За всё время: 67